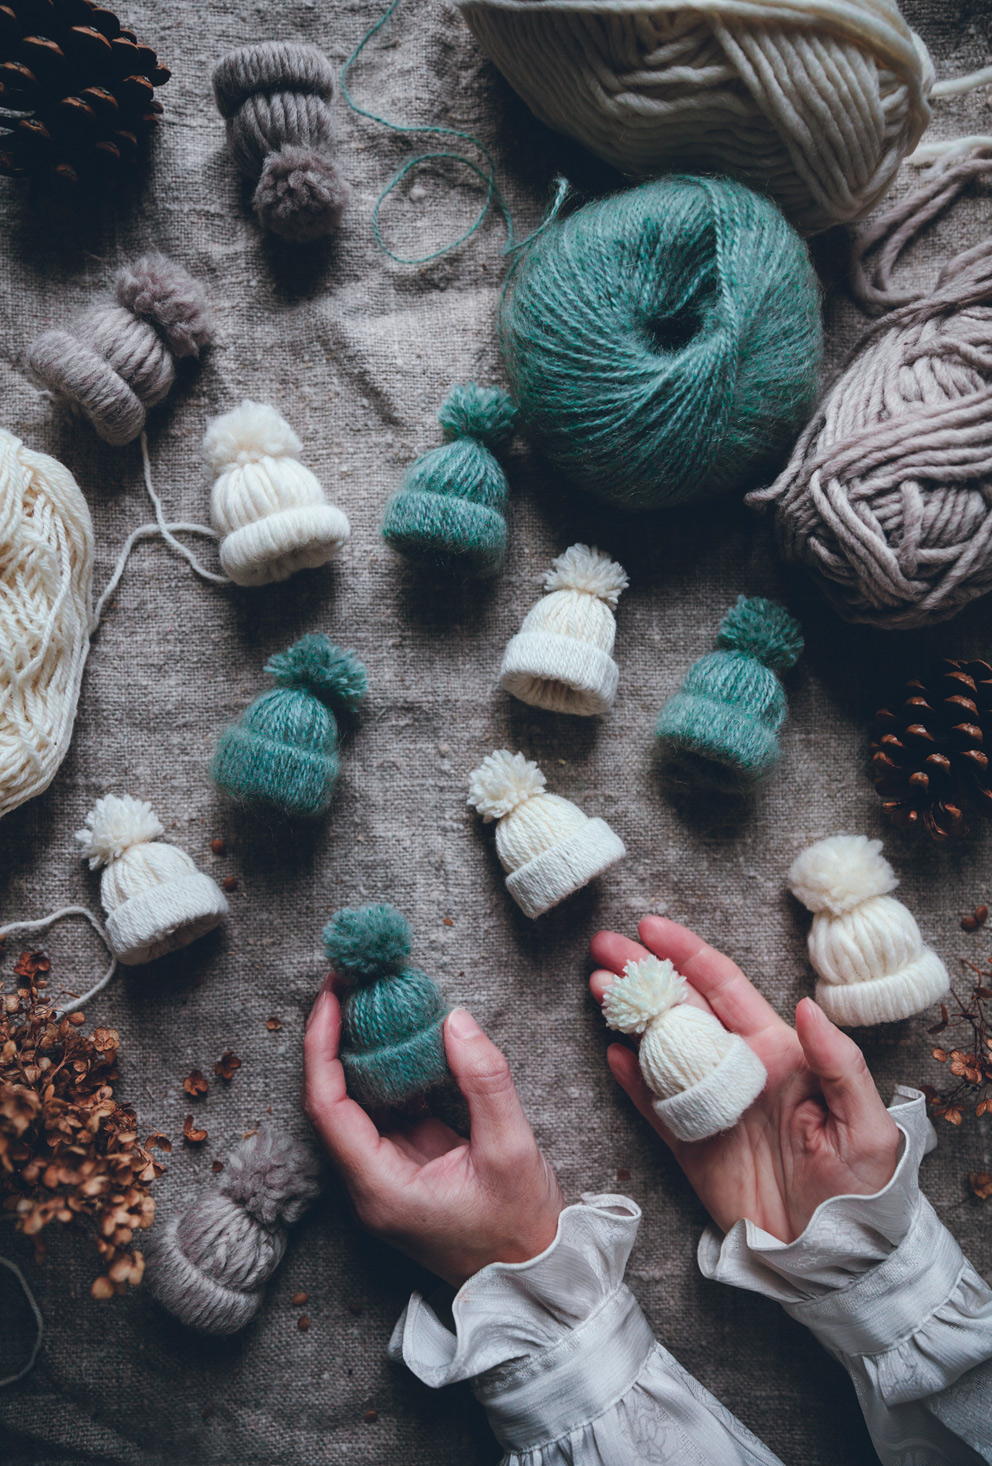
I’m starting my Winter and Christmas DIY’s a little earlier this year! I feel like December isn’t enough for all the things I want to do. This is my most inspired time of the year so I might as well make the most of it! I hope you don’t mind  I saw these little yarn hats on Pinterest a while ago and wanted to give it a go, and they are SO fun to make. Each one takes a bit of time, but considering how cute they are it is well worth it. I made some hats using chunkier yarn too (scroll to the last photo) but I prefer the slightly thinner yarn. You can turn them into a garland, or hang them as ornaments in the Christmas tree. Or maybe even use them as decoration on wrapped gifts?
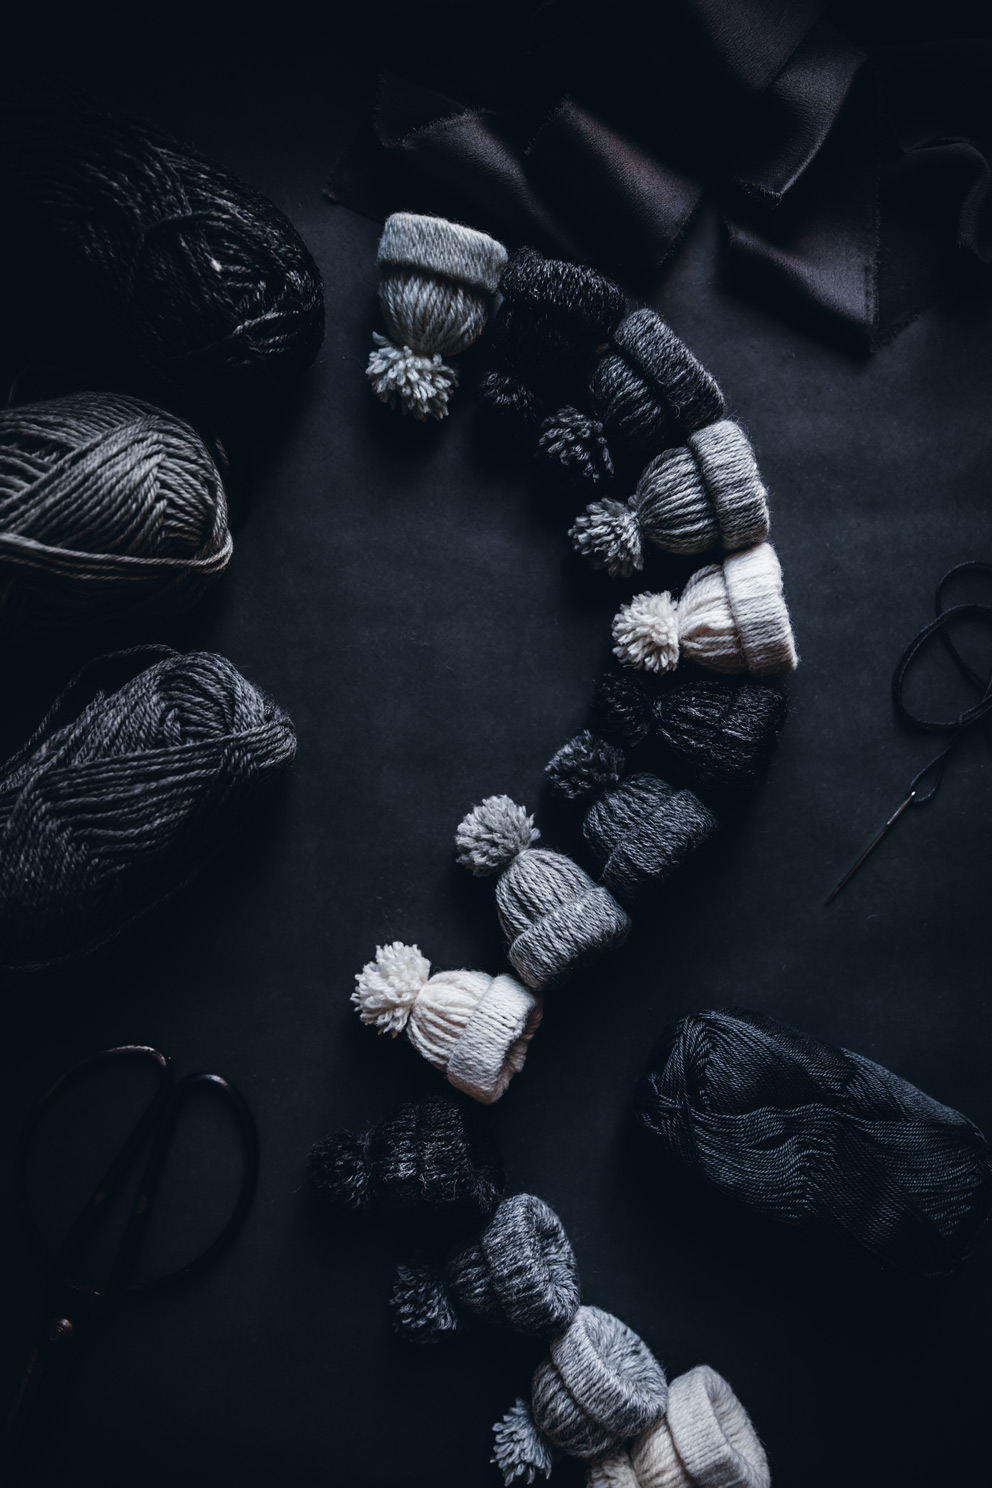

Winter DIY – Mini Yarn Hat Ornaments
What you’ll need:
- Cardboard tube (from a toilet roll, for example)
- Scissors
- Yarn
- Cotton balls
- Twine and a large needle (if making a garland)
INSTRUCTIONS
Mini Yarn Hats
- Cut the cardboard tube into pieces (so it turns into rings), about 1,5-2 cm thick.
- Wrap the yarn around an item, for example a notebook. I wrapped it around the book 30-35 times but it depends on the thickness of your yarn (the thicker the yarn the less you’ll need).
- Cut the ends off on one side. Each piece of yarn should be around 20-25 cm (8-10 inches).
- Double up each piece of yarn and make a loop around the piece of cardboard. Pull the ends of the yarn through the loop.
- Repeat this step until the cardboard base is filled. Make sure to pull each piece of yarn tightly so it stays in place.
- Push the ends of the yarn through the hole so you turn the hat inside out.
- Place a cotton ball inside. Use a piece of yarn to tie a double knot.
- Trim off the excess yarn to create a ball shape. And you’re done with your first yarn hat! To make ornaments or a garland, thread your needle with extra yarn or twine and push it through the hat.