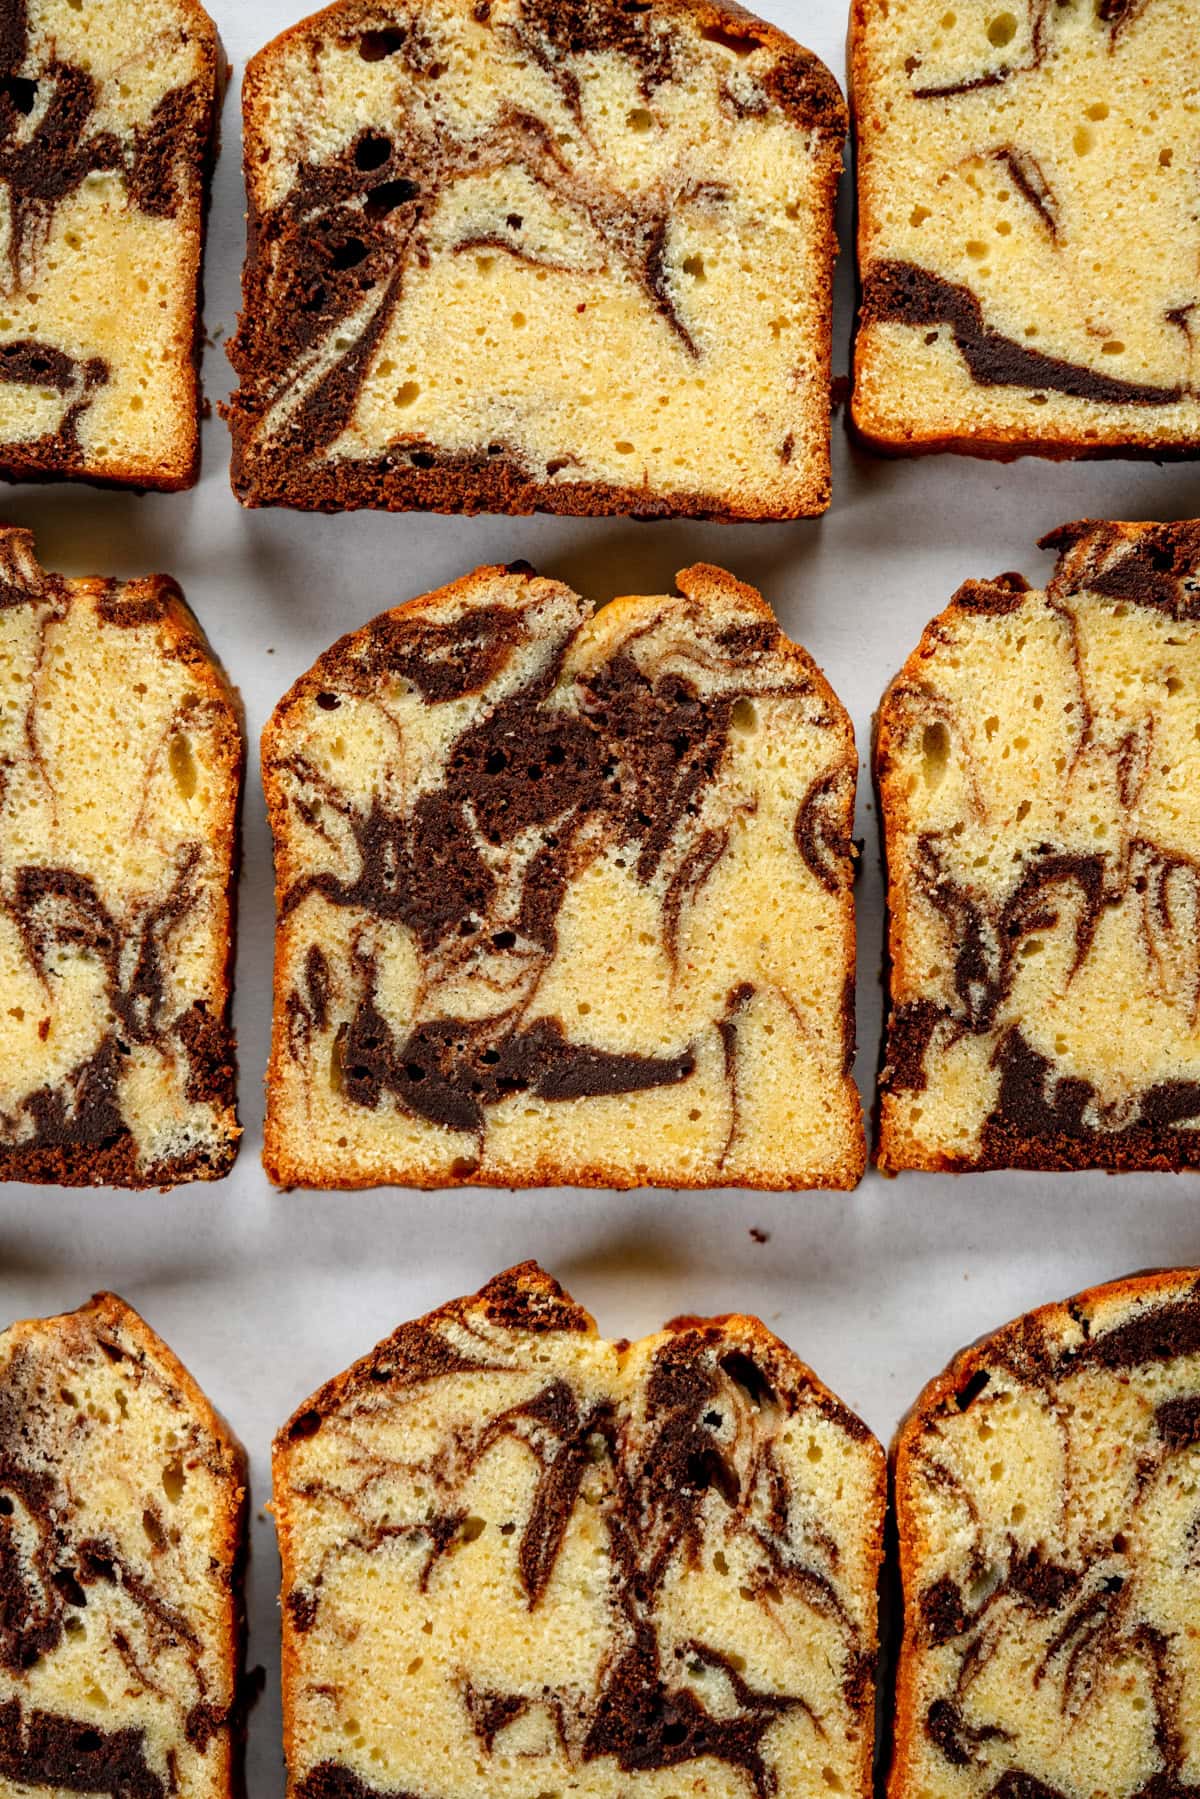
This marble cake is your next go-to crowd pleaser! Vanilla pound cake batter is swirled with a rich chocolate batter for the most perfectly dense (in a good way!) marble cake with the most amazing texture. Made in a loaf pan, this marble cake not only looks impressive, but keeps well and is great to make ahead.
Hi hi! I am just popping in to share this marble cake recipe with you! When I was working on my sour cream pound cake I accidentally (happens every time) went down a pound cake rabbithole, and now we have this amazing marble cake recipe!
A few friends have actually said that they prefer this to my vanilla pound cake. Huge call. But I can see why. There's a tender vanilla cake base, swirled with a slightly denser chocolate pound cake, which I made with real chocolate, so it is super rich and almost fudgy.
You make the one batter, set some aside, add the chocolate to the rest, and then get to assembling and swirling.
Don't be intimidated. I'll break down the whole process for you, and there's a whole bunch of pictures to help you along the way.
Recipe testing for Marble Cake
During the recipe testing process, I made this marble cake a ton of different times. The first I went for a 50:50 split of chocolate and vanilla batter, which turned out to not be quite right - because the chocolate batter is super chocolatey, it overpowered the vanilla. I also absolutely screwed up the swirl.
We got there though - I ended up with about a ⅓ chocolate to ⅔ vanilla split which is delicious. I dialled back on the chocolate a little in the chocolate section as it was too dense in texture.
The rest of the testing was then just locking it all in - making it in different sized pans, playing around with bake time etc. etc. All the work was so worth it though because this cake is just so good.
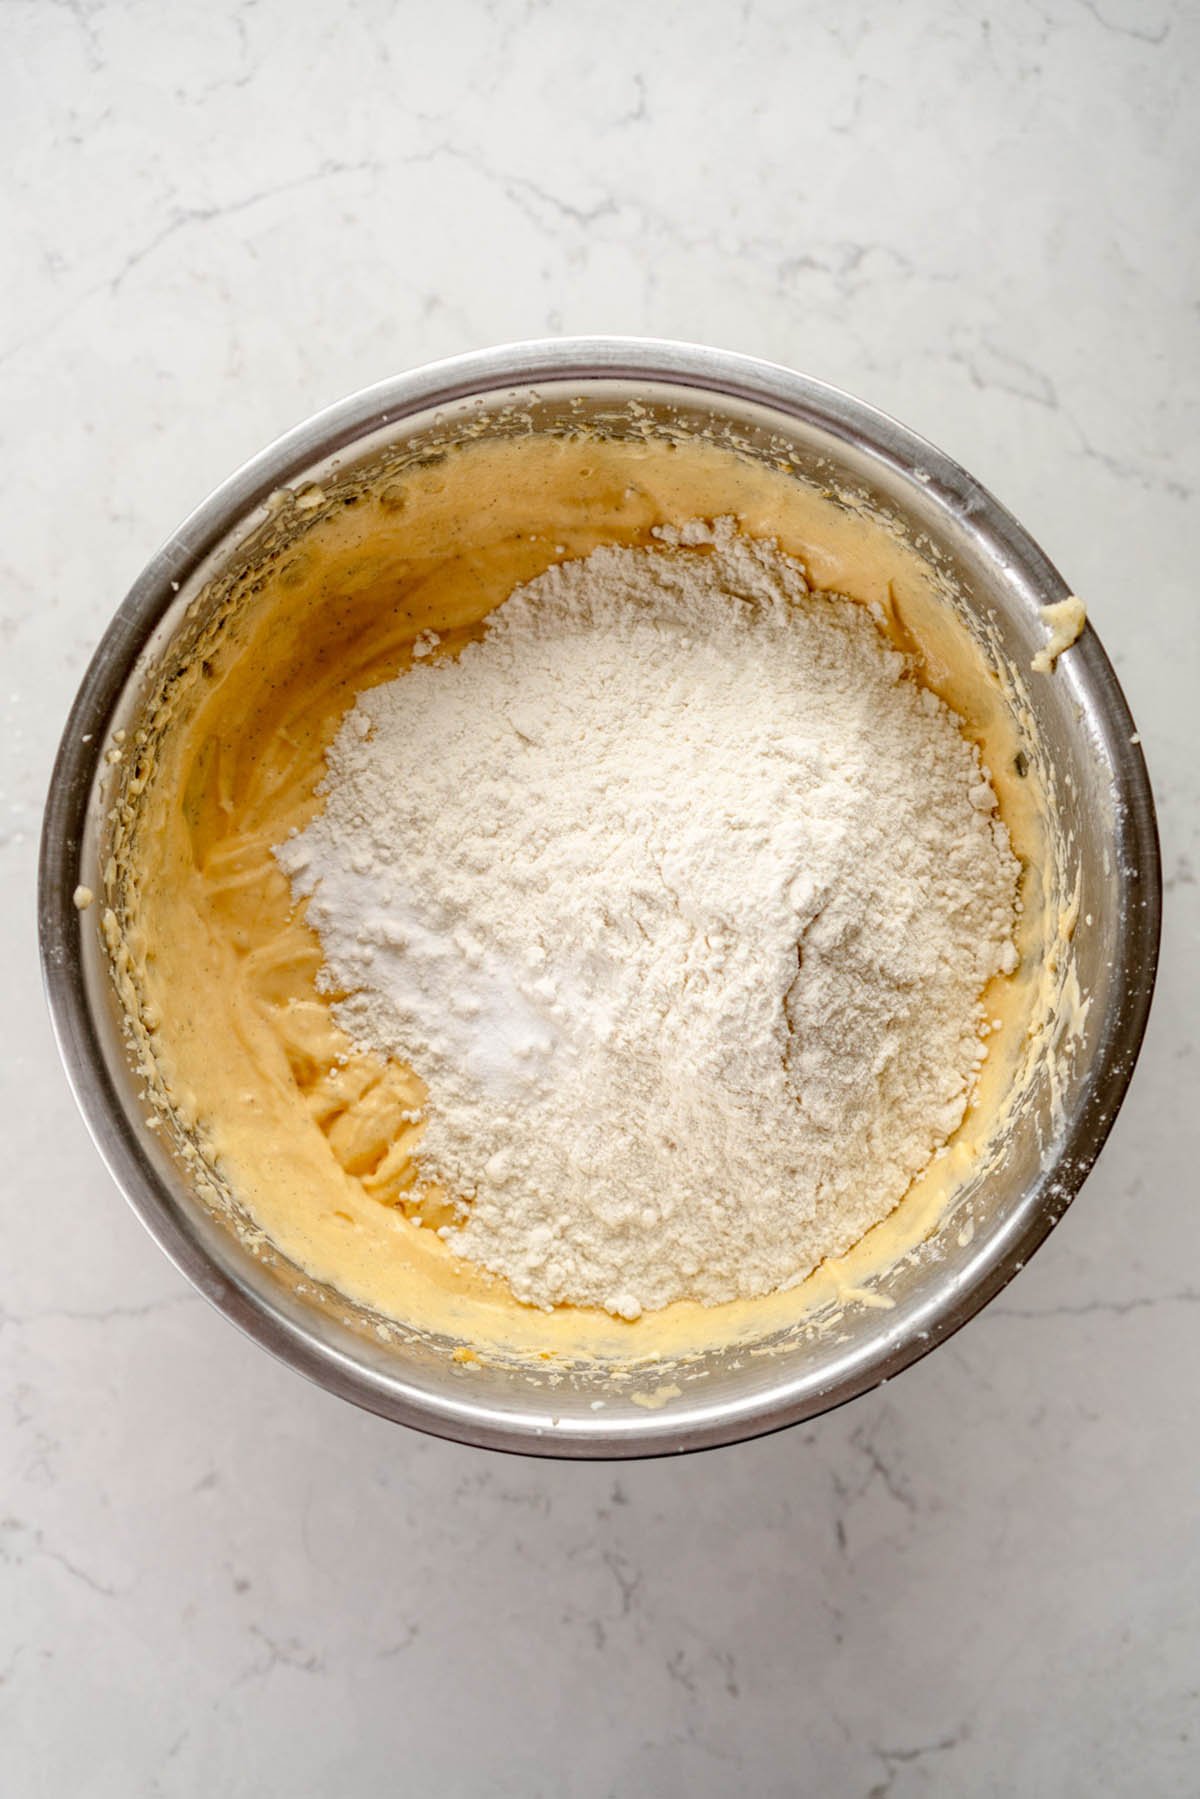
The importance of room temperature ingredients.
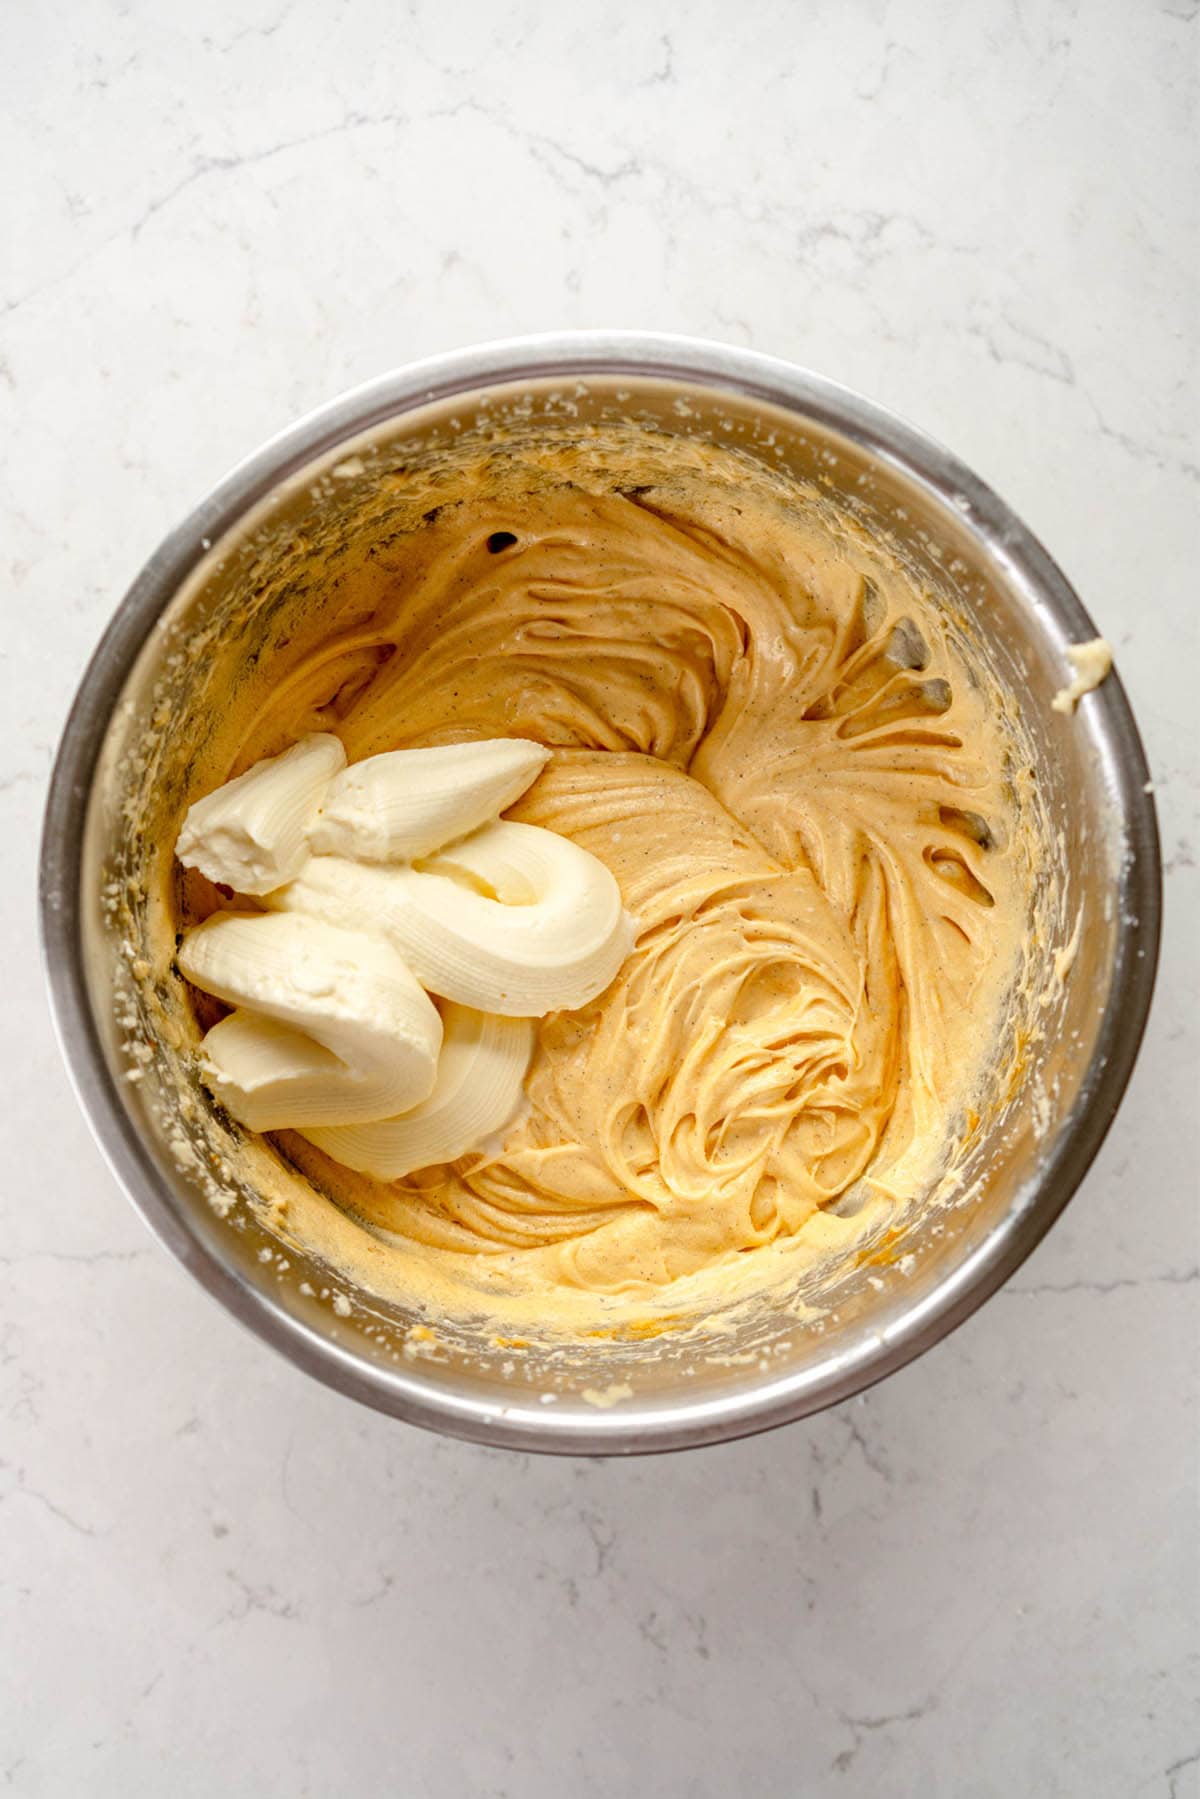
This is a super important one for this marble cake recipe. I know that we say that ingredients always need to be room temperature (if specified), but for this recipe especially you want to make sure that your butter is nicely room temperature, as well as your eggs and your sour cream.
Because melted chocolate gets added into the batter, you want to make sure that the batter isn't too cool, which will cause the chocolate to harden and you will get little flecks of chocolate through your batter. Not the end of the world, but it is easy to avoid if you can.
If your house runs cold, you can pop your eggs into a bowl of warm water for 5-10 minutes before baking. Even if they are at 'room temperature' I find warming them slightly can help with this too.
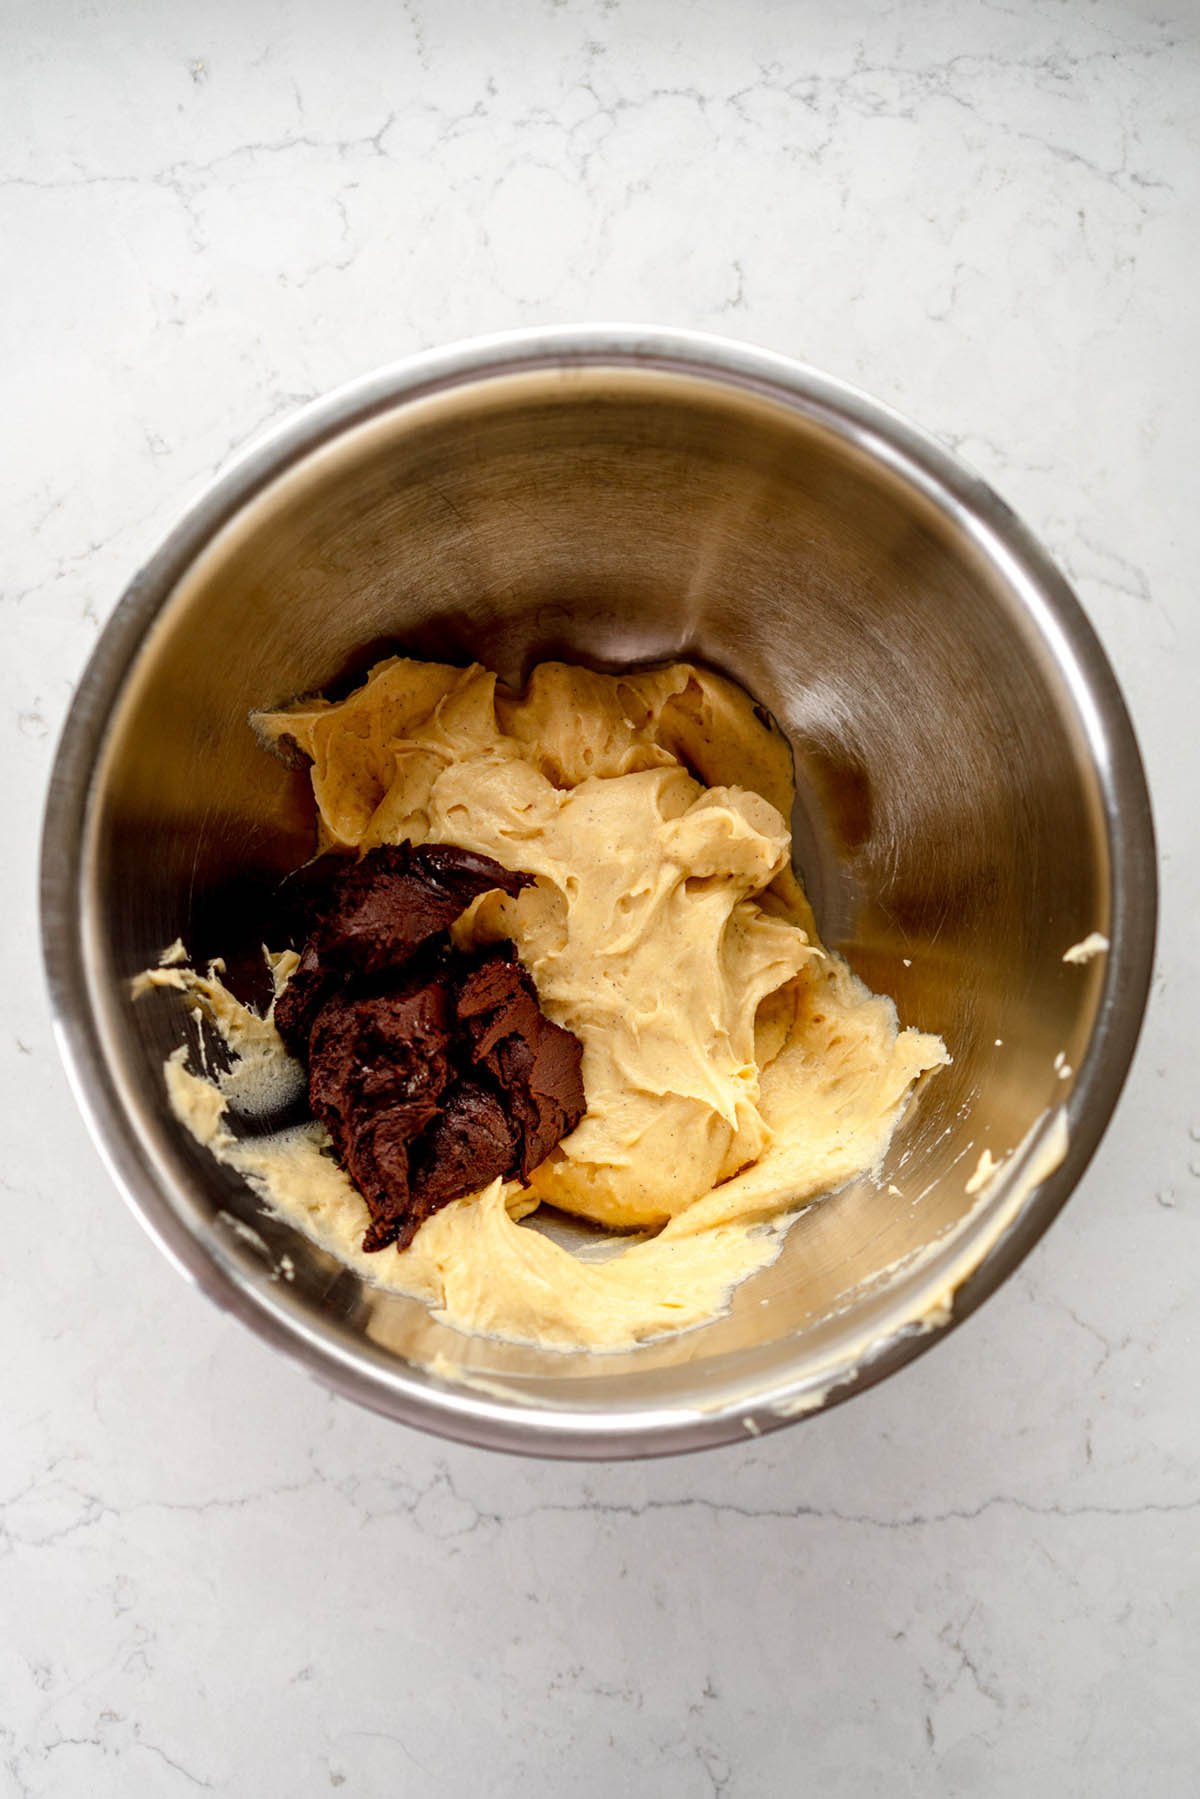
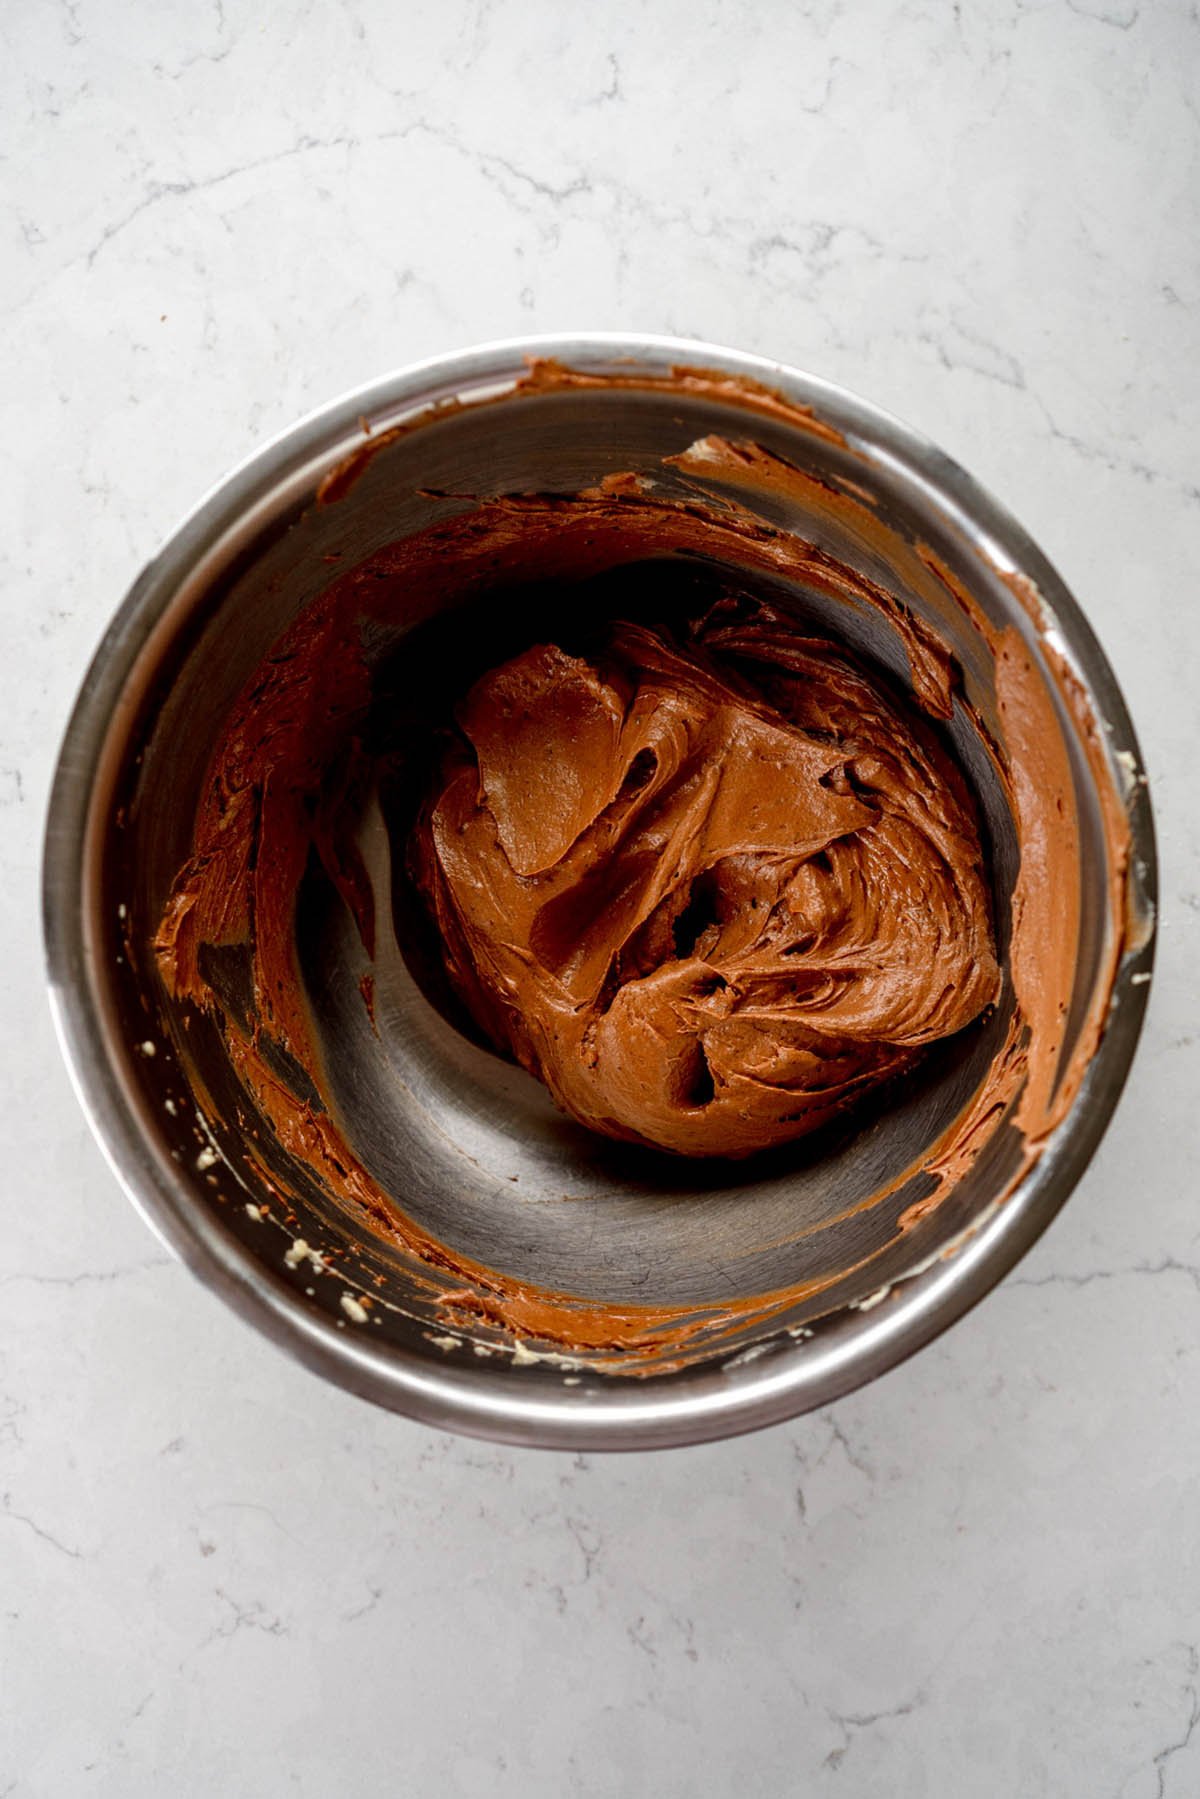
Does this cake need a frosting?
Depends who you ask. I think it is delicious just as is. However, my Husband who has a tendency to put chocolate icing on anything he possibly, can, would disagree.
If you wanted to add a frosting to this marble cake, my easy brownie frosting works perfectly.
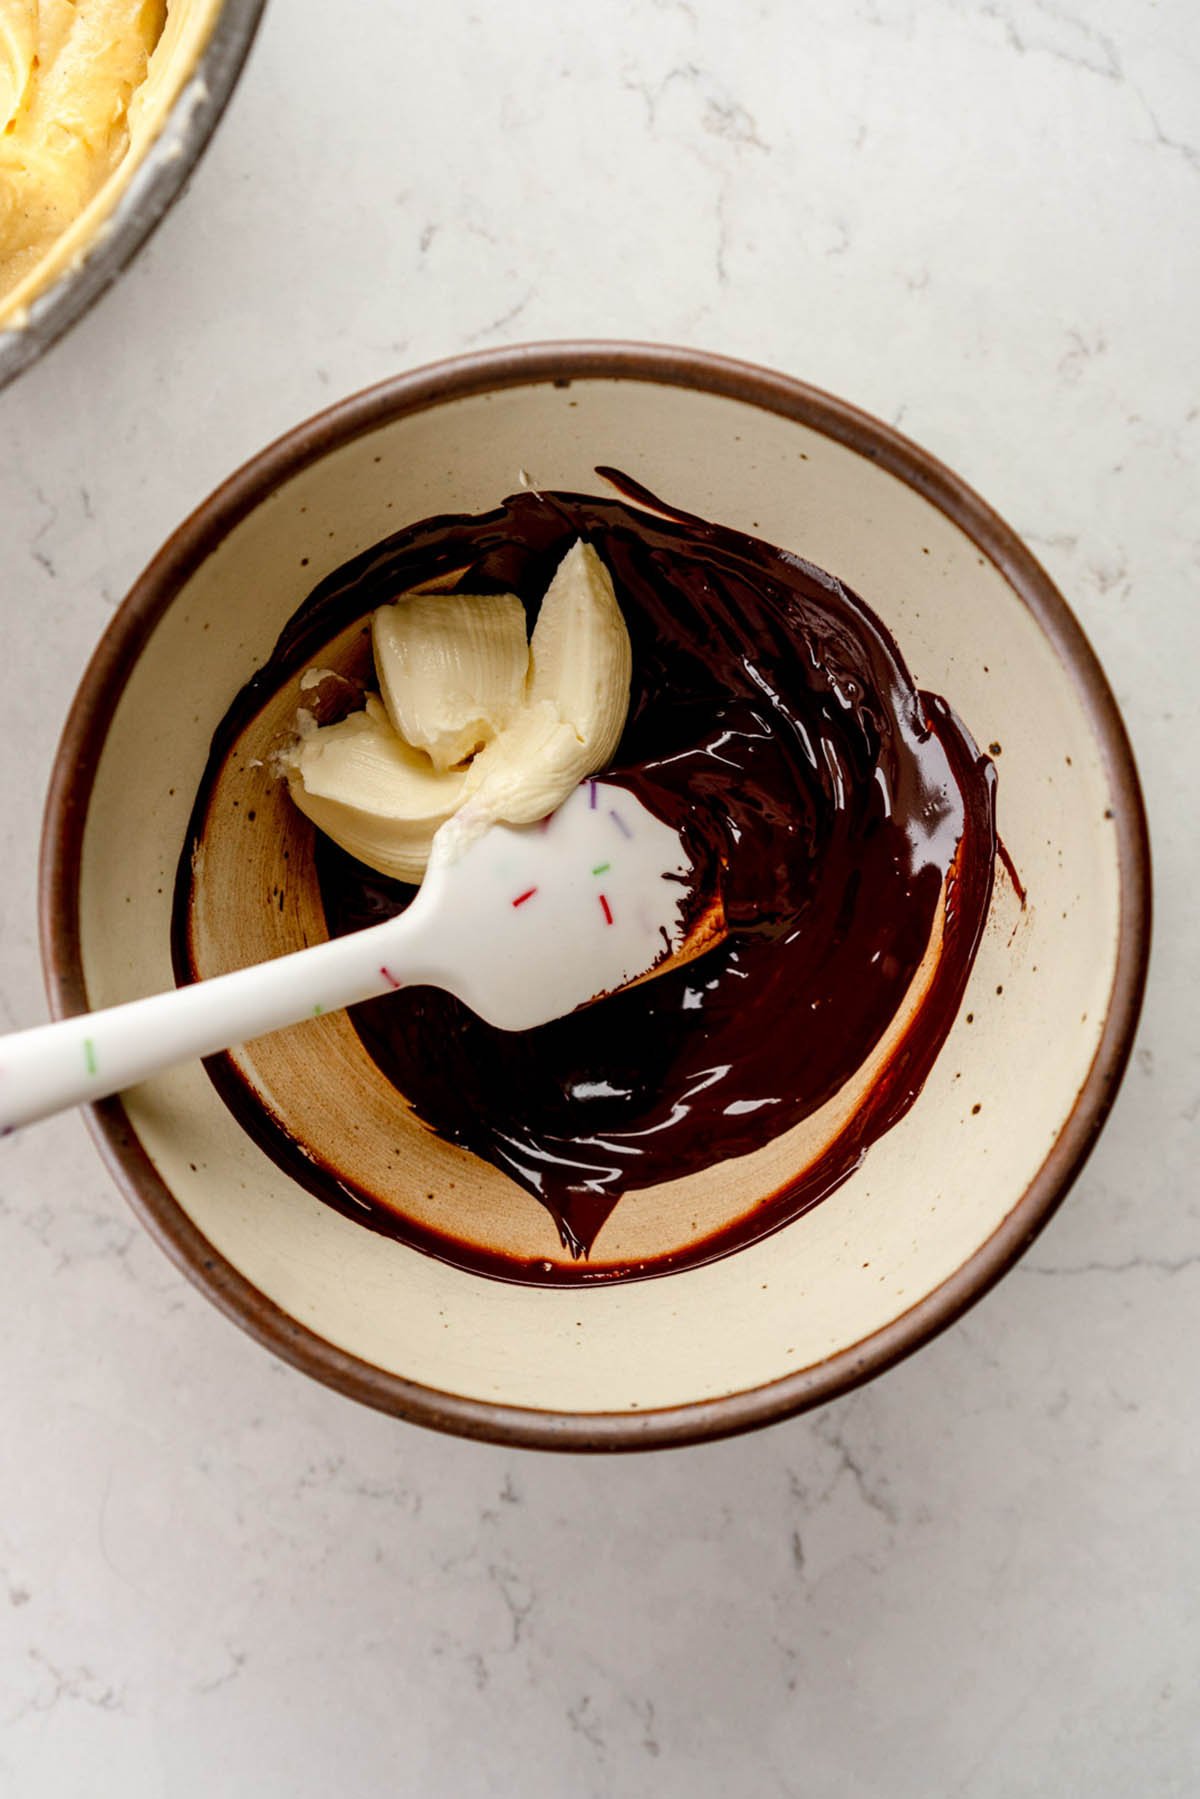
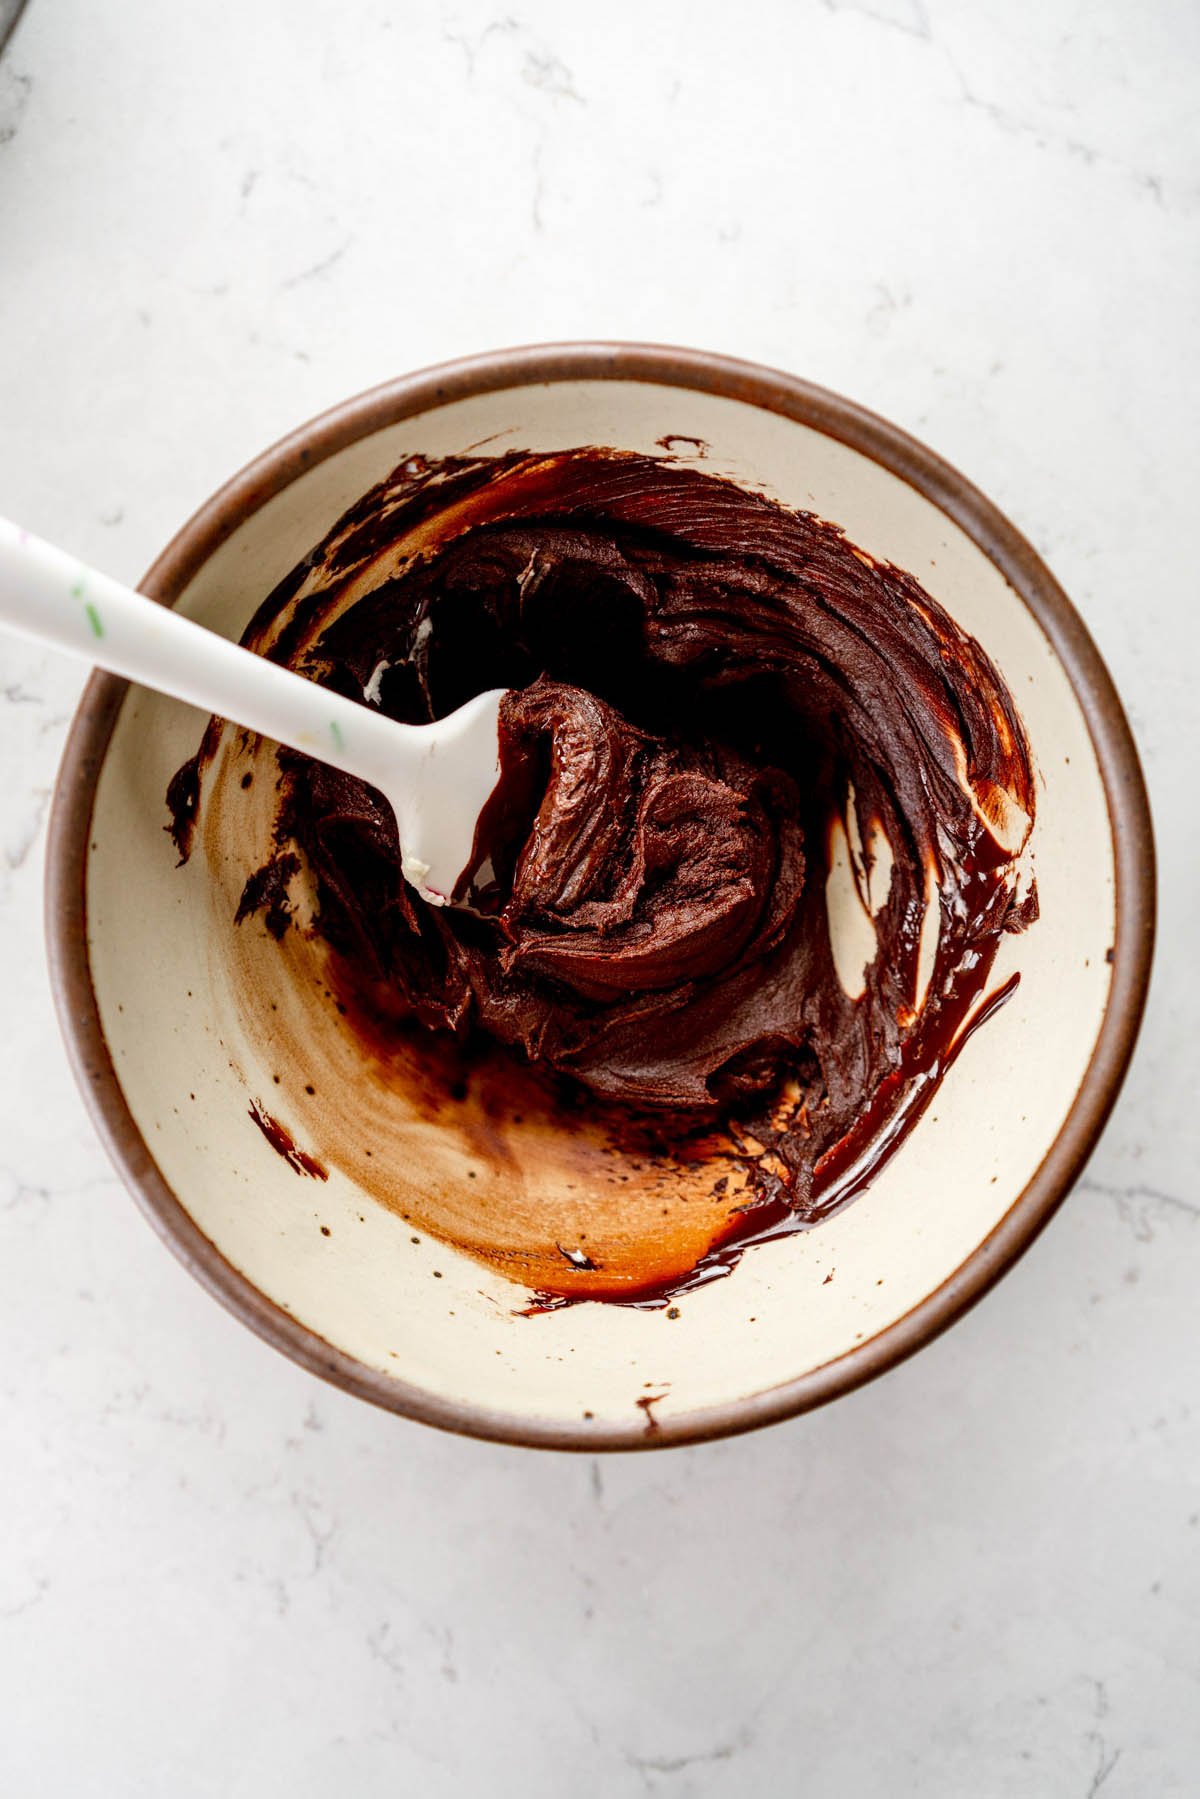
How to get a chocolate batter that isn't too dense but still tastes like chocolate
I did a ton of research when I started making this marble cake recipe - a lot of the recipes use cocoa in their chocolate portion of the batter. Not this one. I really wanted the chocolate flavour to shine through and not compromise texture, so I wanted to make sure I used melted chocolate rather than cocoa powder.
This gives a delightfully dense (in a good way) chocolate swirl through the marble cake. I also added in some sour cream to help increase the viscosity of the chocolate mixture so that there wasn't too much variation between the two batters (this was a tip from my friend Chelsea!).
Because you are increasing the ratio of batter to the amount of baking soda in the recipe along with adding two kinds of fat to the batter, the chocolate portion does bake up a tiny bit denser than the vanilla, but I love it that way.
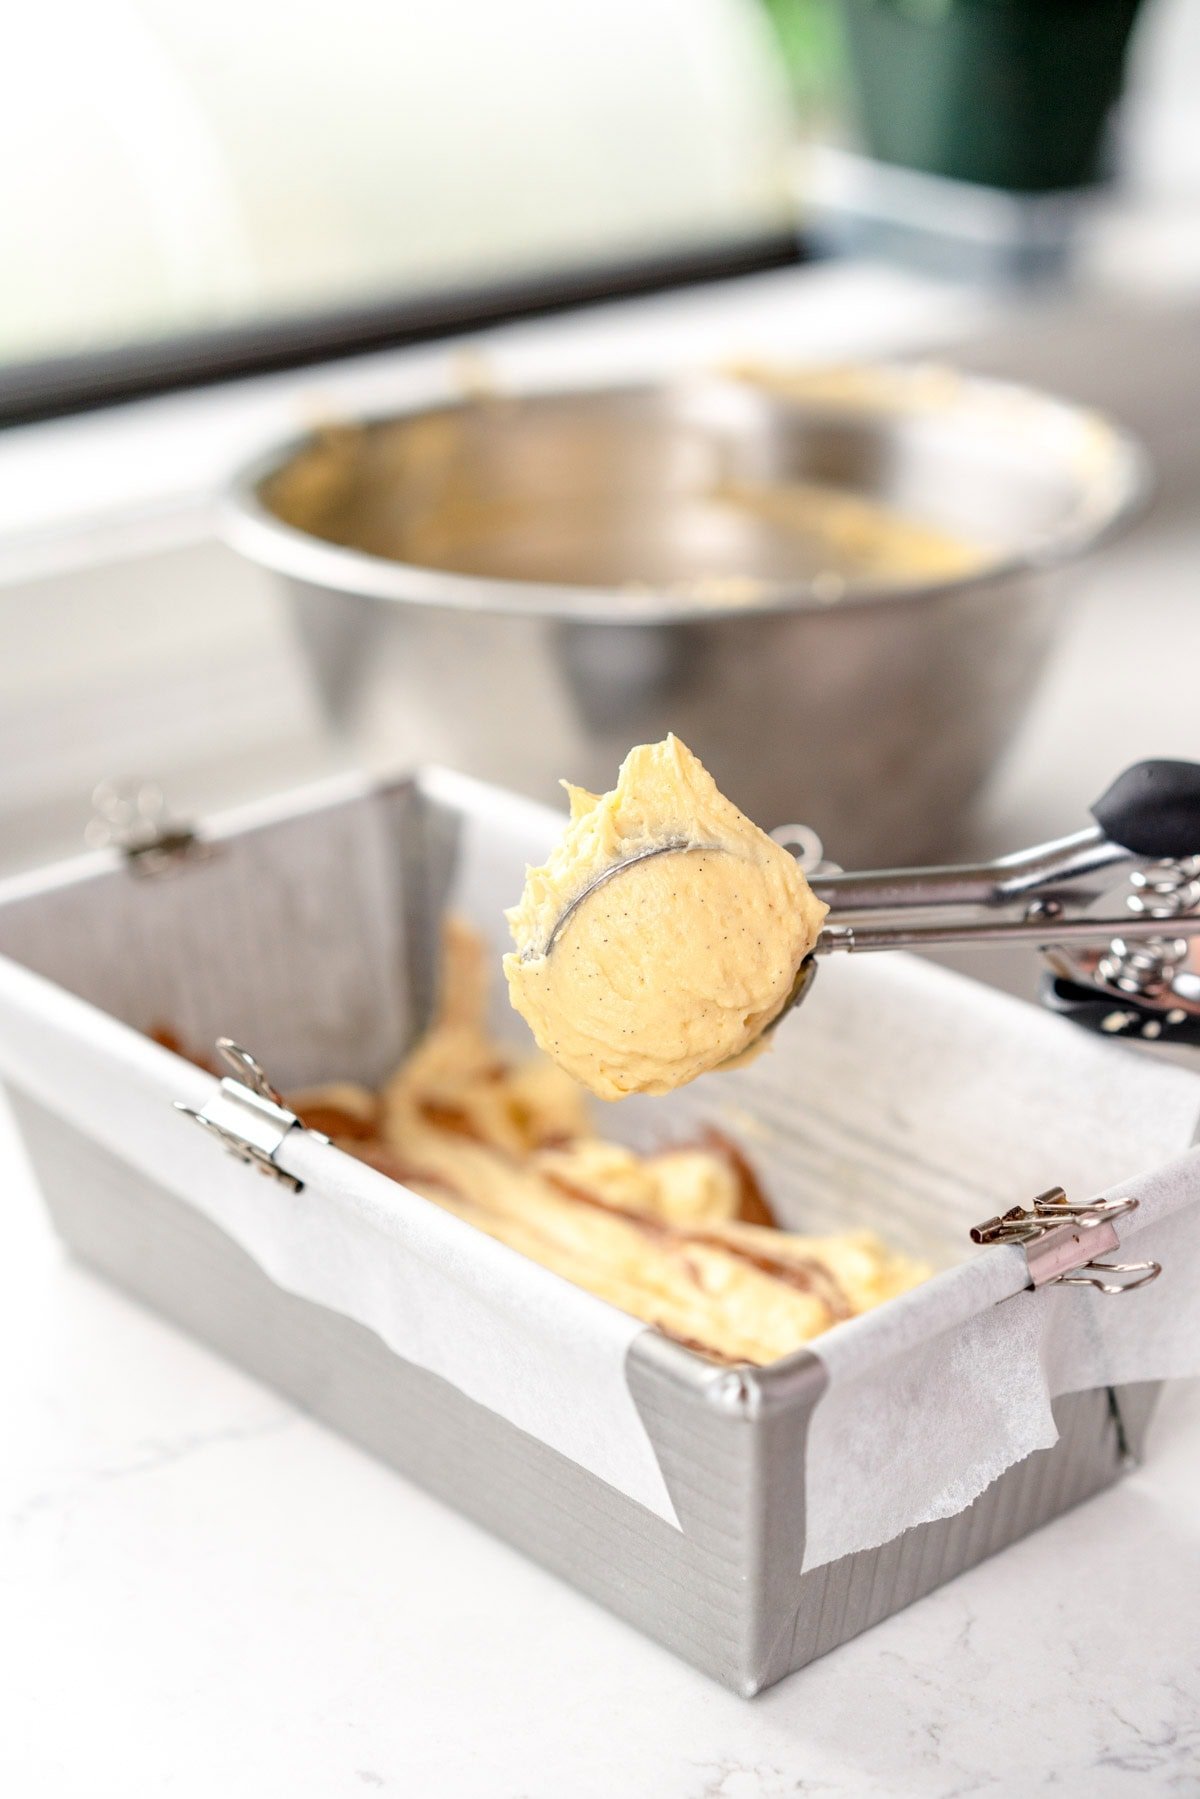
How to assemble a marble cake
This seems like a silly thing to need to explain but I tried a bunch of different methods for this and much prefer this way. Some other recipes online get you to alternate layering the batter, or just blob it all in and swirl.
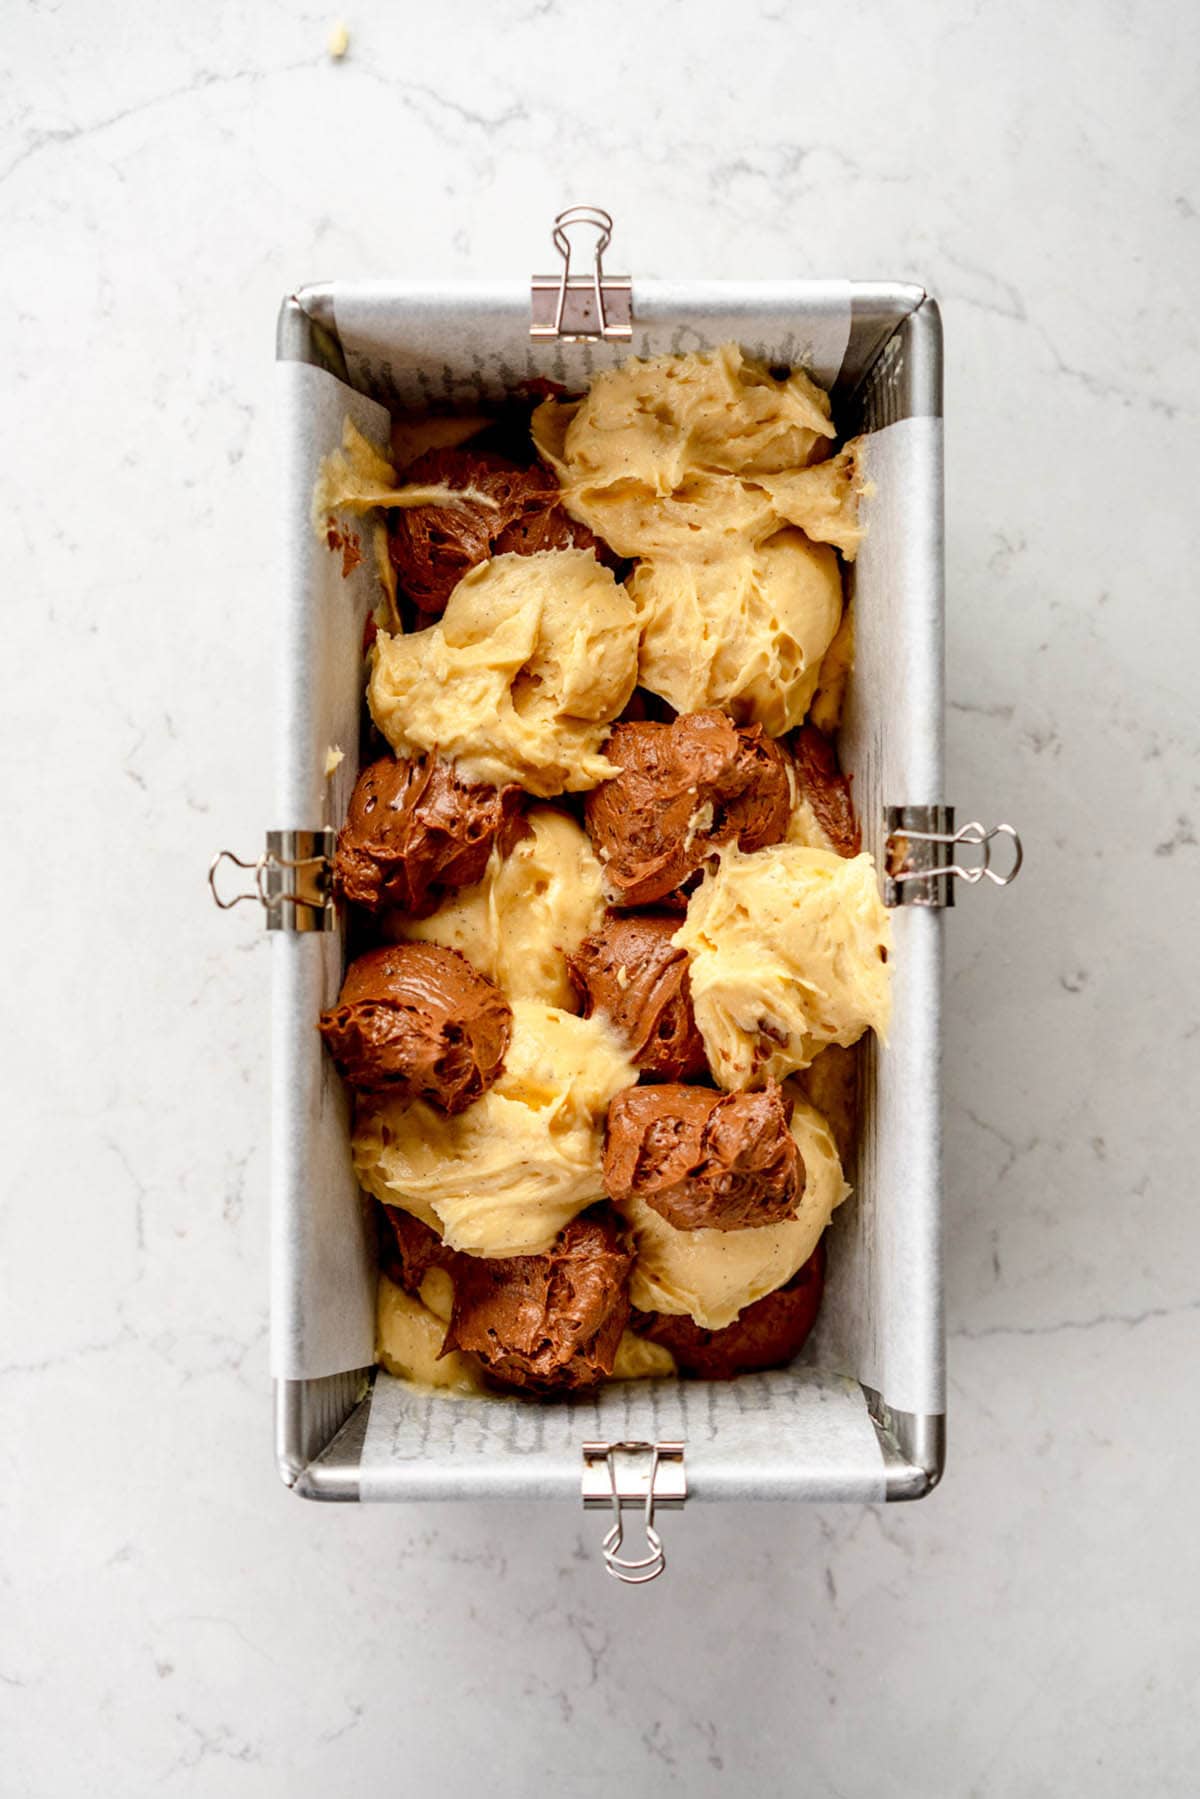
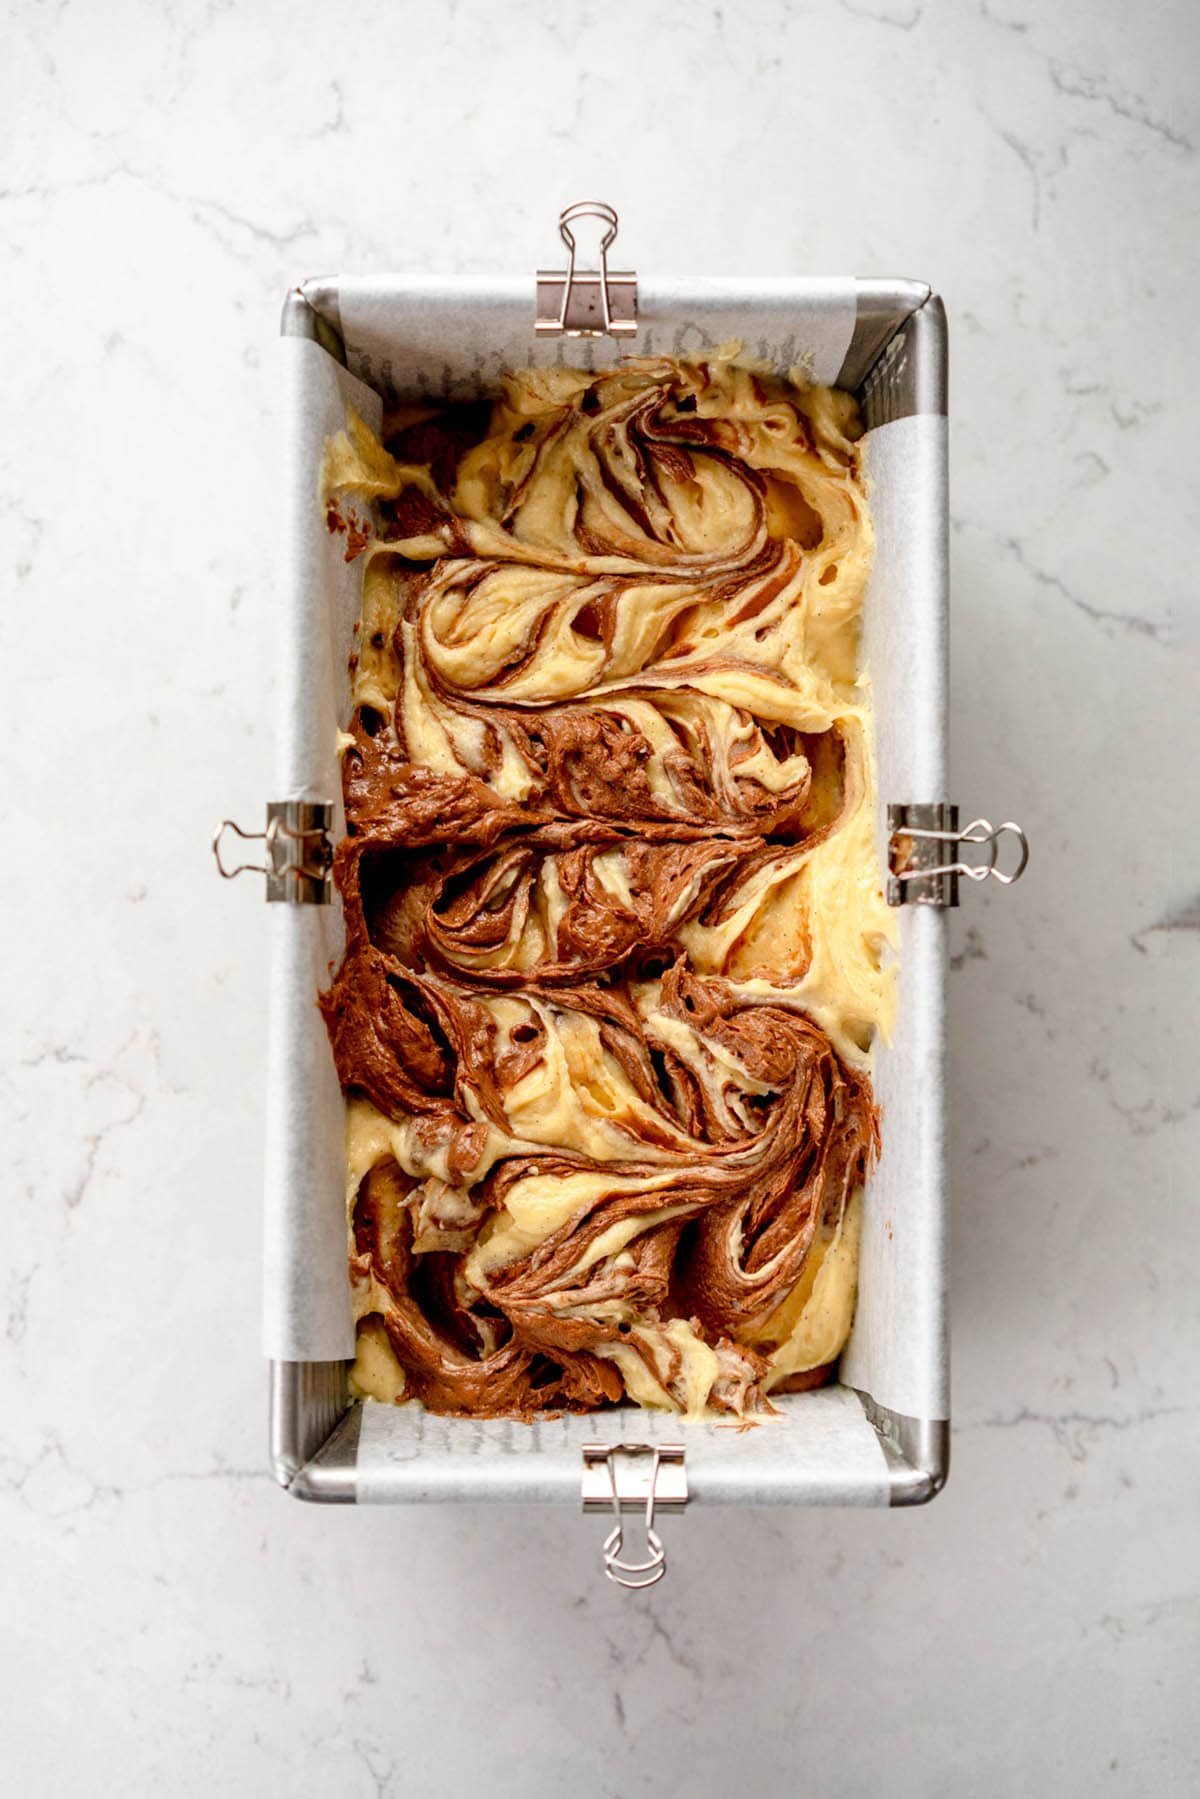
I found that doing three separate layers, making sure to bang down the batter and then swirling between each layer was the most effective way. You can see in the images below how I did that (they show a few steps rather than the entire process but it is essentially the same thing just in three layers)
I used a 1 Tbsp (#60) scoop for the chocolate batter and a 1.5 Tbsp (#40) scoop for the vanilla batter. Eyeballing it also works. See images below for how I assembled.
You don't have to be super accurate, you just want to make sure that you have a nice distribution of the two different batters.
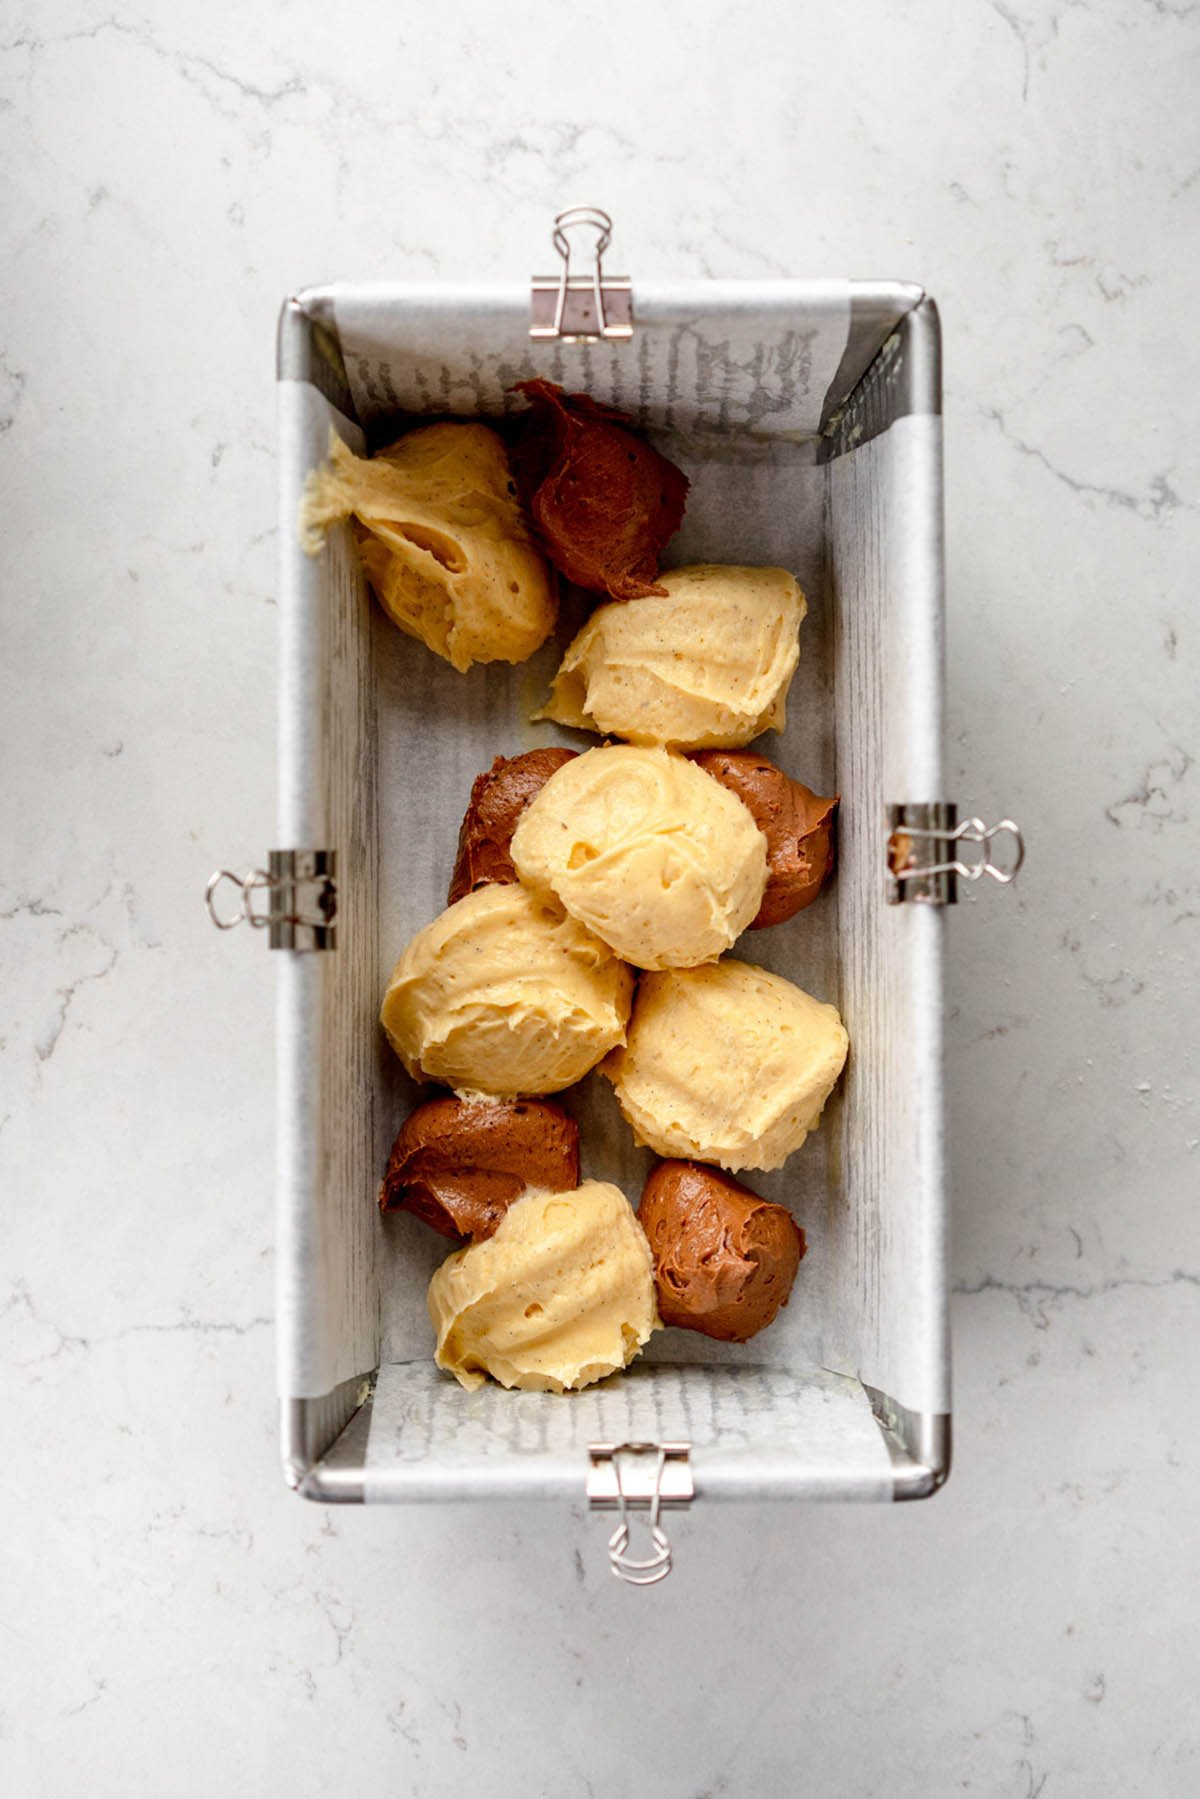
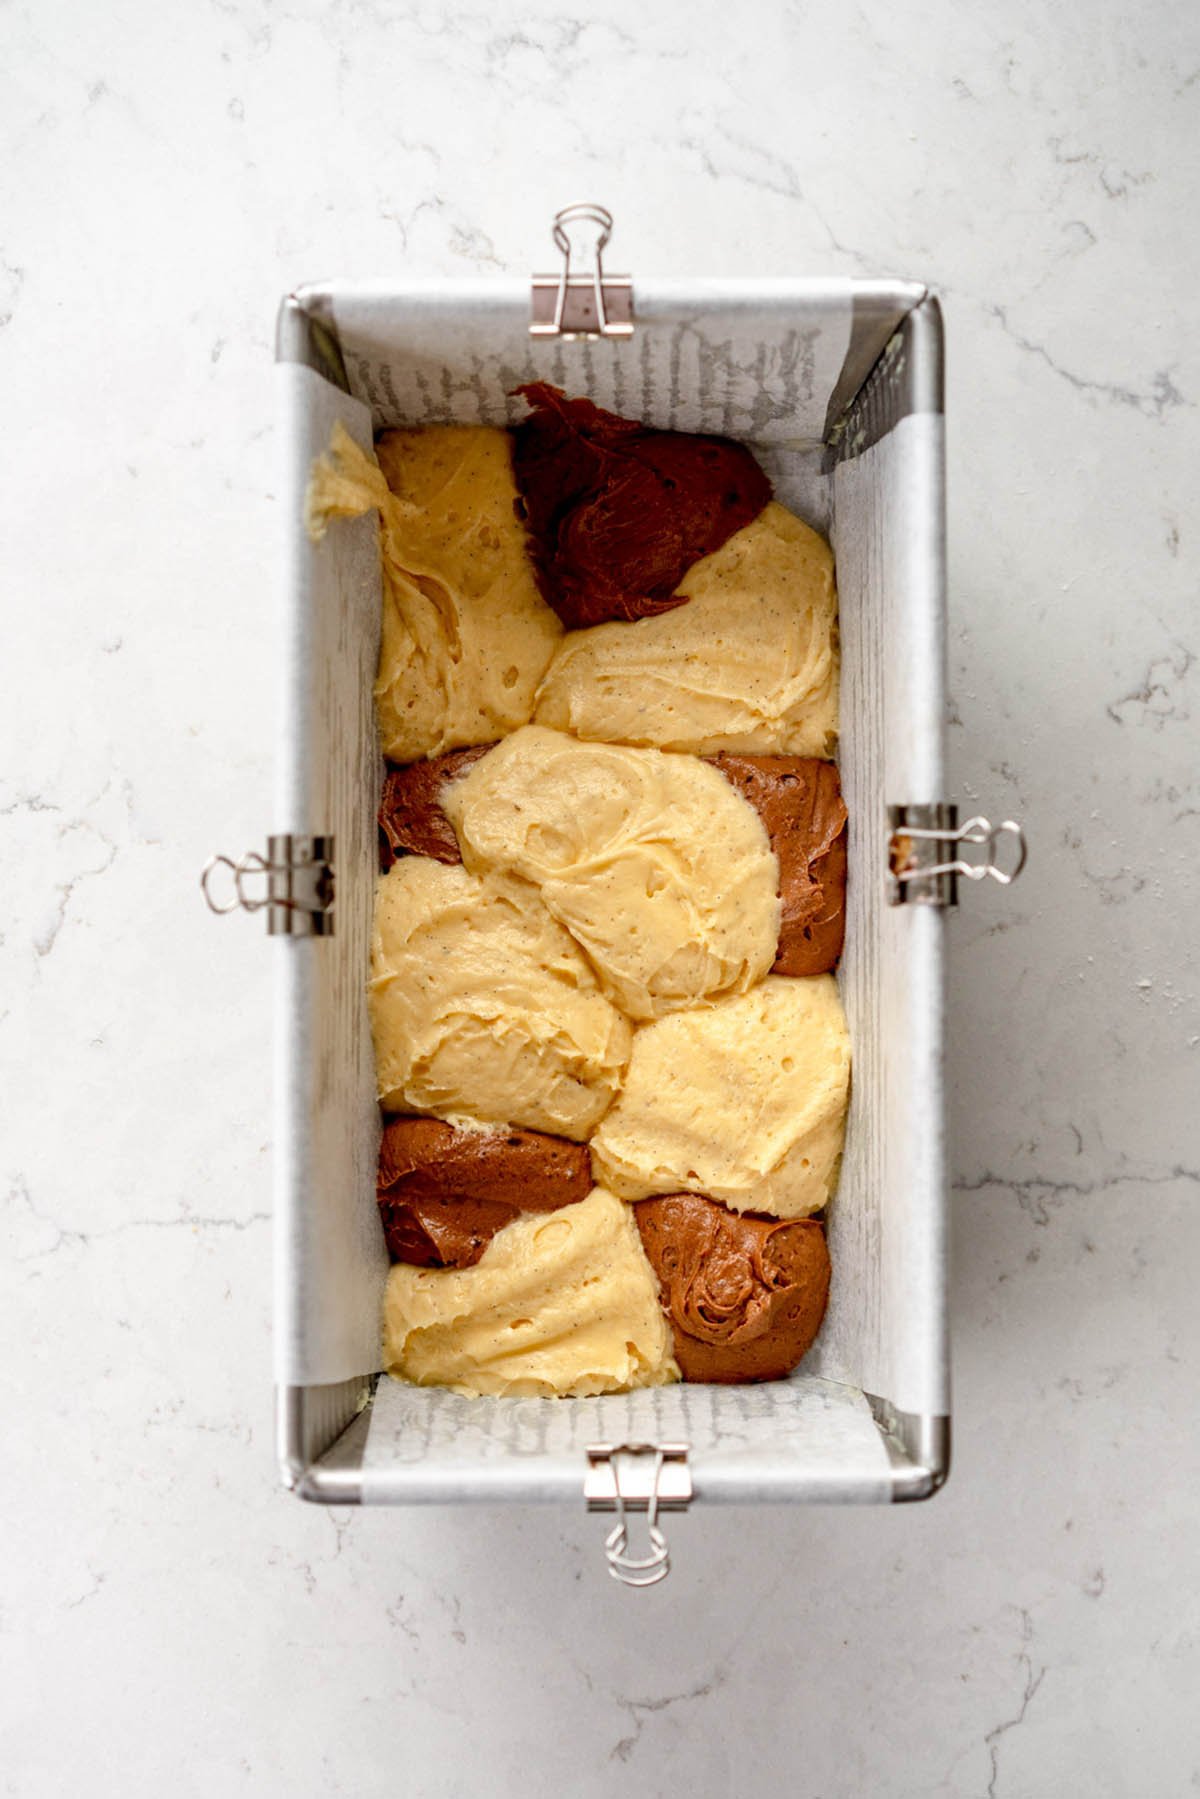
You have to swirl more than you think you do!
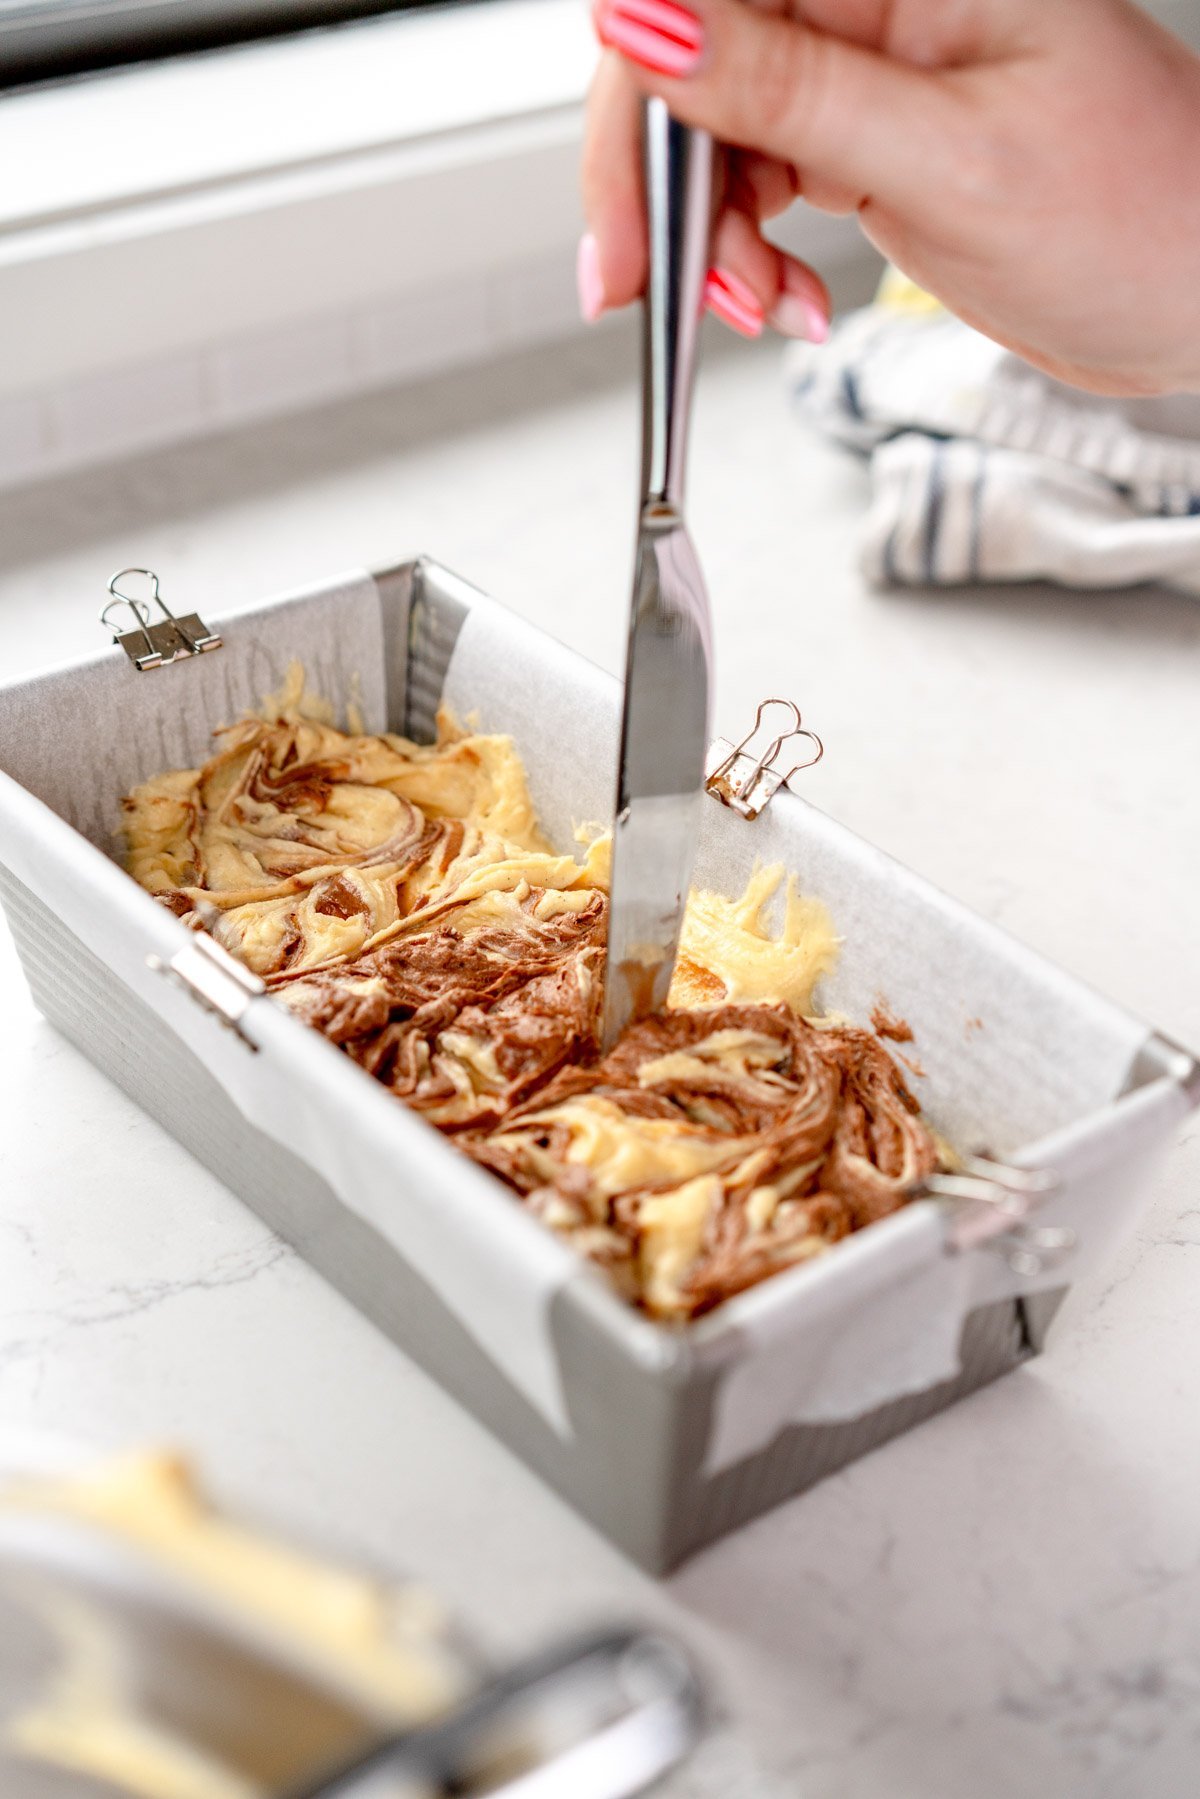
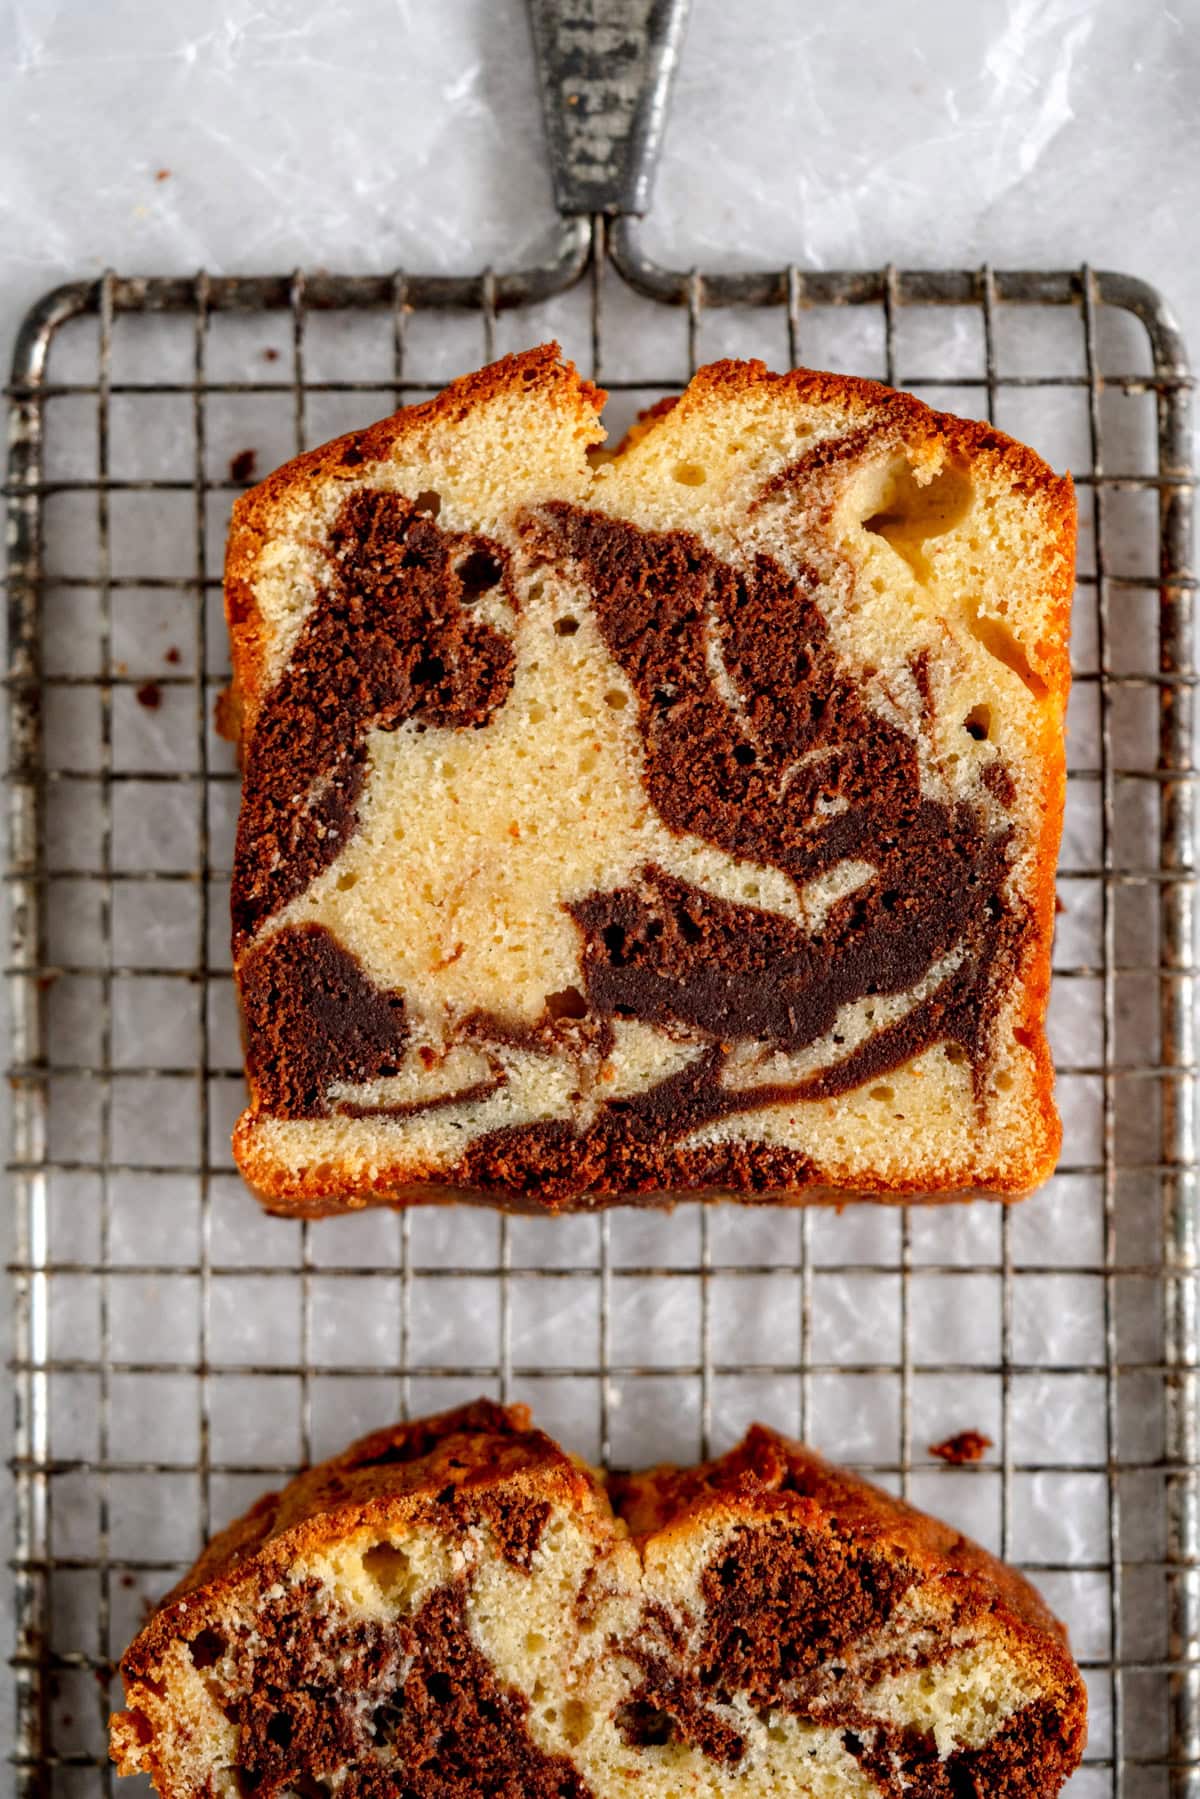
To get a nice pretty swirl within your marble cake, you have to swirl it more than you think you would. I like to use a butter knife as it is wide enough to ensure that you get a nice mix of batters. Swirling between each of the three layers also helps. Make sure to go both up and down and side to side in your swirling!
Please note that because of the swirling method which introduces air into the cake, sometimes there will be some bubbles in the batter and then the baked cake. This isn't a biggie, you can see that there are some in my cake!
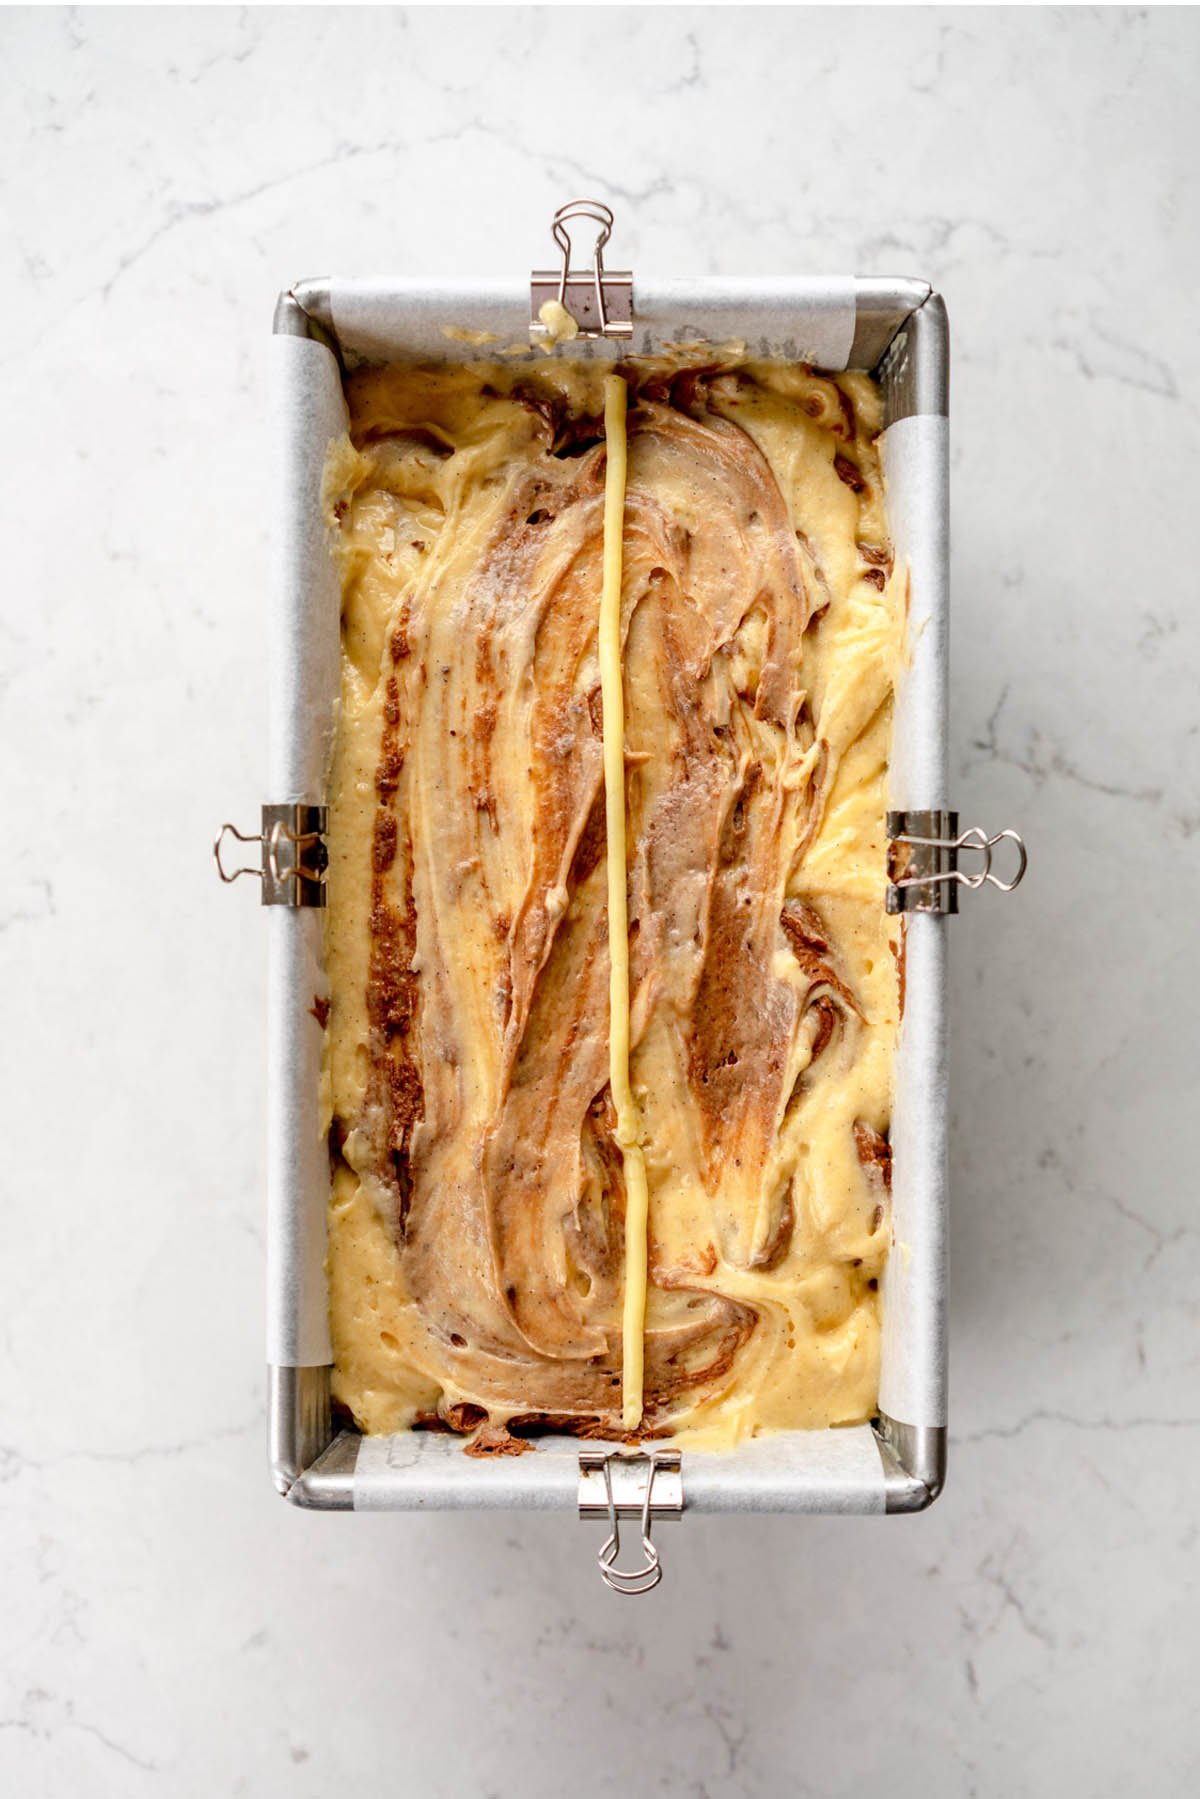
A butter line down the middle
I do this almost every time that I make a pound cake now - I just pipe a little line of softened butter down the middle of the cake, which controls where it cracks in the oven. This is totally optional but I did a side by side comparison in my vanilla pound cake post!
Pullman vs Pound Pan
If you've been here for any amount of time you will know that I love using a Pullman Pan to bake pound cakes in. A pullman pan is slightly larger in size and square in shape and gives the most amazing polite sides on a cake. They are my favourite.
However, I know that most people do not own one, so I developed the recipe to be made in a 1lb loaf pan, with notes below the recipe on how to adapt for a pullman.
I did a full breakdown of a 1lb, 1.25lb and pullman pan along with how the cake looks baked in each in my vanilla pound cake post
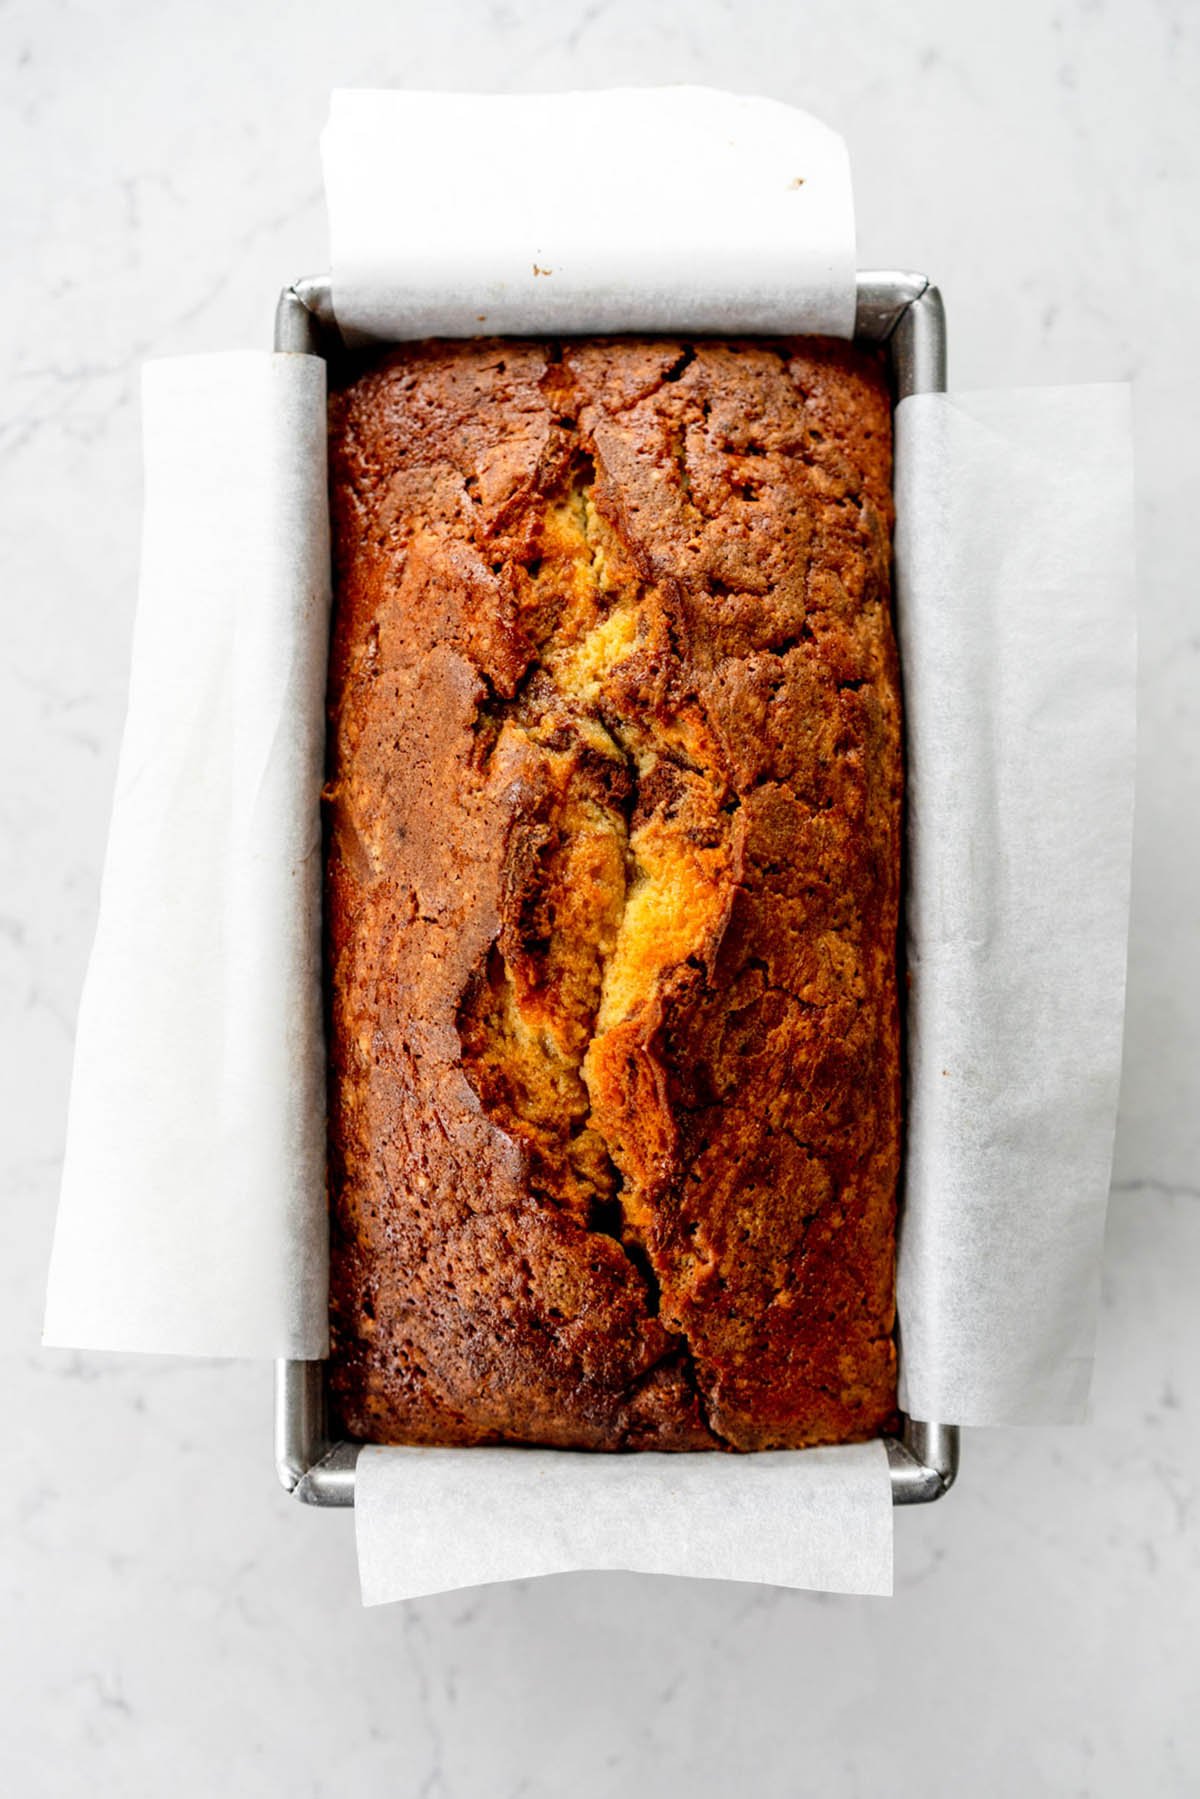
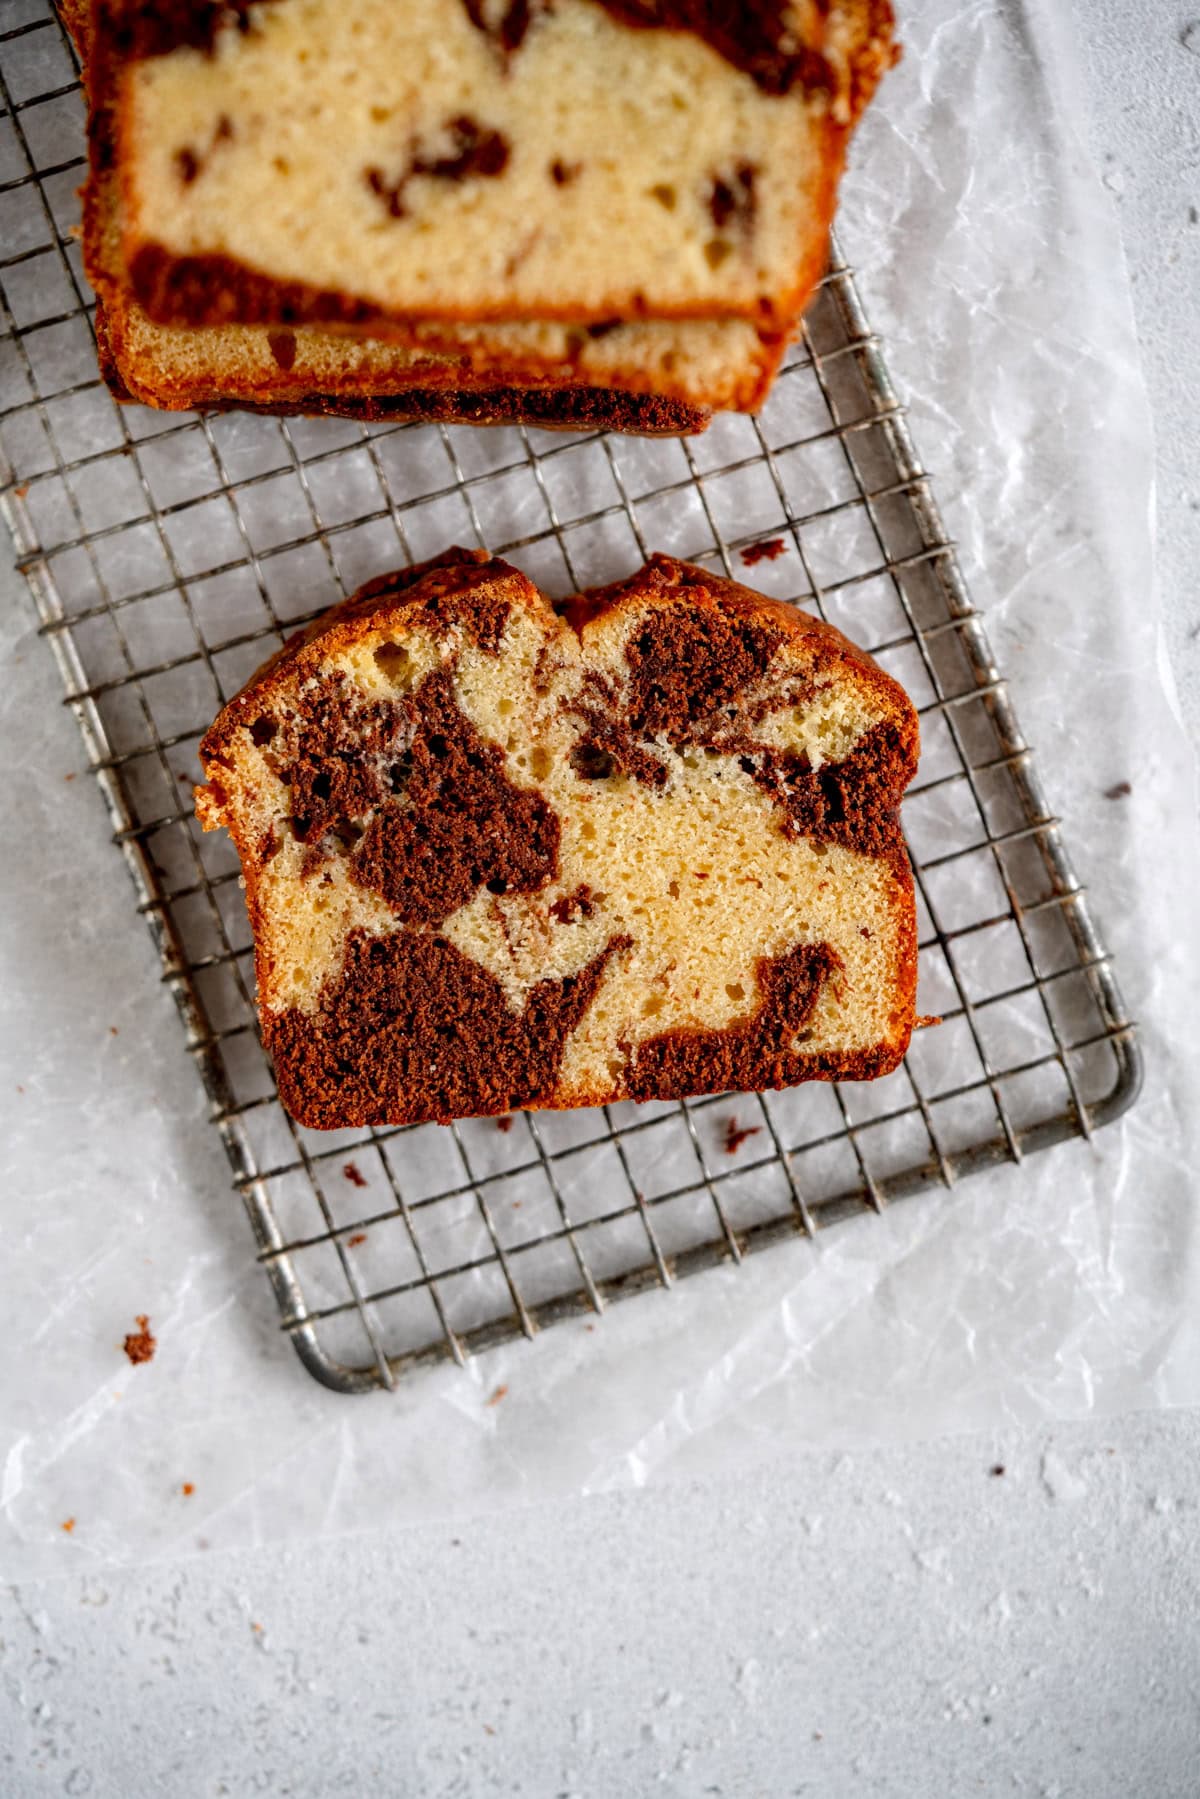
Make sure that it is properly baked!
Because the marble cake batter can be quite heavy, you want to make sure that the cake is properly baked throughout. You can see in the photo below that this wasn't quite done - this is especially important if you are baking in a pullman pan. The cake wasn't quite finished baking, so there is a thin line near the bottom of the slice where the batter isn't quite done.
To avoid this, make sure that you test with a skewer, making sure you get near the bottom of the cake to check the crumb. A few moist crumbs attached is fine, but make sure if there are any signs of the cake being wet on the inside you leave it in for a little longer. If you are worried about it browning too much you can tent the pan with foil.
❤️ Made this recipe and love it? ❤️
I would LOVE for you to leave me a review and star rating below to let me know how you liked it! Also, please make sure to tag me on Instagram!
Answers to your baking questions
Over the years, many of you have asked me questions about:
- baking in grams
- adjusting oven temperatures
- what kind of salt to use
- and many more!
I've curated and answered them all for your easy reference in this frequently asked questions post!
The Marble Cake we are Obsessed with
- Author: Erin Clarkson
-
 Prep Time: 20 minutes
 -
 Cook Time: 1 hour 15 minutes
 -
 Total Time: 2 hours
 -
 Yield: 8 Servings 1x
 -
 Category: Loaf Cake
 -
 Method: Baking
 -
 Cuisine: American
Ingredients
For the Chocolate Portion:
- 55g dark chocolate (I used 72% cocoa), coarsely chopped
- 30g sour cream, at room temperature
For the Vanilla Portion:
- 115g unsalted butter, at room temperature
- 300g caster sugar or granulated sugar
- 1 tbsp vanilla or vanilla bean paste
- 3 large eggs, at room temperature (about 160g, not including the shell)
- 170g sour cream, at room temperature
- 185g all-purpose flour
- ½ tsp kosher salt (use less if you are using table salt or salted butter)
- ¼ tsp baking soda
- Small amount of softened butter for piping down the middle of the cake (optional)
Instructions
PREPARATION:
- Preheat the oven to 330°f / 165°c. Grease and line a 1 lb (8.5" x 4.5" x 2.5" (21.5 x 11.5 x 6.3cm) loaf pan with two pieces of parchment paper so that the entire of the inside of the pan is lined. Leave the edges overhanging to form a sling to allow for easy removal. Clip the edges down with binder clips if needed.
CHOCOLATE PORTION:
- Melt the chocolate in 30 second intervals in the microwave, stirring between each interval if needed. Alternatively melt in a heatproof bowl over a pot of simmering water, making sure that the water does not touch the bowl. Leave the chocolate to cool while you make the rest of the cake, then fold in the 30g measure of sour cream once it has cooled.
VANILLA PORTION:
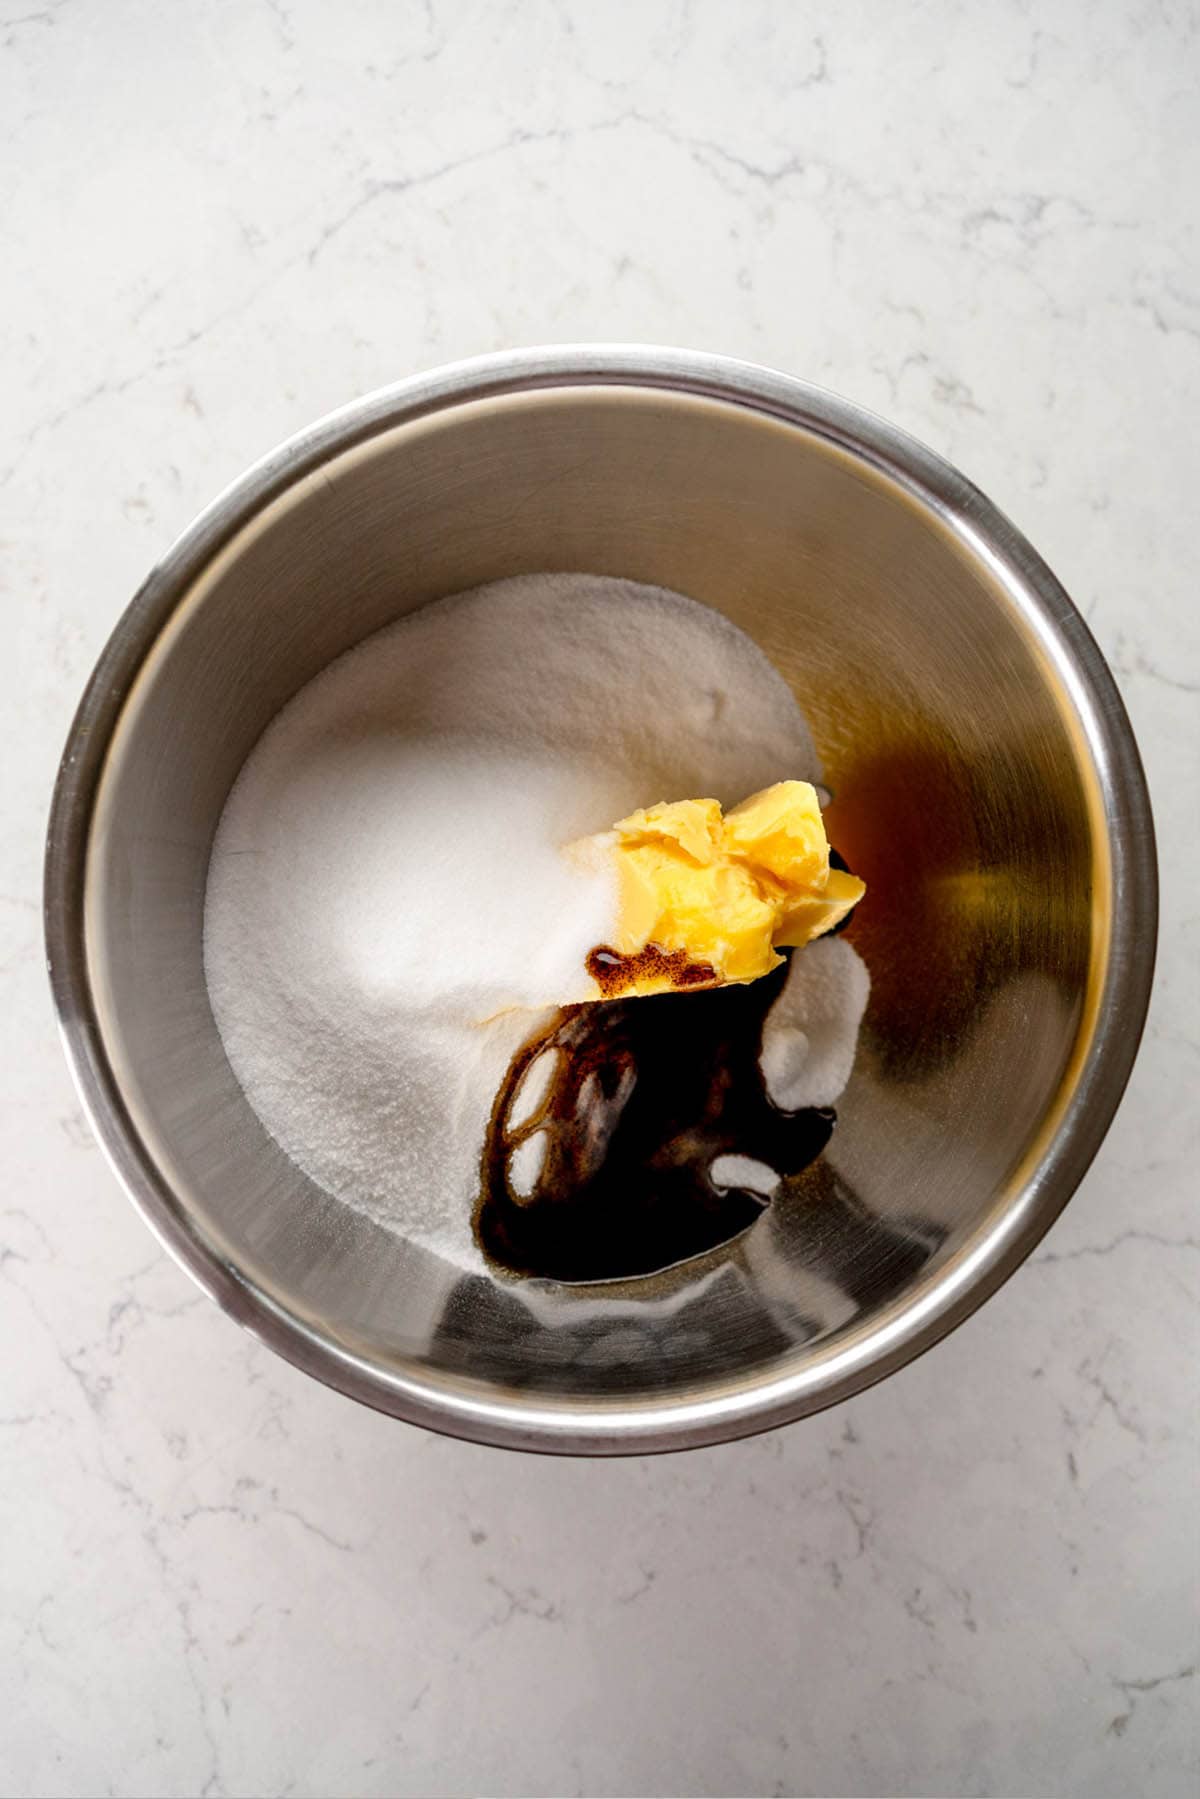
- In the bowl of a stand mixer fitted with the paddle attachment or in a large bowl using an electric mixer, cream together the butter, sugar, and vanilla until light and fluffy, and the mixture has lightened in colour. Scrape down the sides once or twice to ensure that all the mixture is evenly creamed.
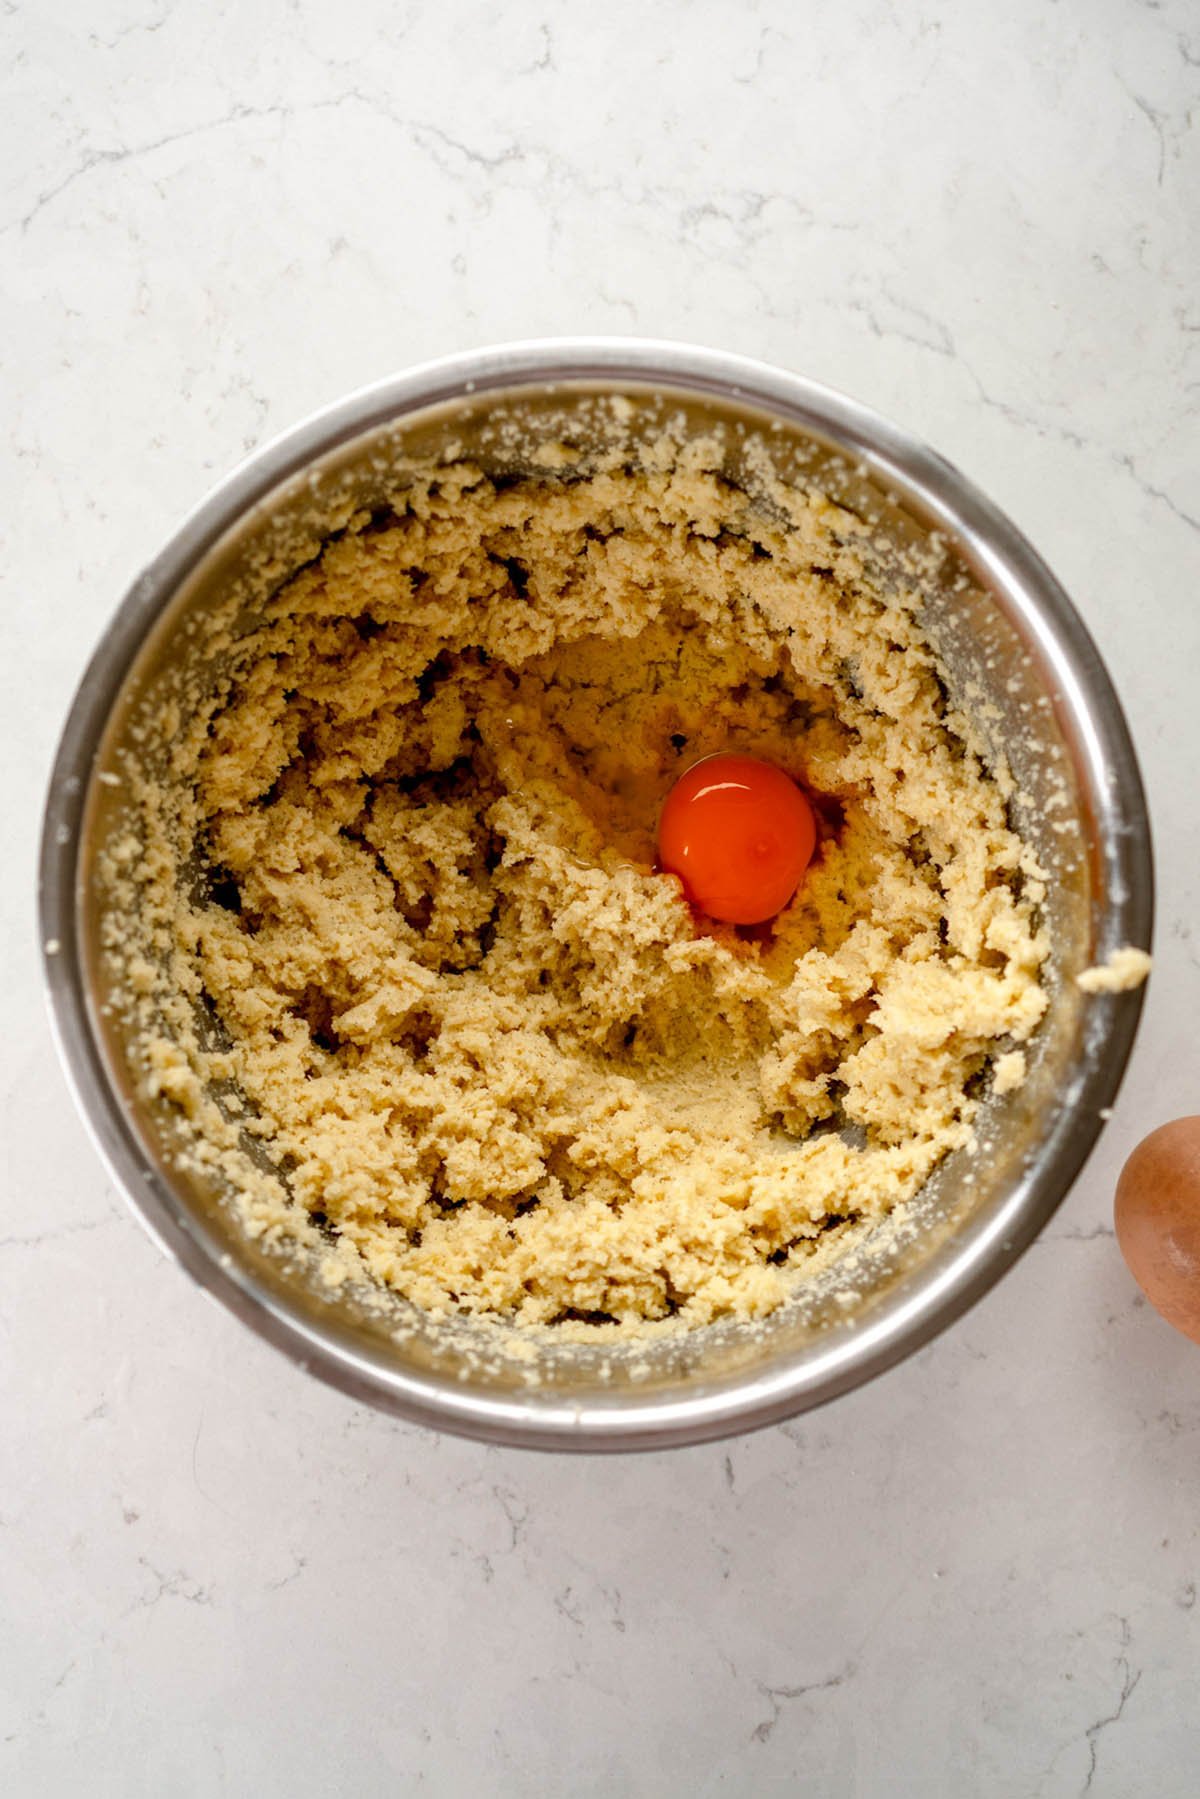
- Add in the eggs one at a time, mixing well after each addition and scraping down the sides as needed.
- Add in the sour cream, and mix to combine. In a medium mixing bowl, combine the flour, salt, and baking soda. Add to the mixture and mix until just incorporated. Scrape the bowl to ensure there are no unmixed pockets of butter at the bottom of the bowl.
ASSEMBLY
- Remove 250g of the vanilla cake batter from the mixing bowl and transfer to a medium bowl. If you haven't already, mix the 30g sour cream measure into the cooled chocolate and mix to combine. Add the cooled chocolate and sour cream mixture and mix until combined and homogenous - I use the electric hand mixer for this.
- Using a 1 tbsp scoop for the chocolate batter and a 2 tbsp scoop for the vanilla, or just eyeballing it, blob the chocolate and vanilla batter into the pan. There is less chocolate batter than vanilla so make sure that the chocolate blobs are smaller than the vanilla. I like to do it in three layers - the first layer to almost cover the bottom of the pan, then bang the pan on the counter to remove any bubbles and give the batter a swirl using a butter knife. Then, repeat the blobbing process with more chocolate and vanilla batter. Again, bang the pan on the surface to remove any big bubbles and swirl the batter. Do this one more time with the remaining batter.
- Swirl the mixture well using a butter knife, going horizontally and vertically across the pan. Swirl as much or as little as you like. Give the pan one final bang on the counter to make sure there are not any bubbles.
- If using, pipe a small line of butter down the middle of the batter to help give an even split in the cake.
- Bake the marble cake for 1 hour 15 minutes, checking after about an hour. The outside should be a deep golden brown and a skewer inserted into the cake should come out clean or with a few moist crumbs attached.
- Leave the cake to cool in the pan for 15-20 minutes then use the parchment paper as a sling to remove from the pan and transfer to to a wire rack to cool completely.
- Store the cake in an airtight container at room temperature for up to a week.
Notes
Because of the nature of the swirling, sometimes you end up with some bubbles in the cake. This is fine - make sure you bang the pan a bunch of times on the counter to help remove as many as possible.
To make a pullman pan version (9" x 4" x 4" / 23 x 10.1 x 10.1 cm)
For the chocolate portion: 70g chocolate, 40g sour cream
For the vanilla portion:
155g butter
400g sugar
4 eggs
225g sour cream
245g flour
¼ tsp baking soda
1.5tsp kosher salt
1 tbsp vanilla
Follow the recipe as written, but remove 335g of the vanilla portion and add the chocolate mixture to it. Bake the cake for about 1 hour 30 minutes, making sure that you check it is fully cooked - because it is quite tall it can take a while to bake.
The post The Marble Cake we are Obsessed with appeared first on Cloudy Kitchen.


