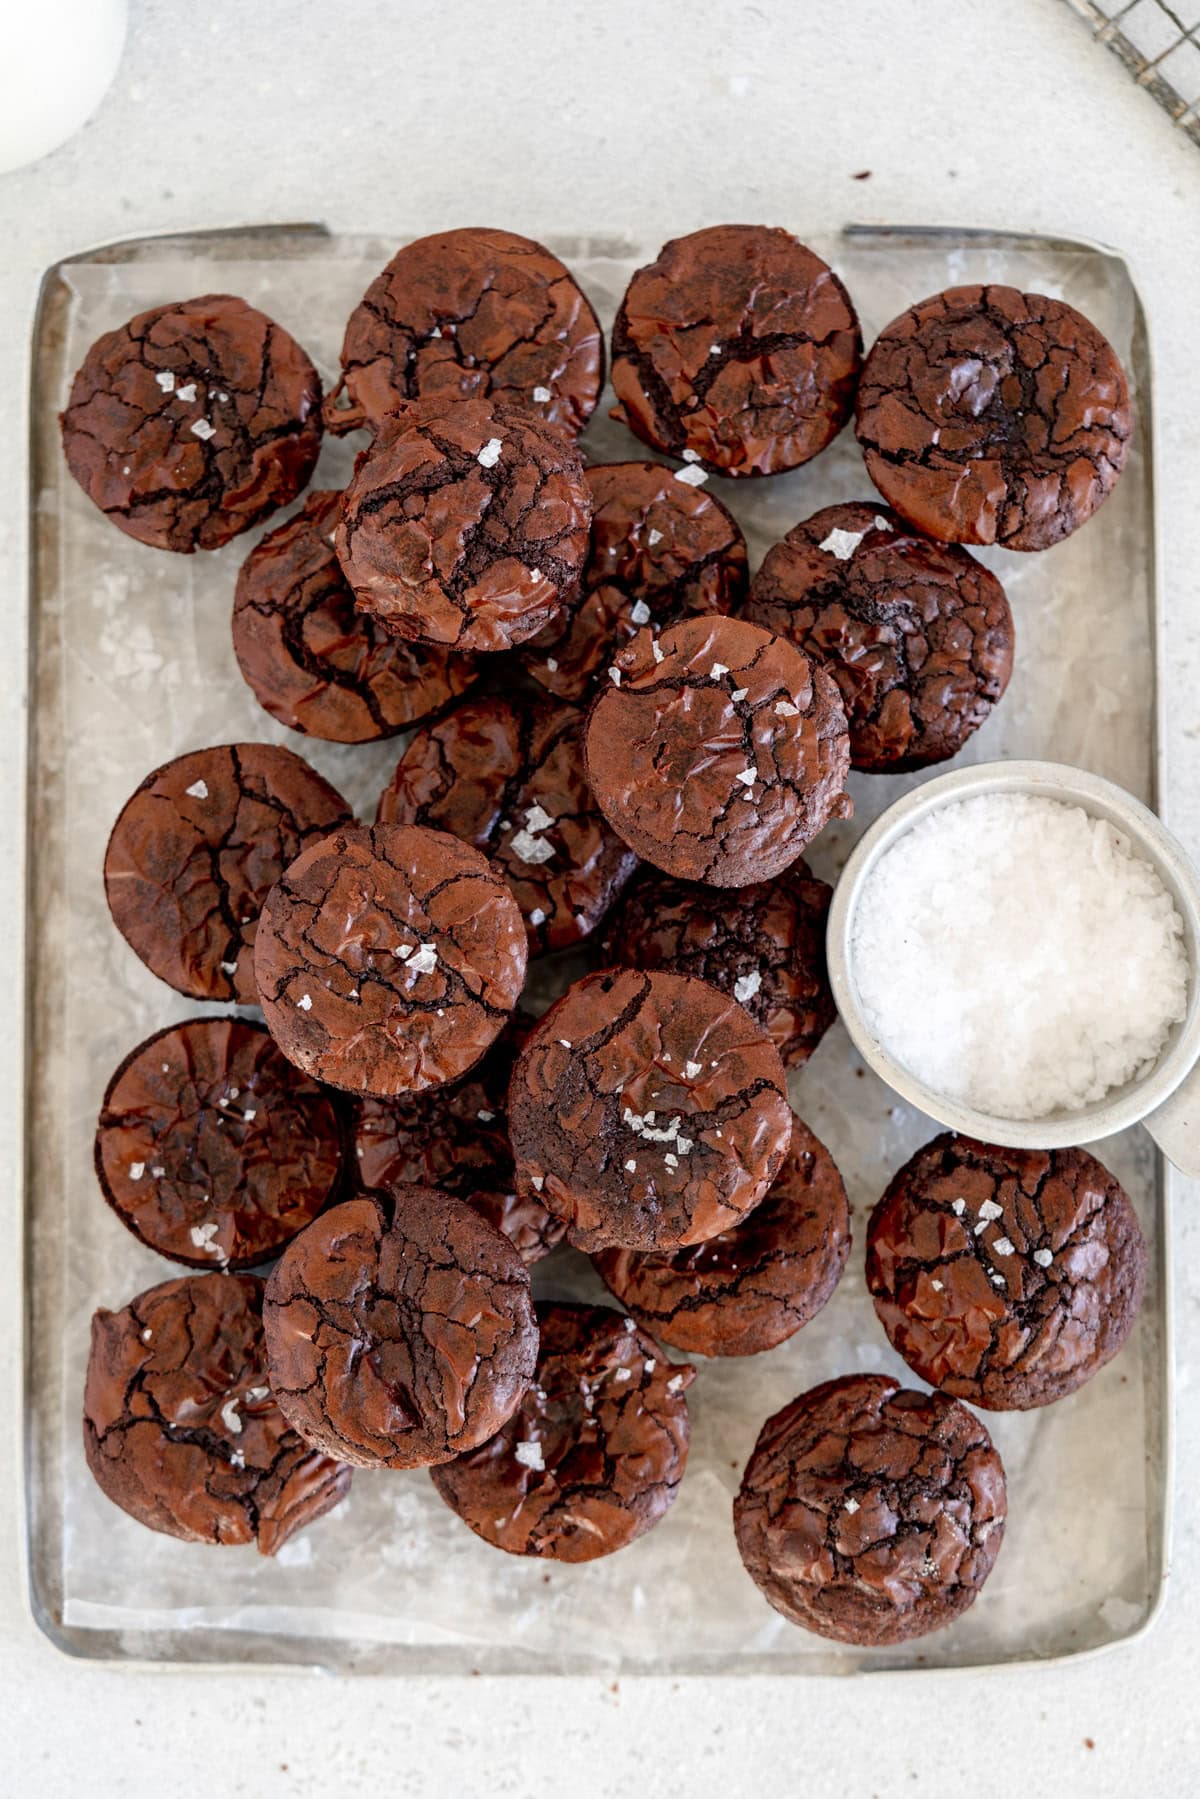
These easy Mini Brownie Bites are quick to make and come together all in one pot! They are fudgy and perfect if you are an edge brownie person - they have a gooey fudgy inside and a chewy outer. I tested this recipe over 20 times to get them just right. Read my post to learn all about how to make these bite-sized brownies!
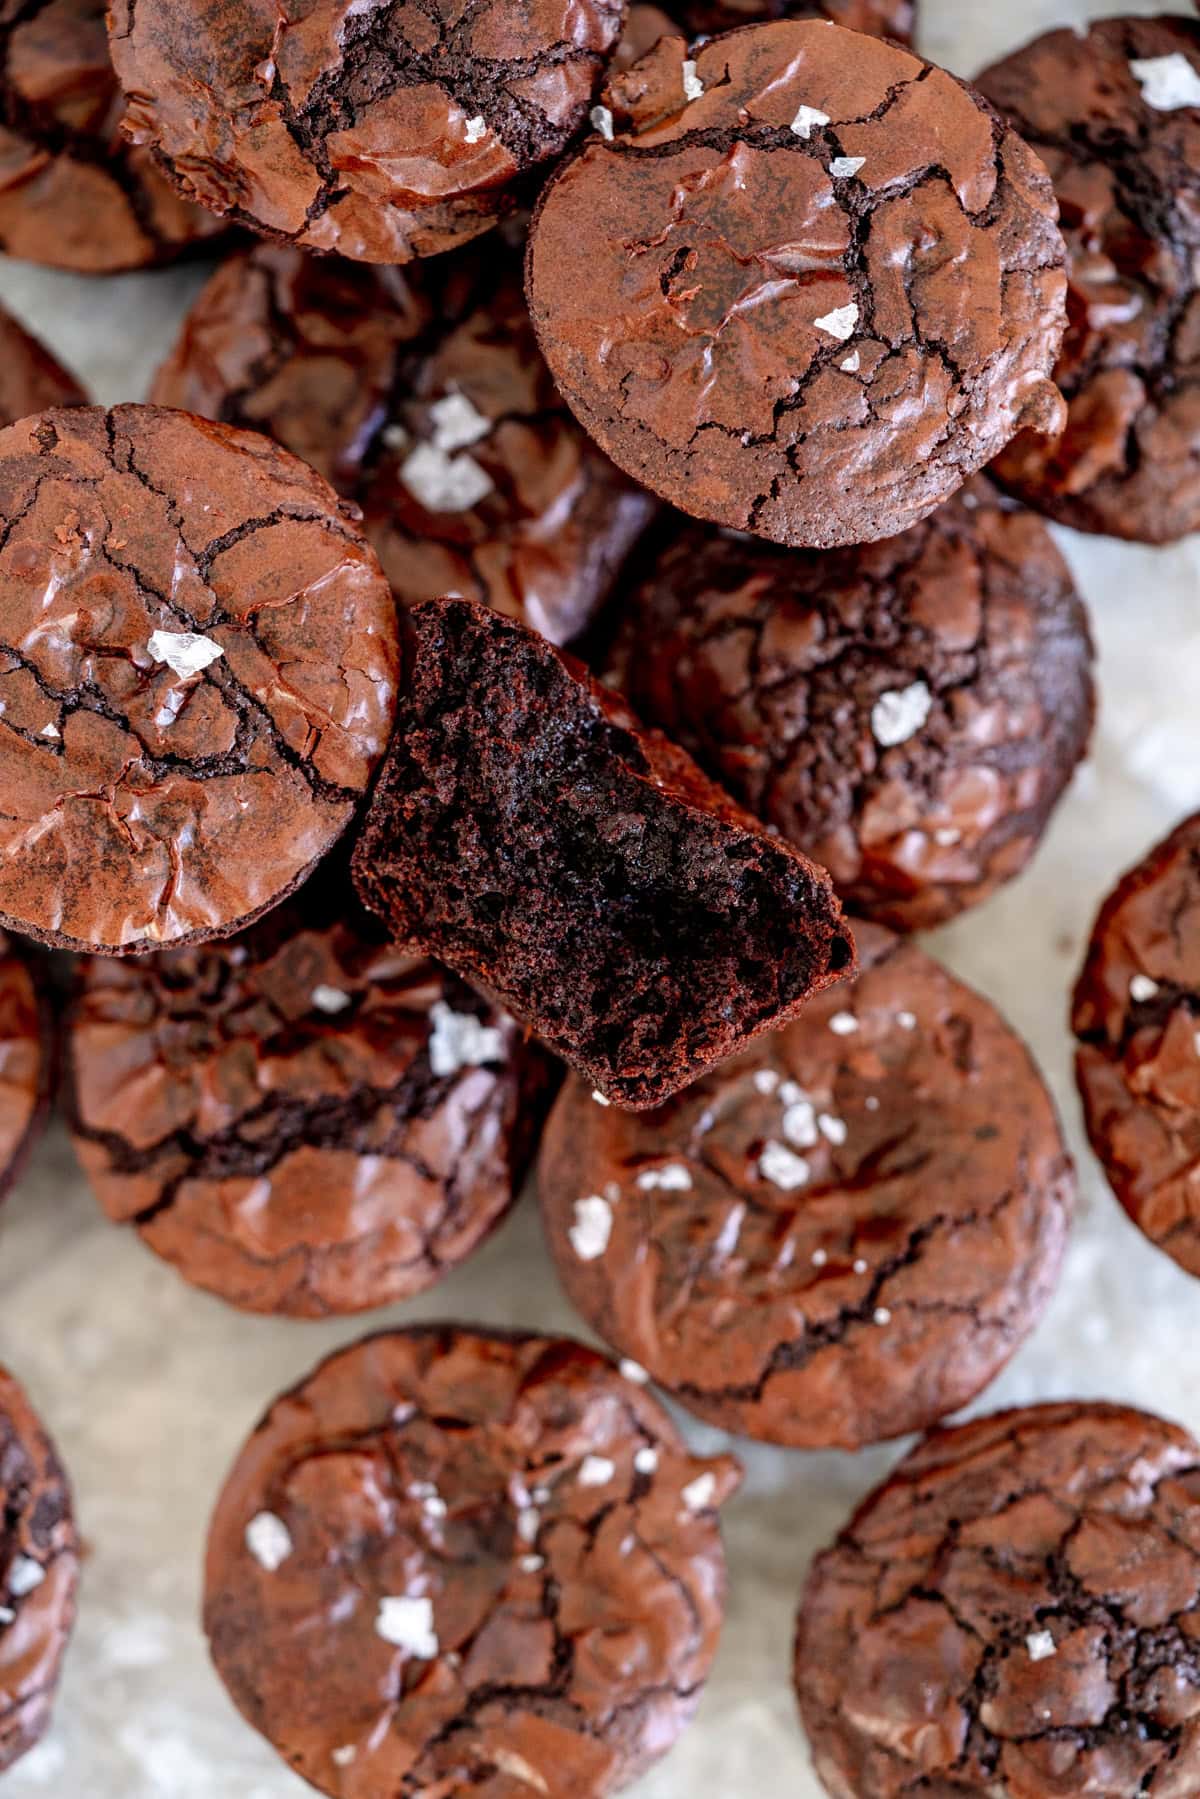
Hi hi! I am just popping in to share this mini brownie bite recipe! I worked on these a ton a few years ago then fully forgot about them, and have recently jumped back into the recipe testing process and realised just how good they are.
If you are an edge brownie person, these are for you. There's a double dose of chocolate, a fudgy middle, and a super chewy exterior. The recipe comes together in about 10 minutes on the stove in a saucepan. Melting down the butter and sugars together at the start of the recipe means you get that super fudgy brownie with a perfect crinkly top, with no fancy equipment required. I tested this recipe over and over and over again to get it perfect for you - I know you are going to love these as much as I do.
The Recipe Testing Process for Brownie Bites
Every now and then a recipe sends me down a massive rabbit hole and this recipe was one of them - I think I have made them at least 20 times to get them to this point. There are more variables than you think when it comes to a brownie bite recipe.
You want the texture to be good with a fudgy middle, and you want them so that they can release from the pan but still be nice and dense and moist. I started with my classic fudgy homemade brownie recipe, and quickly realised that the formulation of the recipe needed to be completely different. Here are a few things that I found:
- The recipe needed to be a cocoa based brownie. My classic fudgy brownie recipe which relies mainly on chocolate and butter for the fudgy finish needed to be switched up, as my regular recipe was too gooey. A cocoa based brownie is much chewier and far easier to get out of the pan.
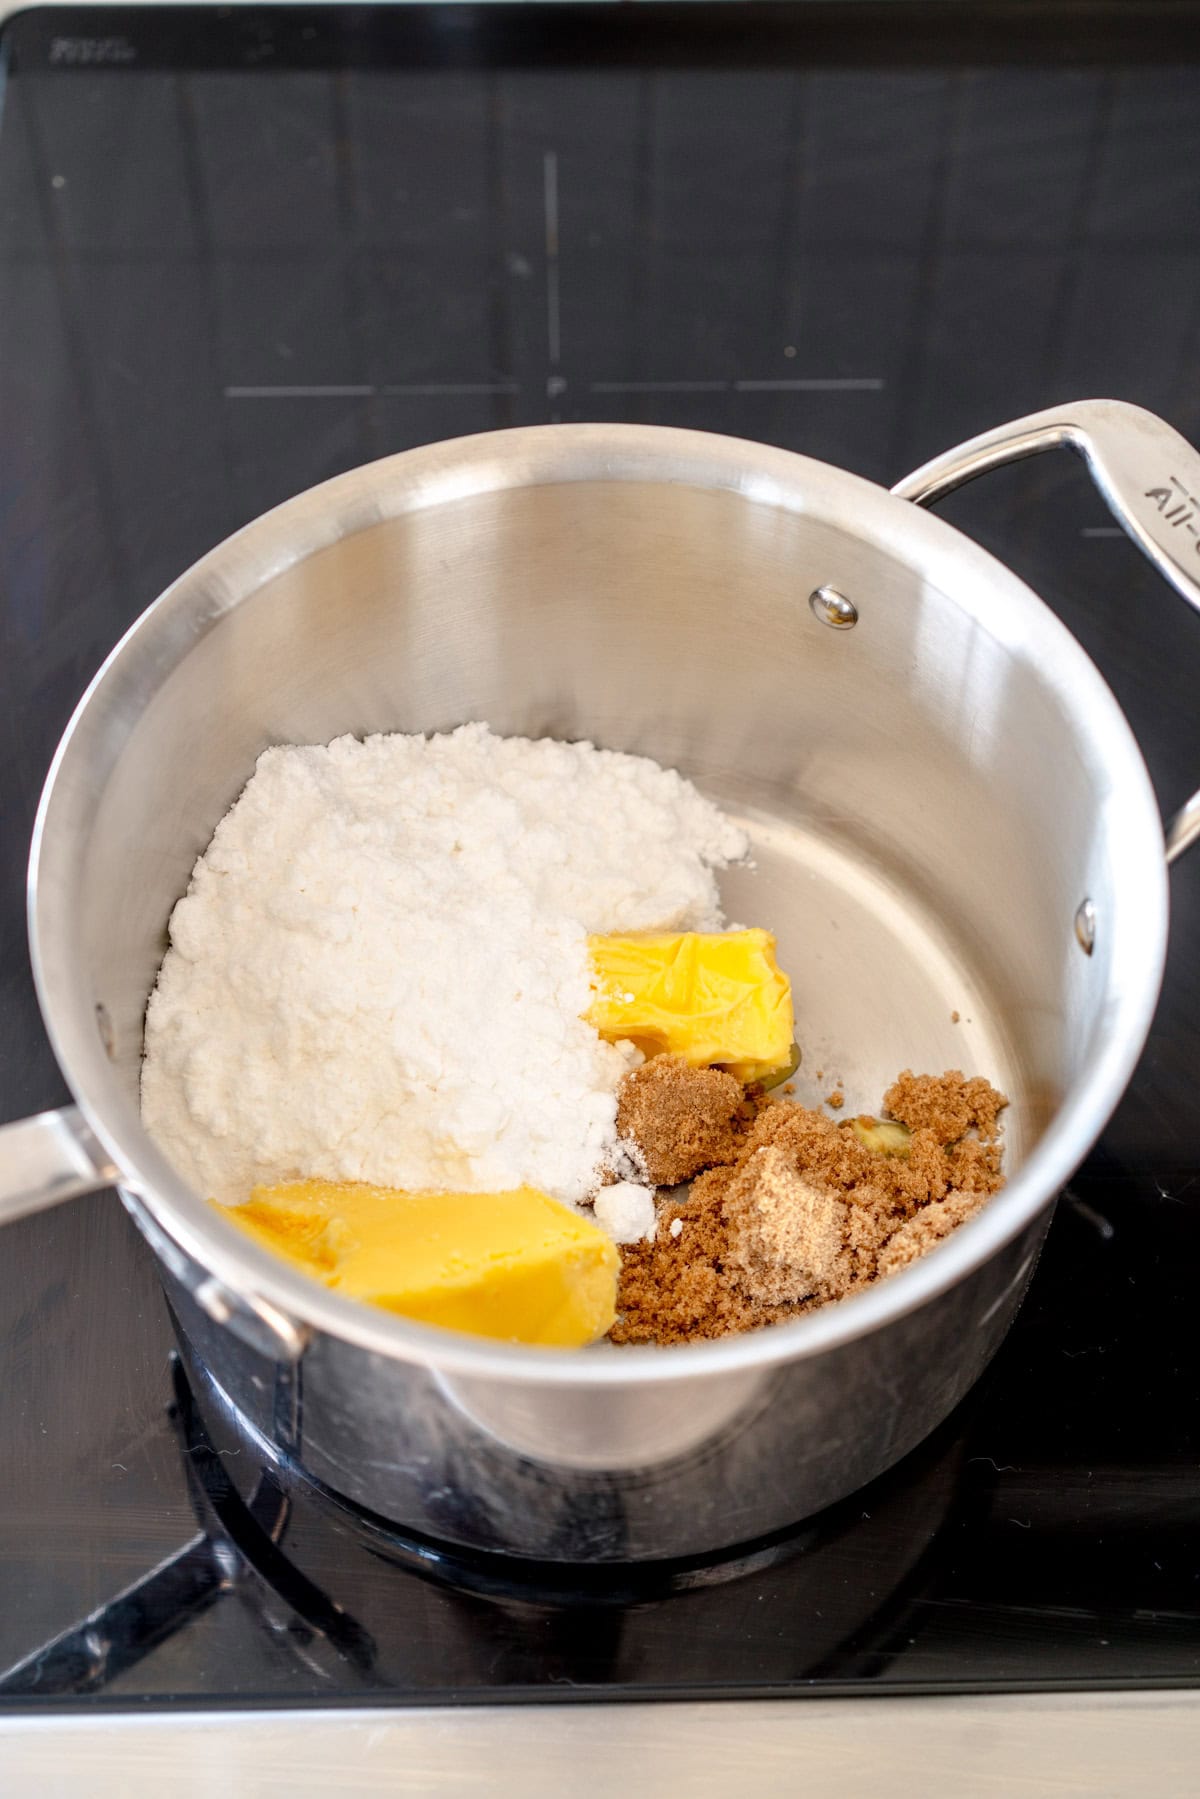
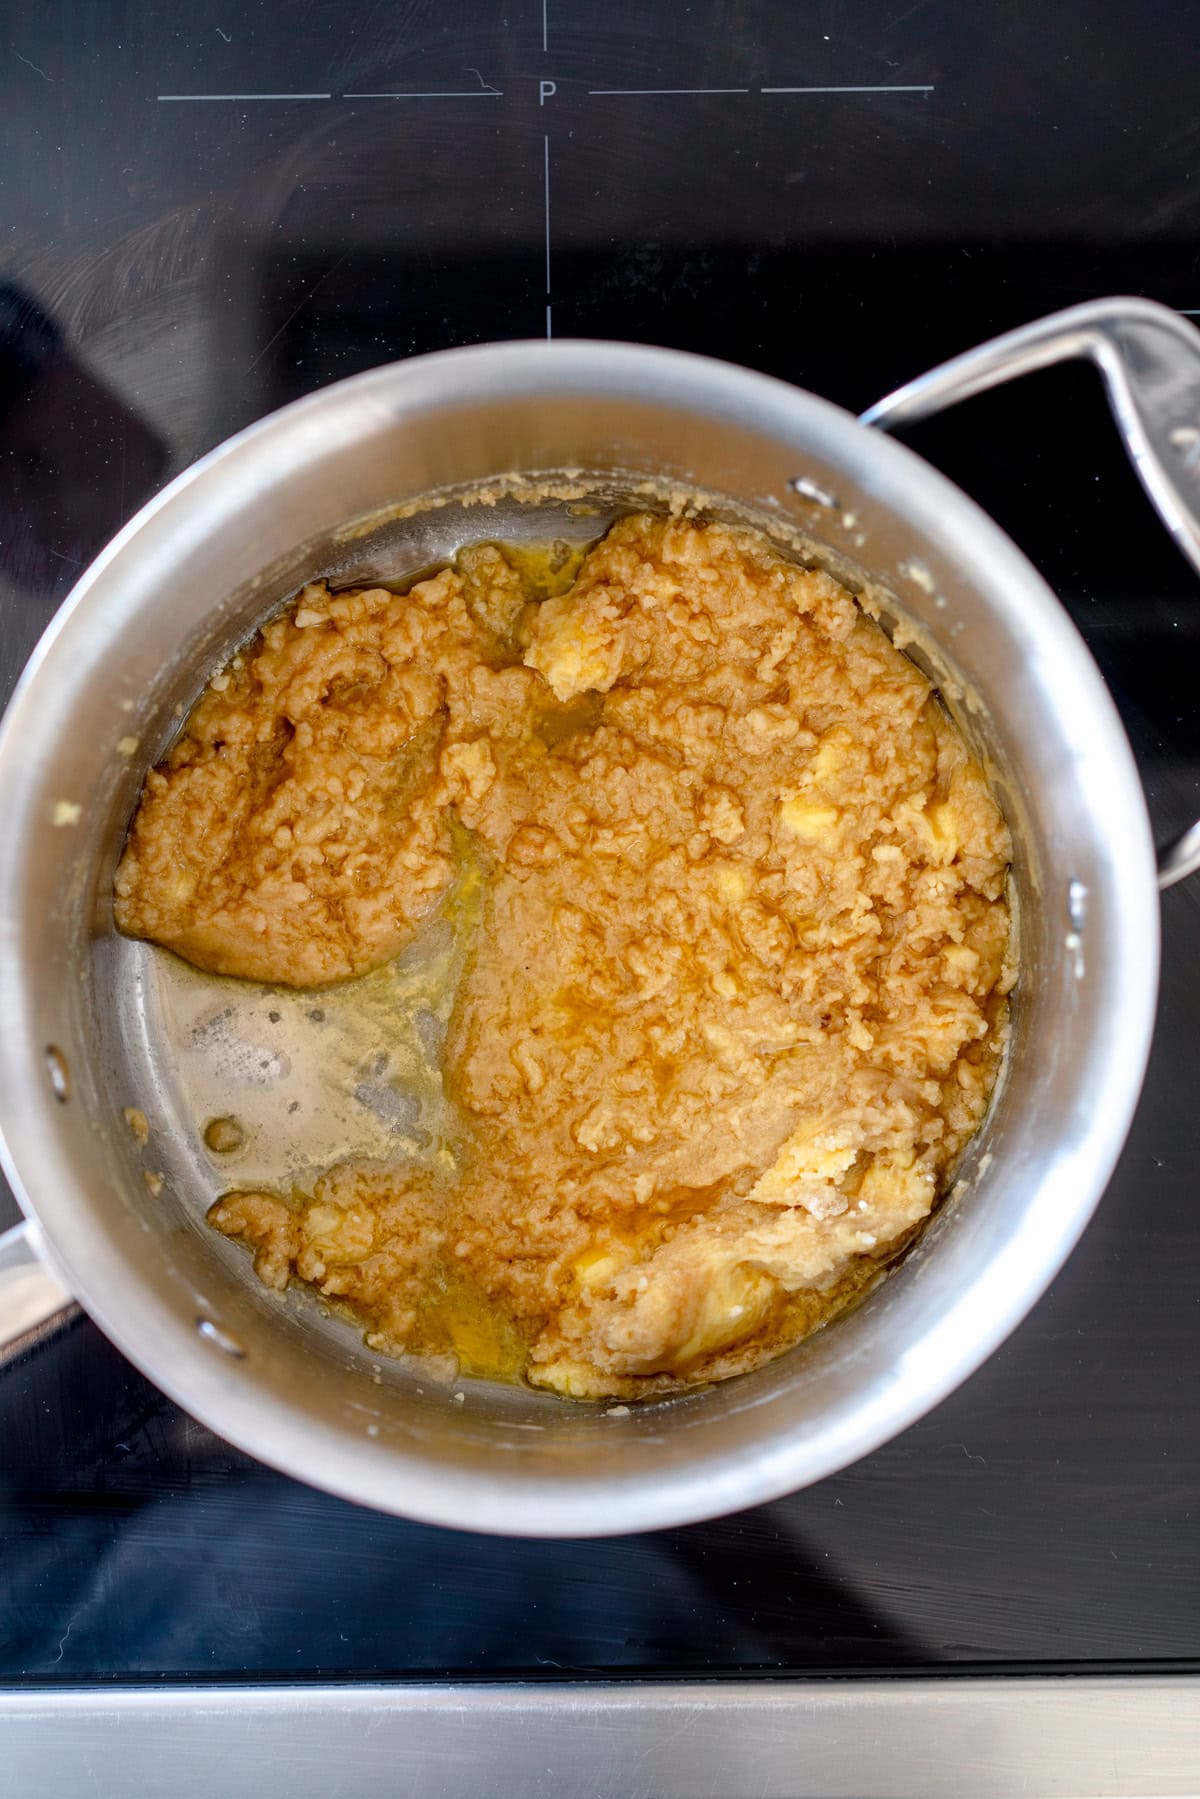
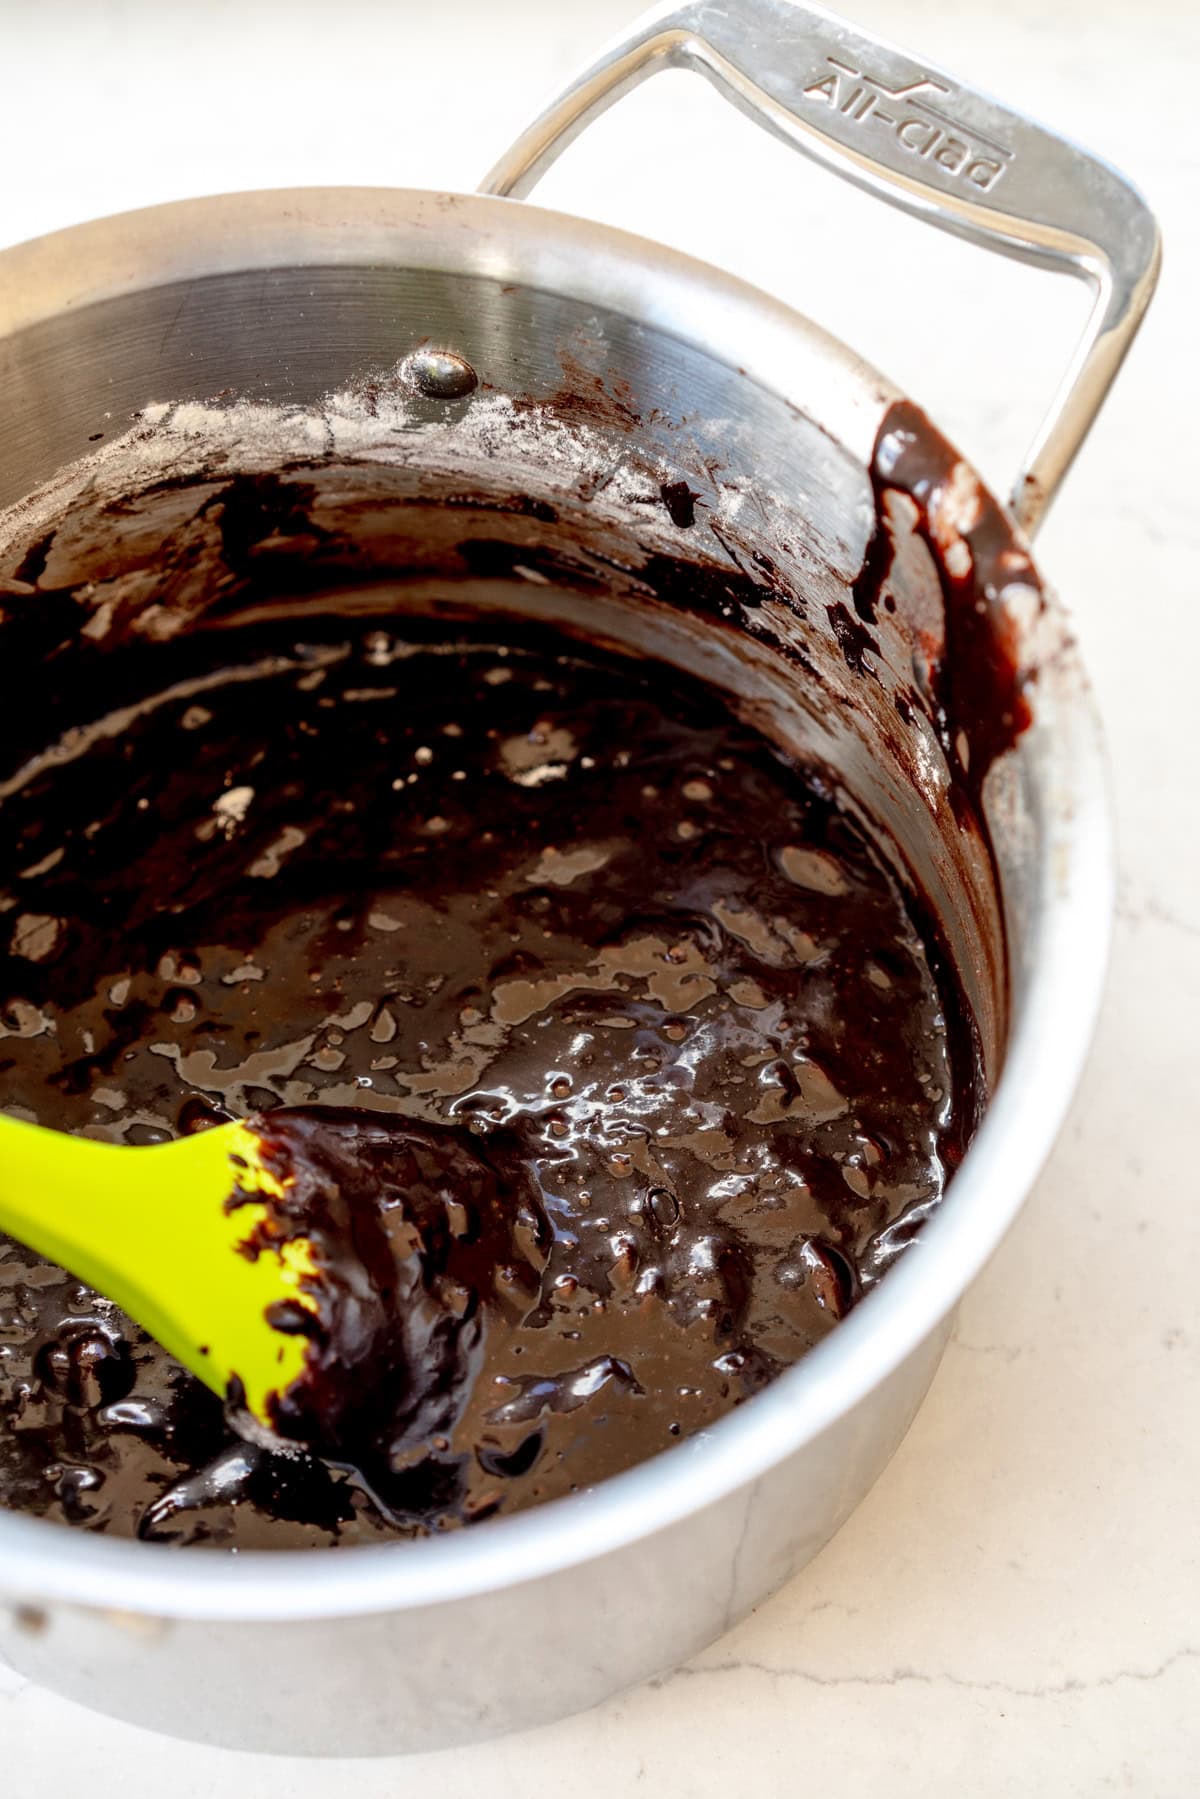
- Making it in a saucepan makes things easy. Melting together the butter and sugars means that you get some warmth to bloom the cocoa to bring out the chocolate flavour, but also means that you can make the whole recipe right in the pot.
- Melt things together for a crinkly finish. I started with using granulated sugar for the recipe, but found it wasn't getting as crinkly as I would like it because it didn't have the whipping step of a regular brownie recipe. Using powdered sugar means that the sugar dissolves quickly, and you only need to briefly whisk in the eggs.
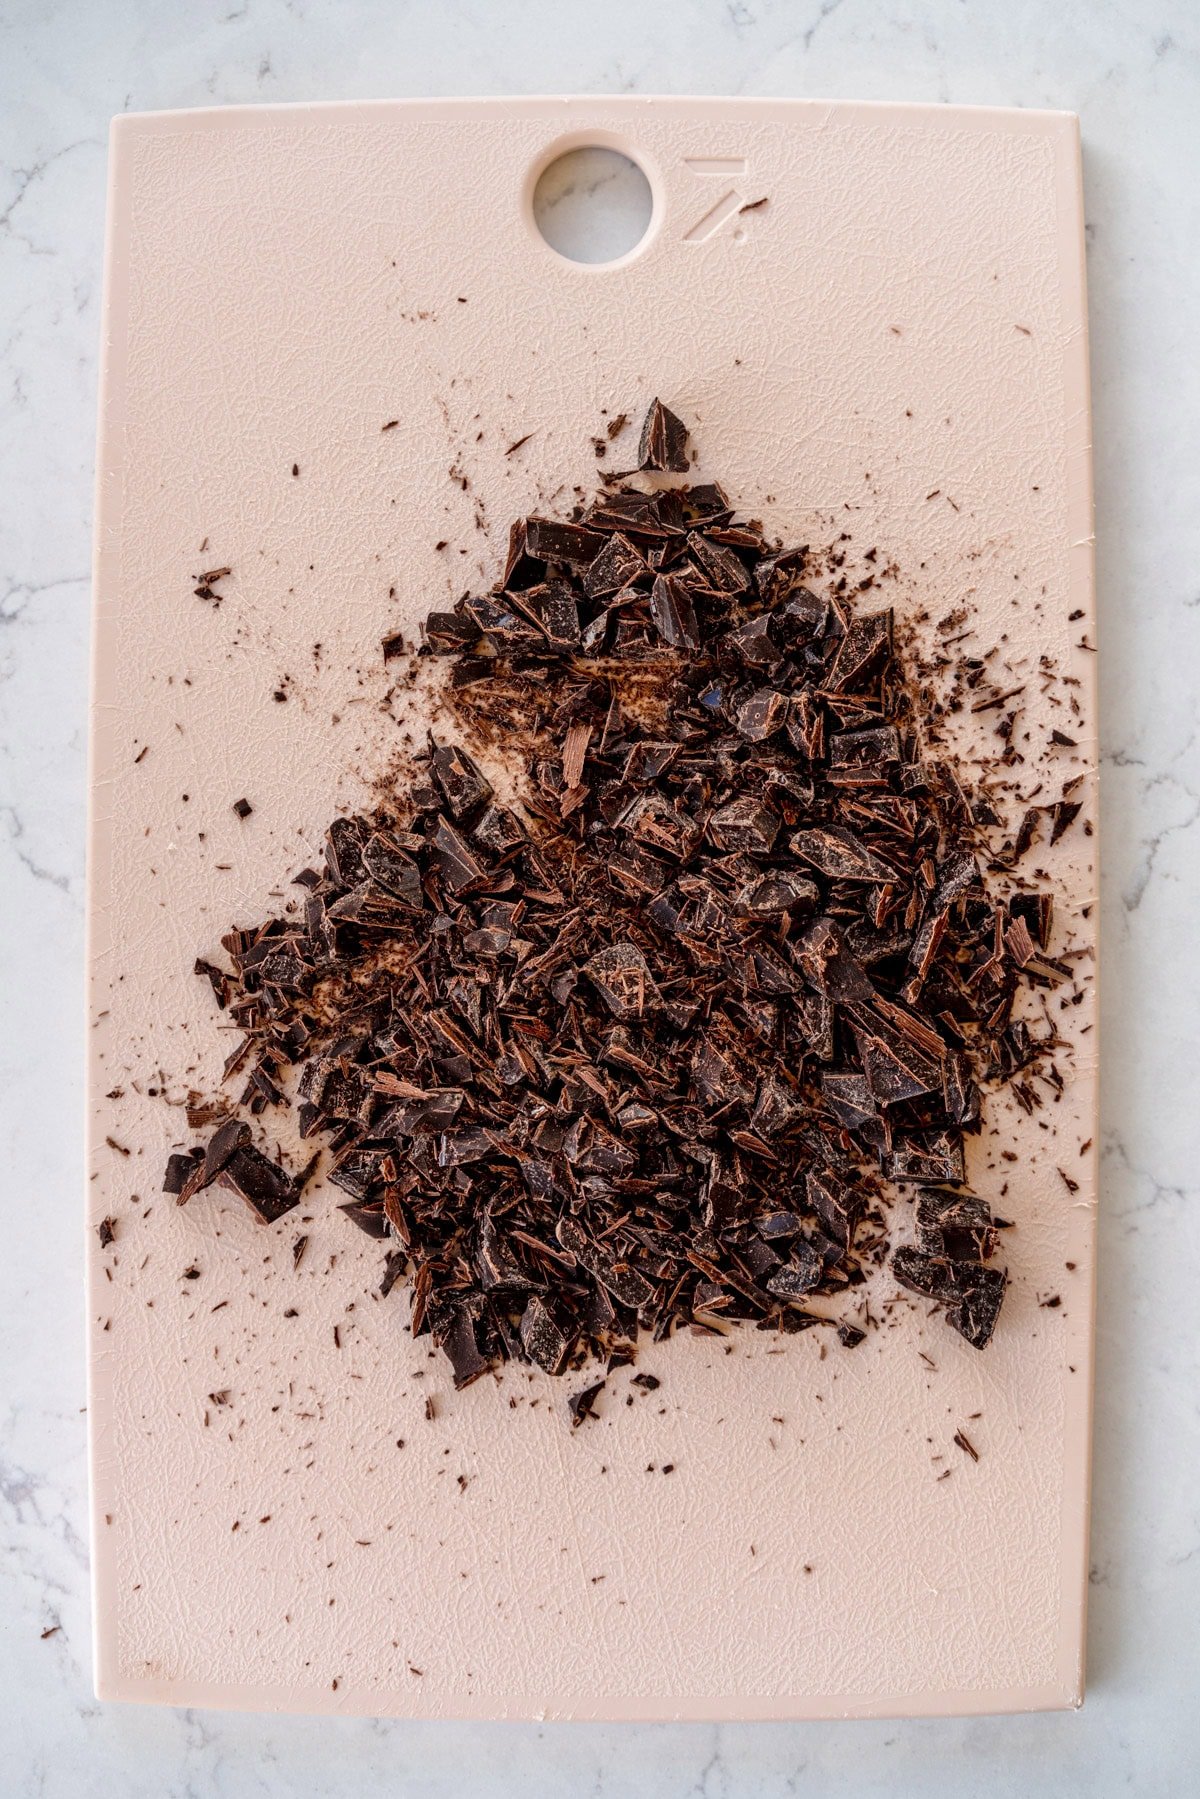
- Chocolate for texture. I felt like the recipe needed a little something and missed the richness from chocolate. I used chopped chocolate which melts a little in the oven, giving a perfectly gooey brownie bite.
How to get your brownie bites cleanly from the pan.
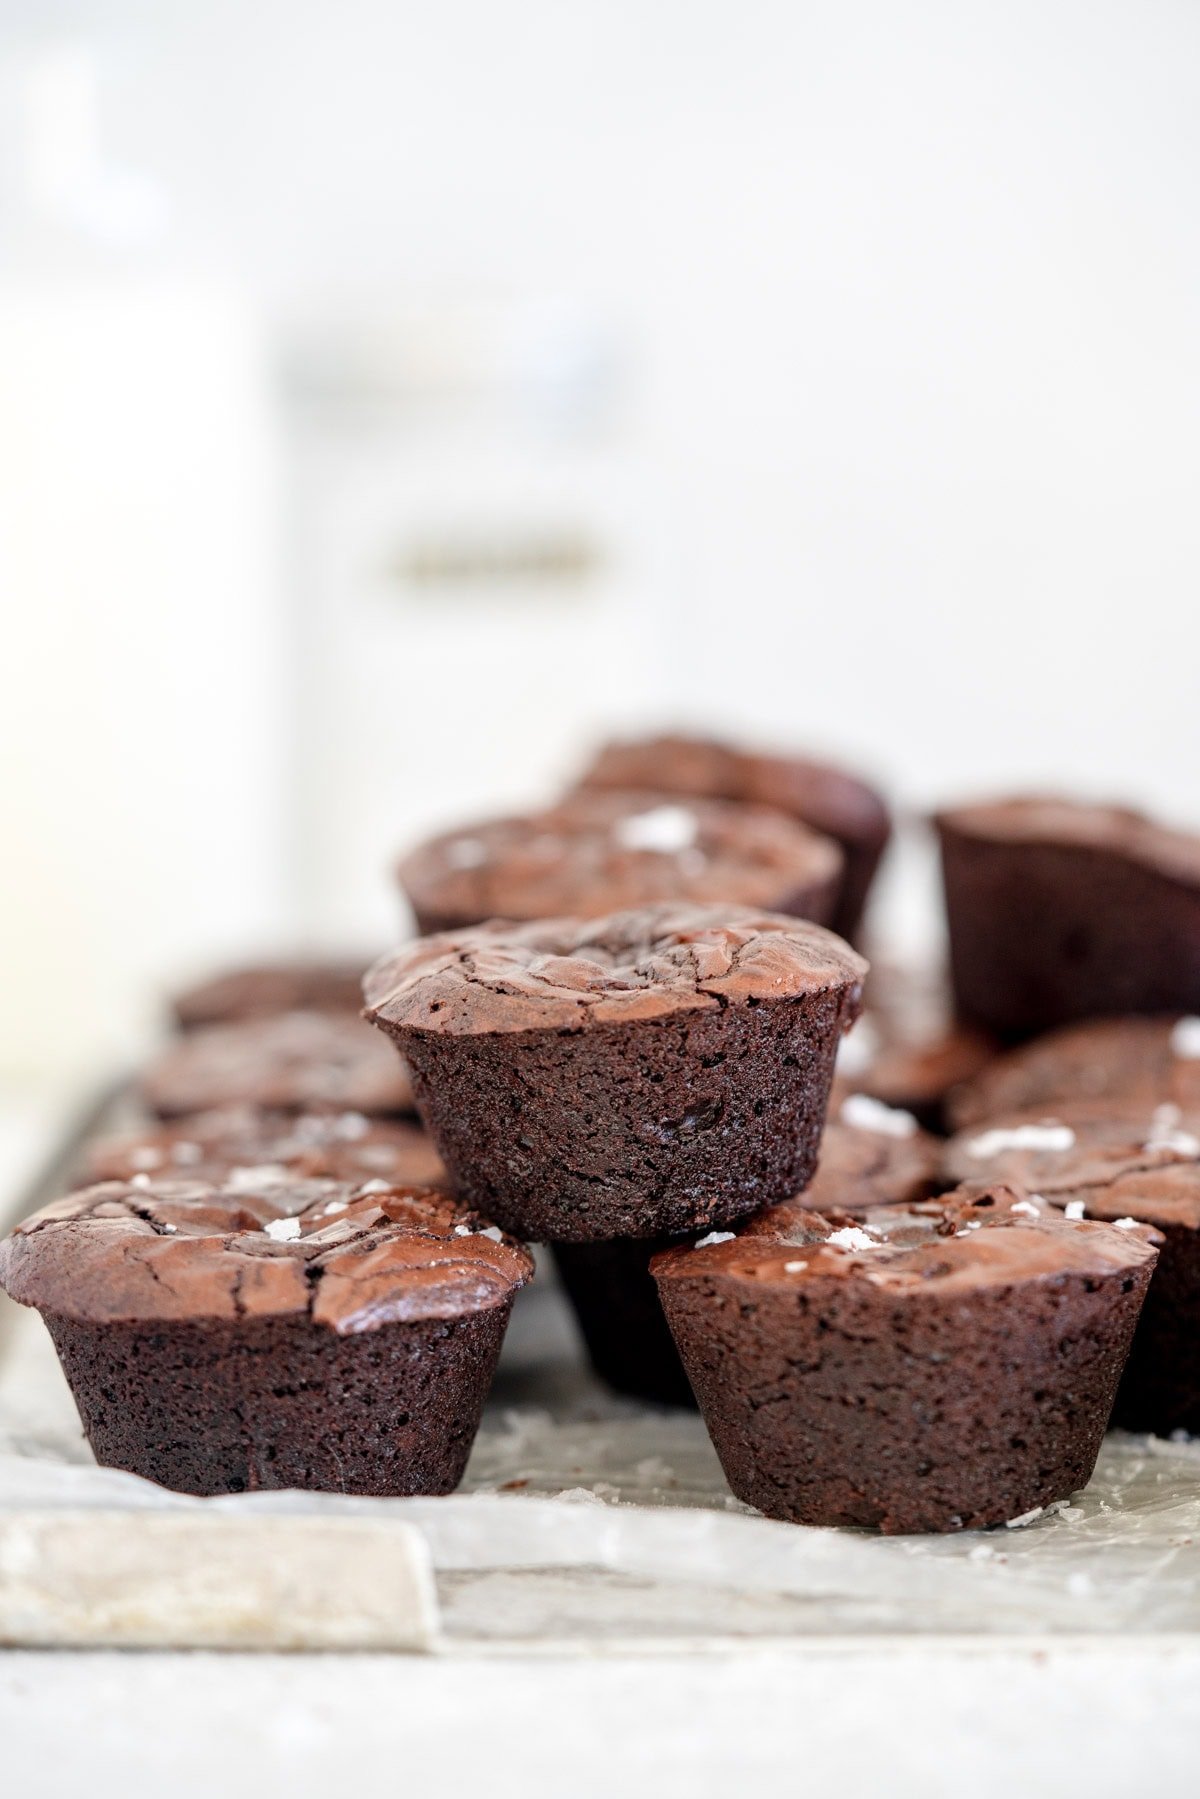
I tested this a lot. These brownie bites are made in a mini muffin pan - the one that I prefer is from USA pan. Please note that not all muffin pans are made the same. Here is what I found works best:
- Baking spray works better than butter. I tested both as a release method - baking spray works far better than butter when it comes to cleanly lifting out the brownie bites.
- Wait 10-15 minutes to remove the brownie bites. I tested this all the ways too - waiting 10-15 minutes to let the brownie bites set before removing them seems to be a sweet spot.
- Add a seatbelt if you like. Adding a small piece of parchment in the bottom of each muffin cup helped a ton when it came to removing the brownie bites. This step only takes a few minutes, but means that when it comes to removing them you can just lift out the brownies.
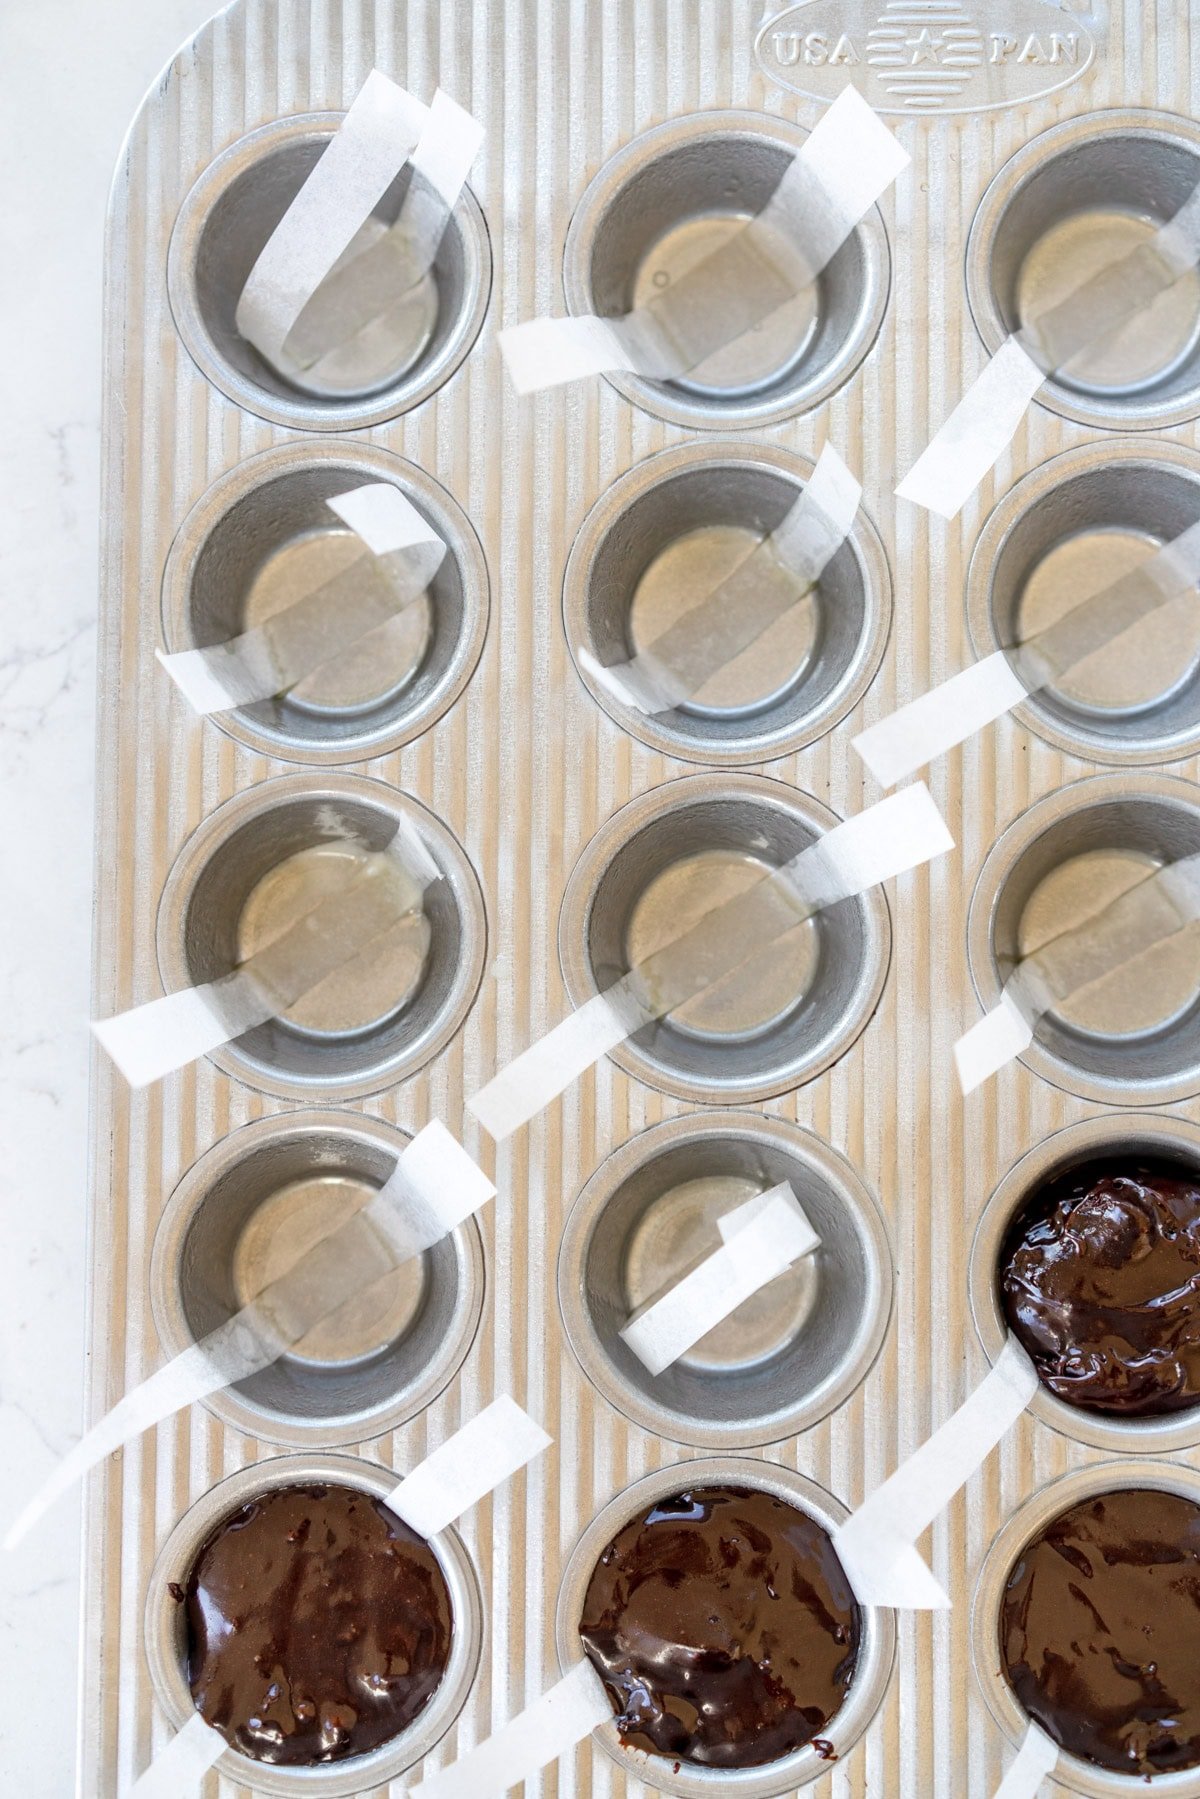
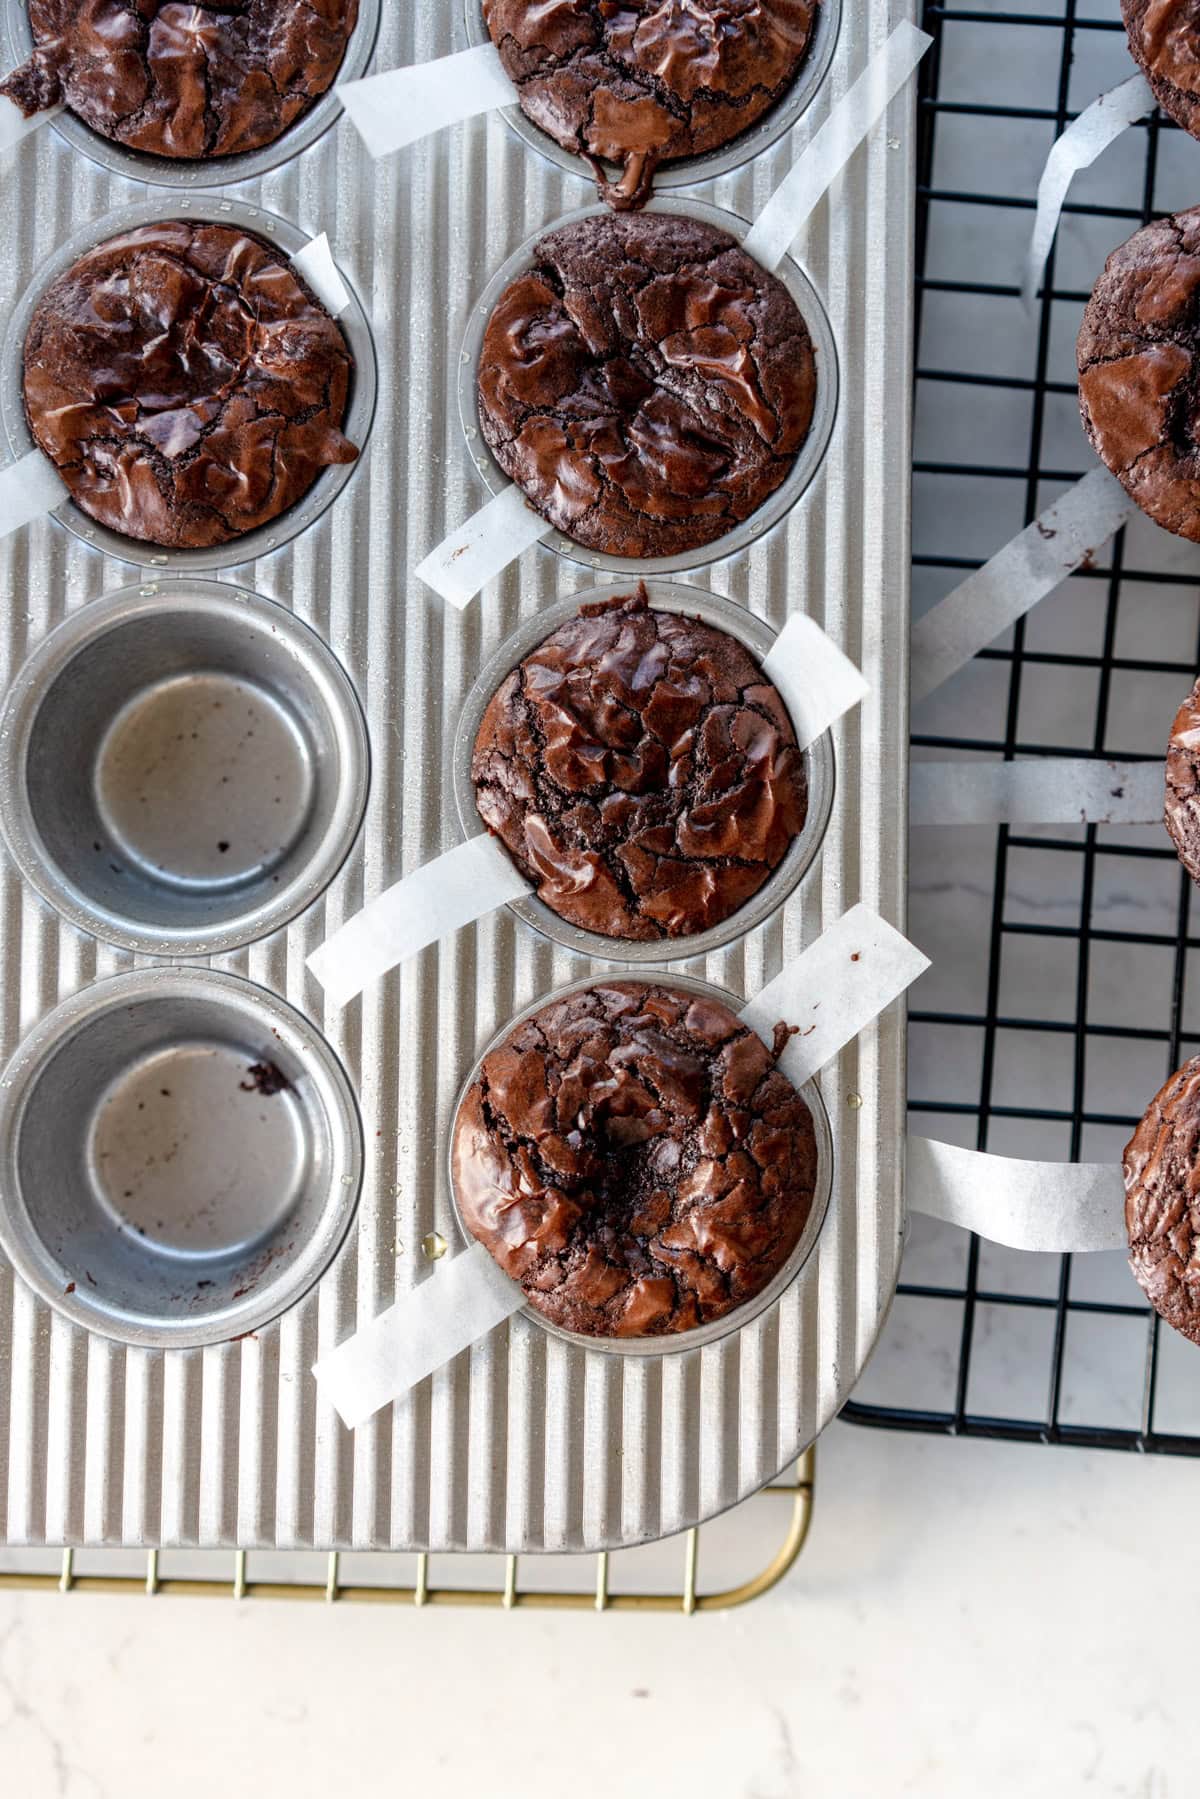
Portioning out brownie bites
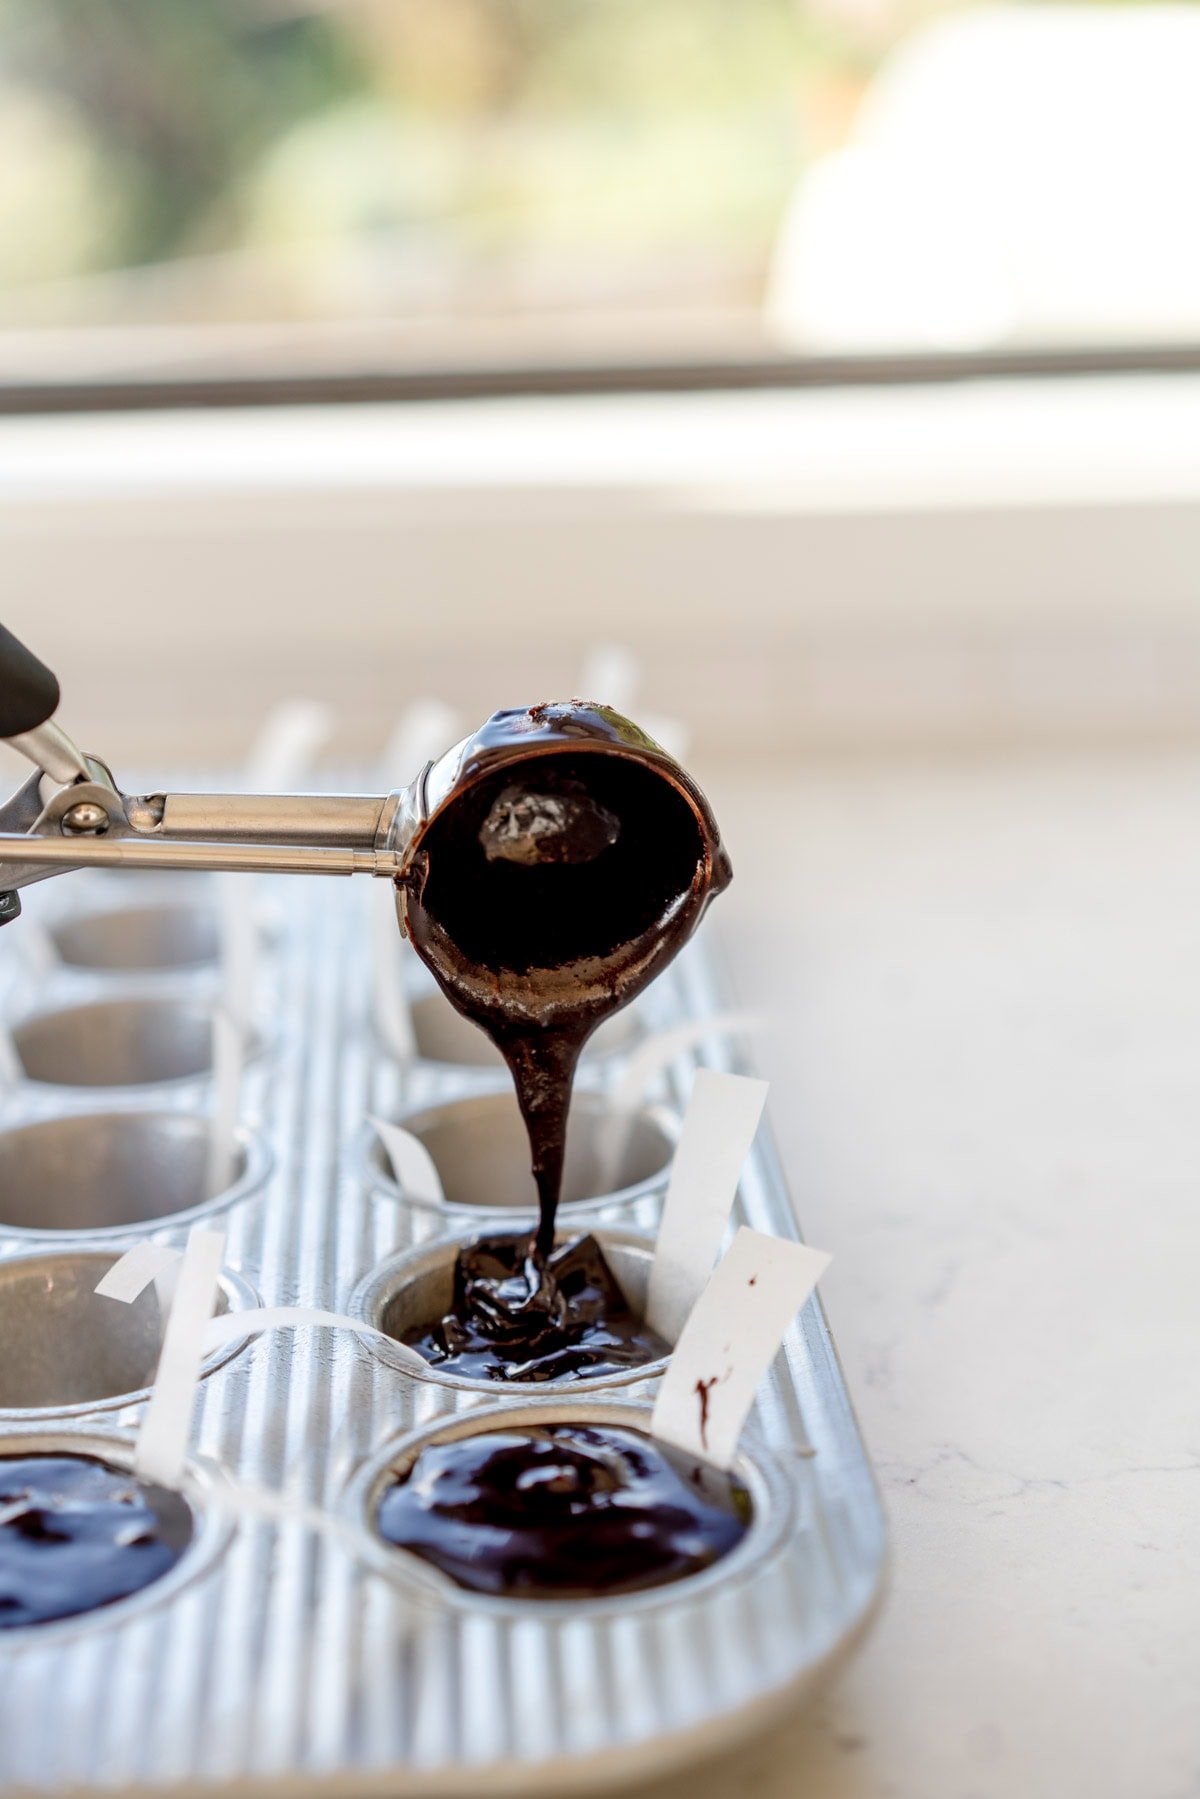
I find that the easiest way to portion these is to use a #40 cookie scoop - one level scoop is about enough to fill each cup and divide between the 24 brownie bites perfectly.
If you do not have a cookie scoop, you can use a spoon or spatula and divide the batter between each cup. Fill almost to the top - these do not rise enough in the oven to spill over in my experience.
How to tell when brownie bites are baked
These brownie bites puff up in the oven when they are baked. It is important to not over bake them, as the inside texture won't be as nice.
To tell if they are done, press lightly on the top of the brownie bite. If it collapses down and still feels wet in the middle, it is not done. If it gives a little but does not collapse, and still seems moist in the middle, it is done.
Chocolate Chips and Chopped Chocolate for brownie bites
If you know me or my recipes, you know I am a chopped chocolate girl. However, I tested these brownie bites with both chopped chocolate and chocolate chips. Both work fine and do not change the recipe aside from the taste of the chocolate, so you do you here.
Can I frost these brownies?
Yes - I finished these a few times with a batch of my brownie frosting.
❤️ Made this recipe and love it? ❤️
I would LOVE for you to leave me a review and star rating below to let me know how you liked it! Also, please make sure to tag me on Instagram!
Answers to your baking questions
Over the years, many of you have asked me questions about:
- baking in grams
- adjusting oven temperatures
- what kind of salt to use
- and many more!
I've curated and answered them all for your easy reference in this frequently asked questions post!
One Pot Chewy Brownie Bites
- Author: Erin Clarkson
-
 Prep Time: 10 minutes
 -
 Cook Time: 12 minutes
 -
 Total Time: 30 minutes
 -
 Yield: 24 servings 1x
 -
 Category: brownies
 -
 Method: baking
 -
 Cuisine: american
Description
These easy Mini Brownie Bites are quick to make and come together all in one pot! They are fudgy and perfect if you are an edge brownie person - they have a gooey fudgy inside and a chewy outer. I tested this recipe over 20 times to get them just right. Read my post to learn all about how to make these bite-sized brownies!
Ingredients
- 150g unsalted butter, cold from the fridge is fine
- 50g brown sugar
- 200g powdered sugar
- 70g dutch process cocoa
- 2 large eggs, at room temperature
- 100g all-purpose flour
- 3g salt (use a little less if you are using salted butter)
- 100g chopped dark chocolate (I used 72%), or chocolate chips of your choice
Instructions
- Preheat the oven to 350°f / 180°c. Grease a 24 cup non-stick mini muffin pan with baking spray. Cut little pieces of parchment paper to use as a 'sling' to help remove the brownies if you like - this only takes a few minutes but makes removal much easier.
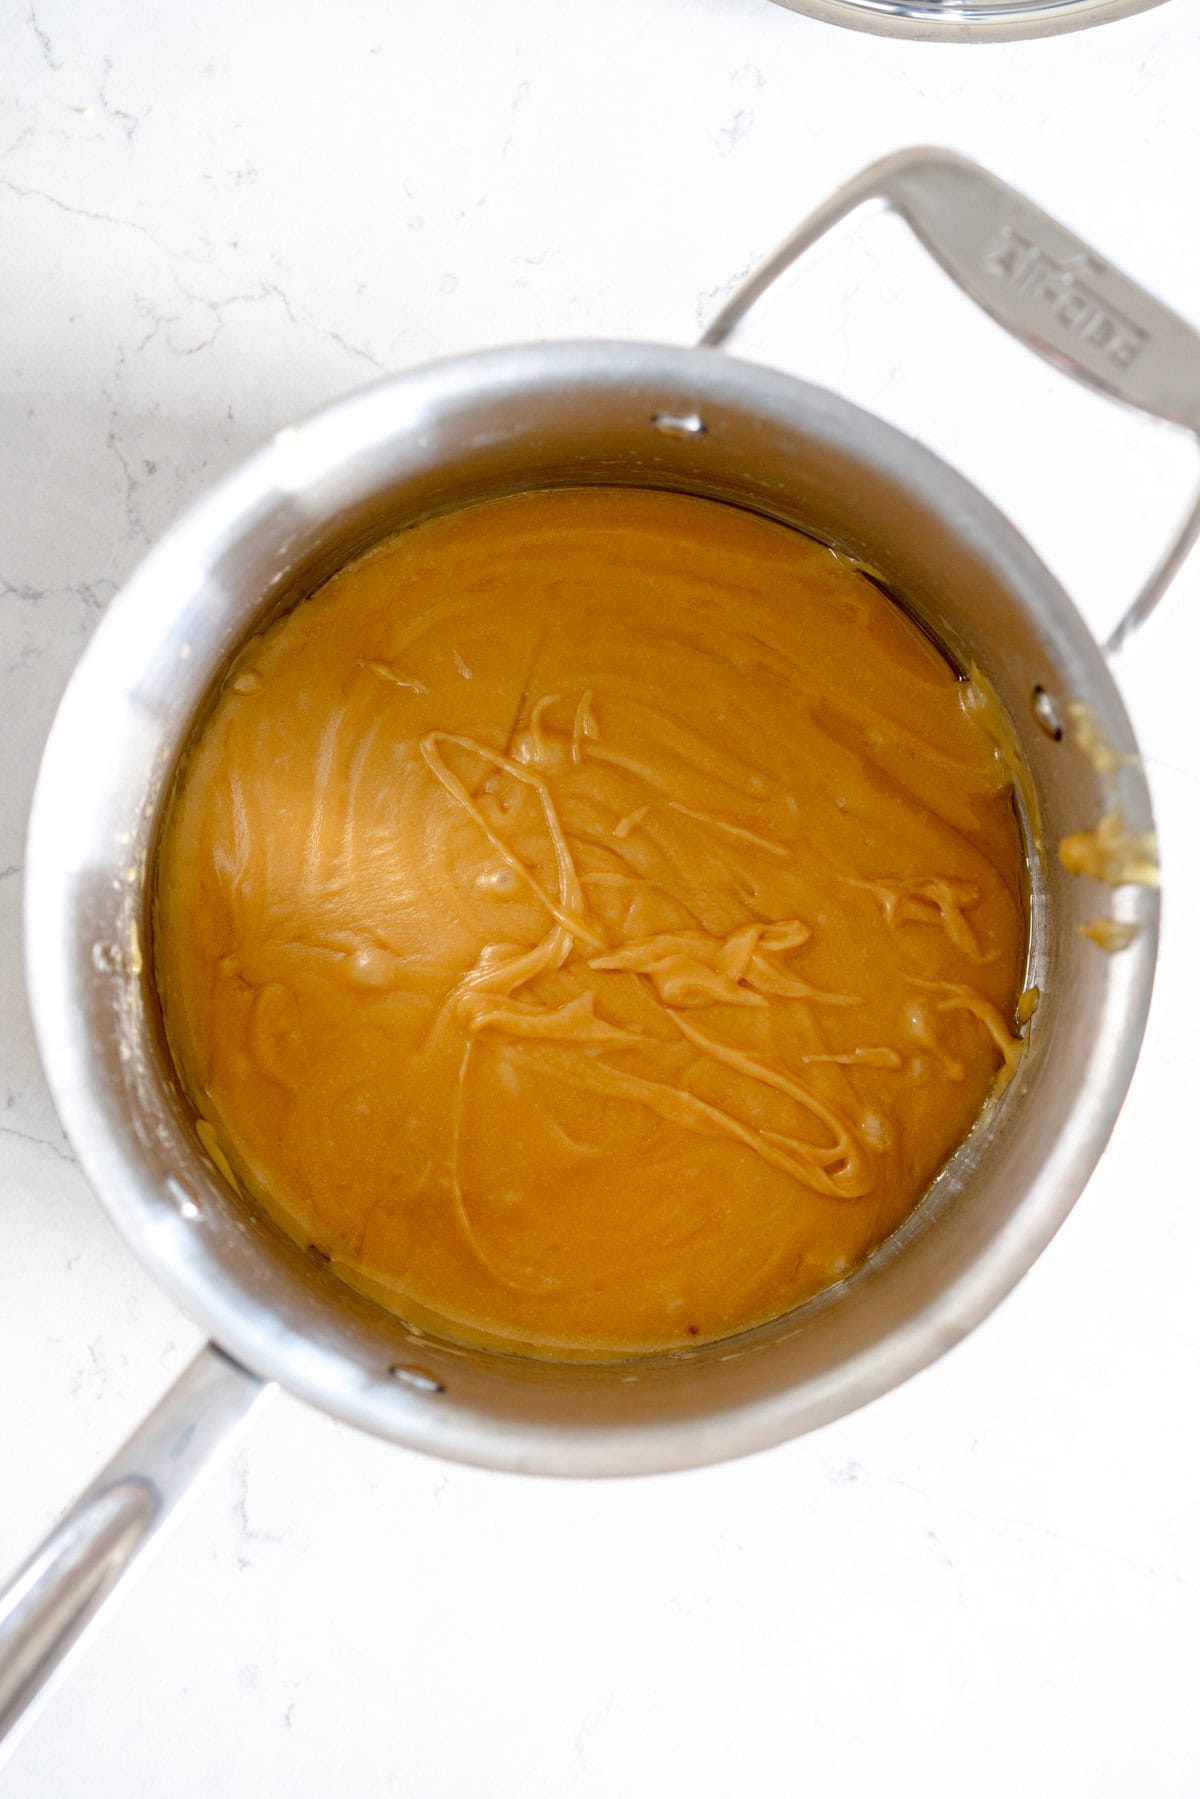
- In a medium saucepan, melt together the butter, brown sugar, and powdered sugar over low to medium heat, whisking to combine and to help it melt. Do not bring to the boil - just heat until the butter is melted and the mixture is combined and it smooths out. It might look a little thick and weird - this is fine.
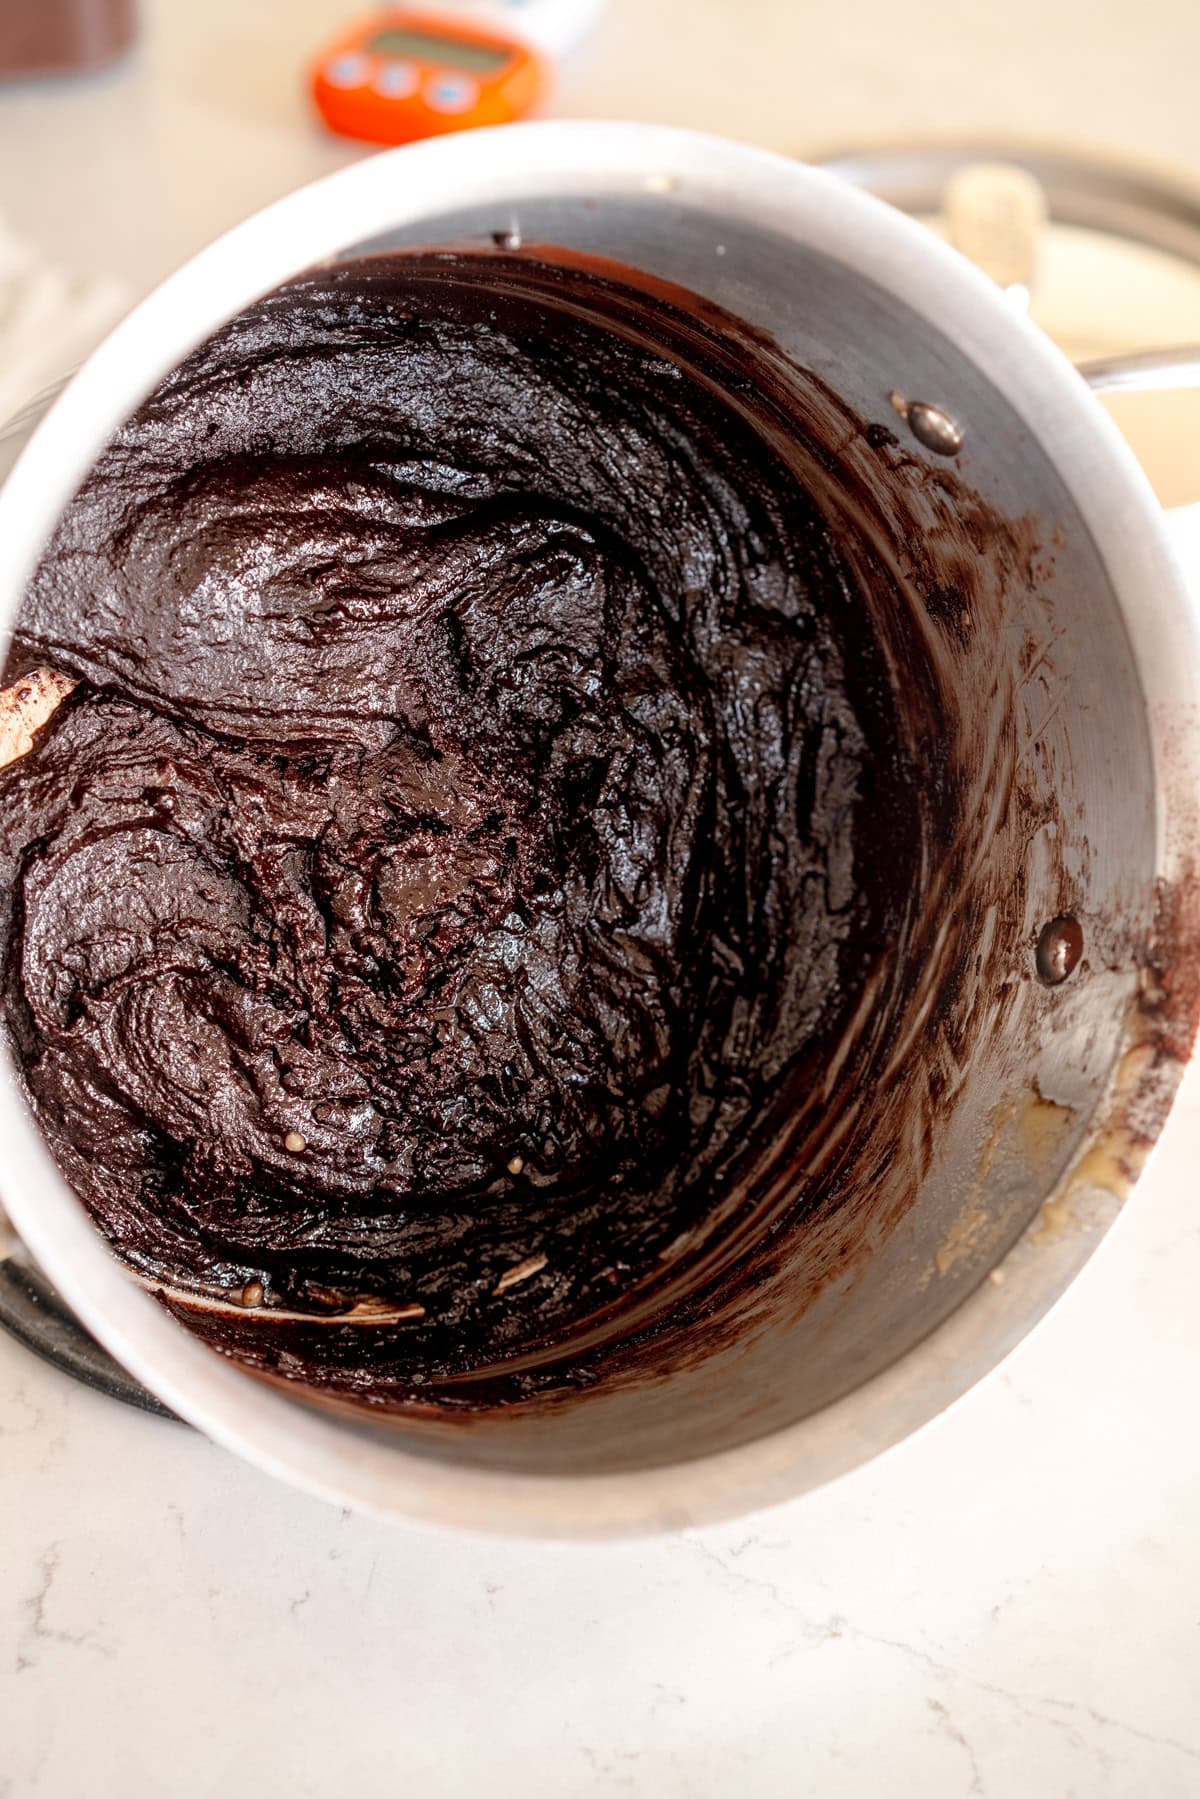
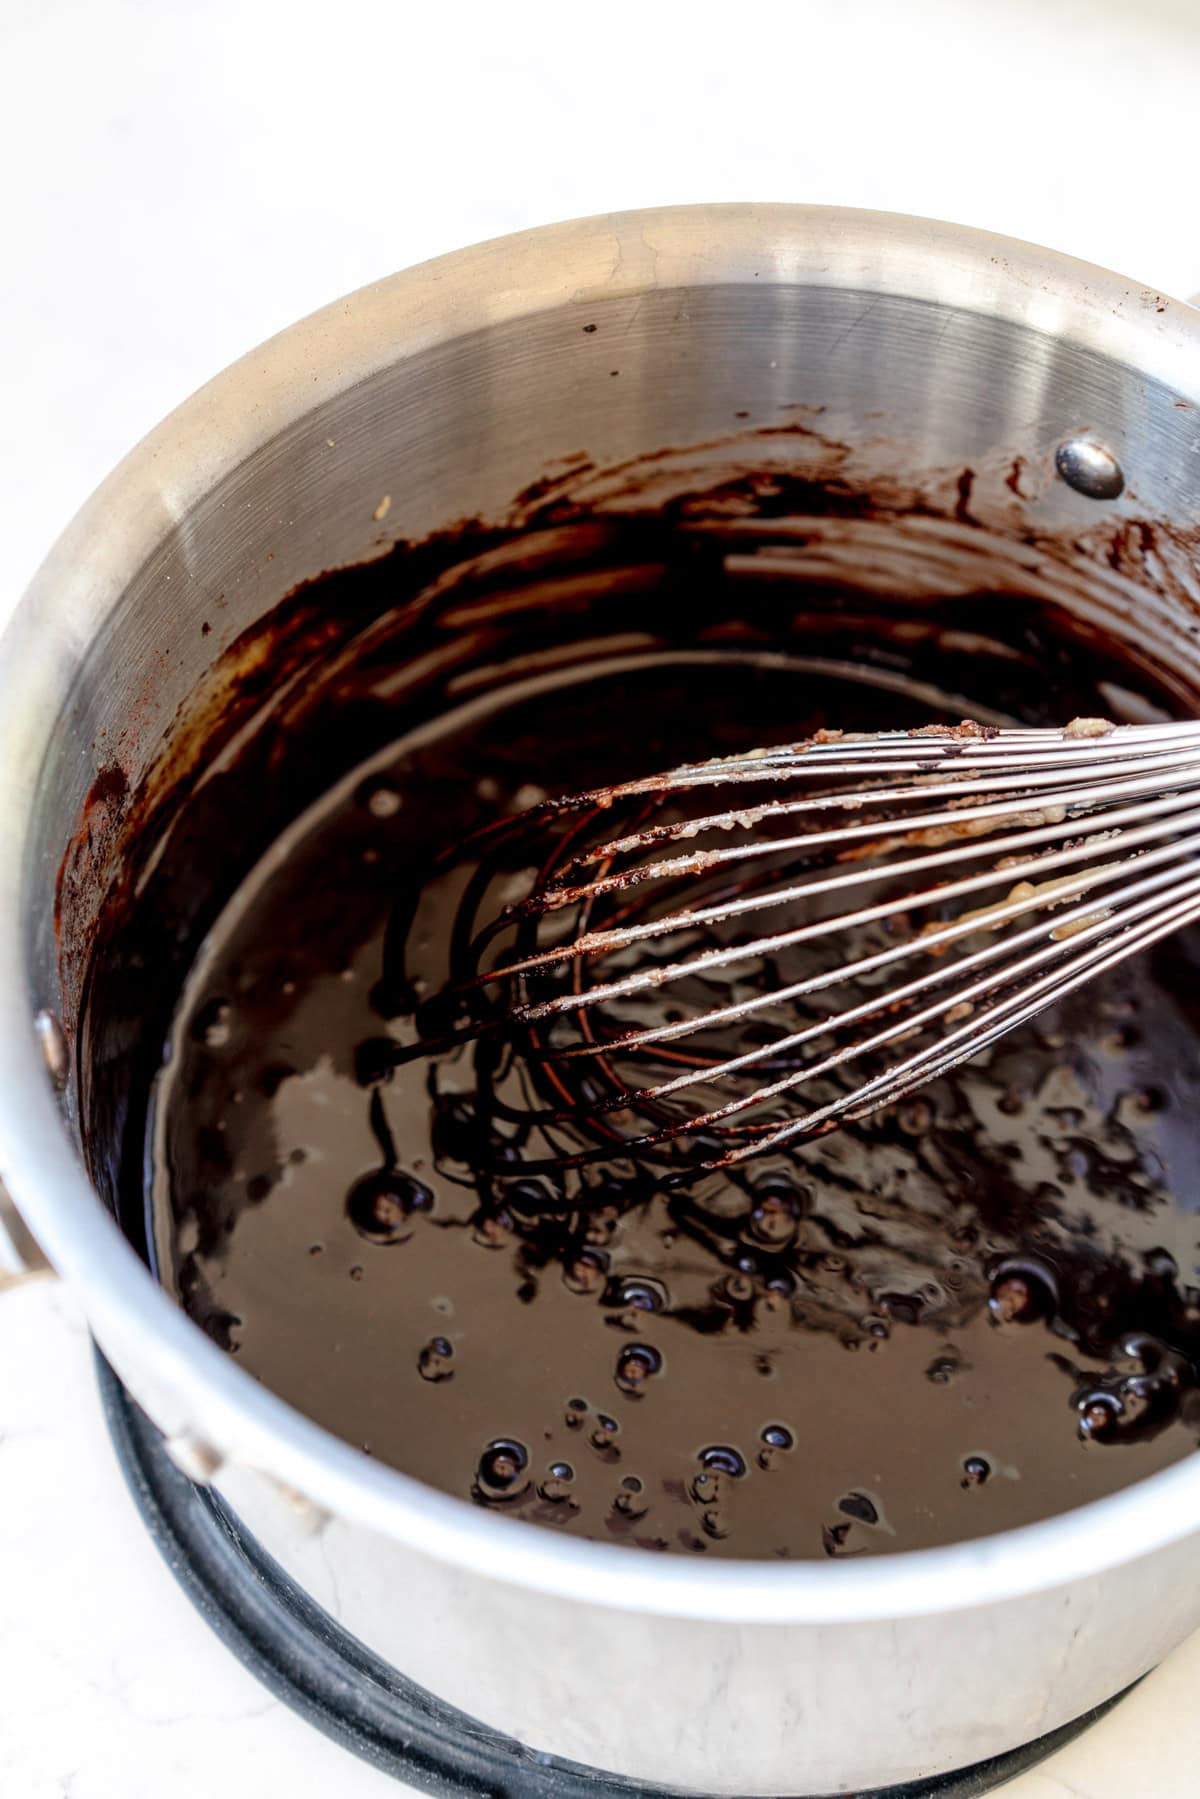
- Remove the saucepan from the heat and add in the cocoa. The mixture will turn slightly grainy looking at this point - do not worry, it will smooth out when you add the eggs. Whisk to combine, then leave to stand for 5 minutes. Add the eggs and whisk well until it is smooth and glossy and has combined.
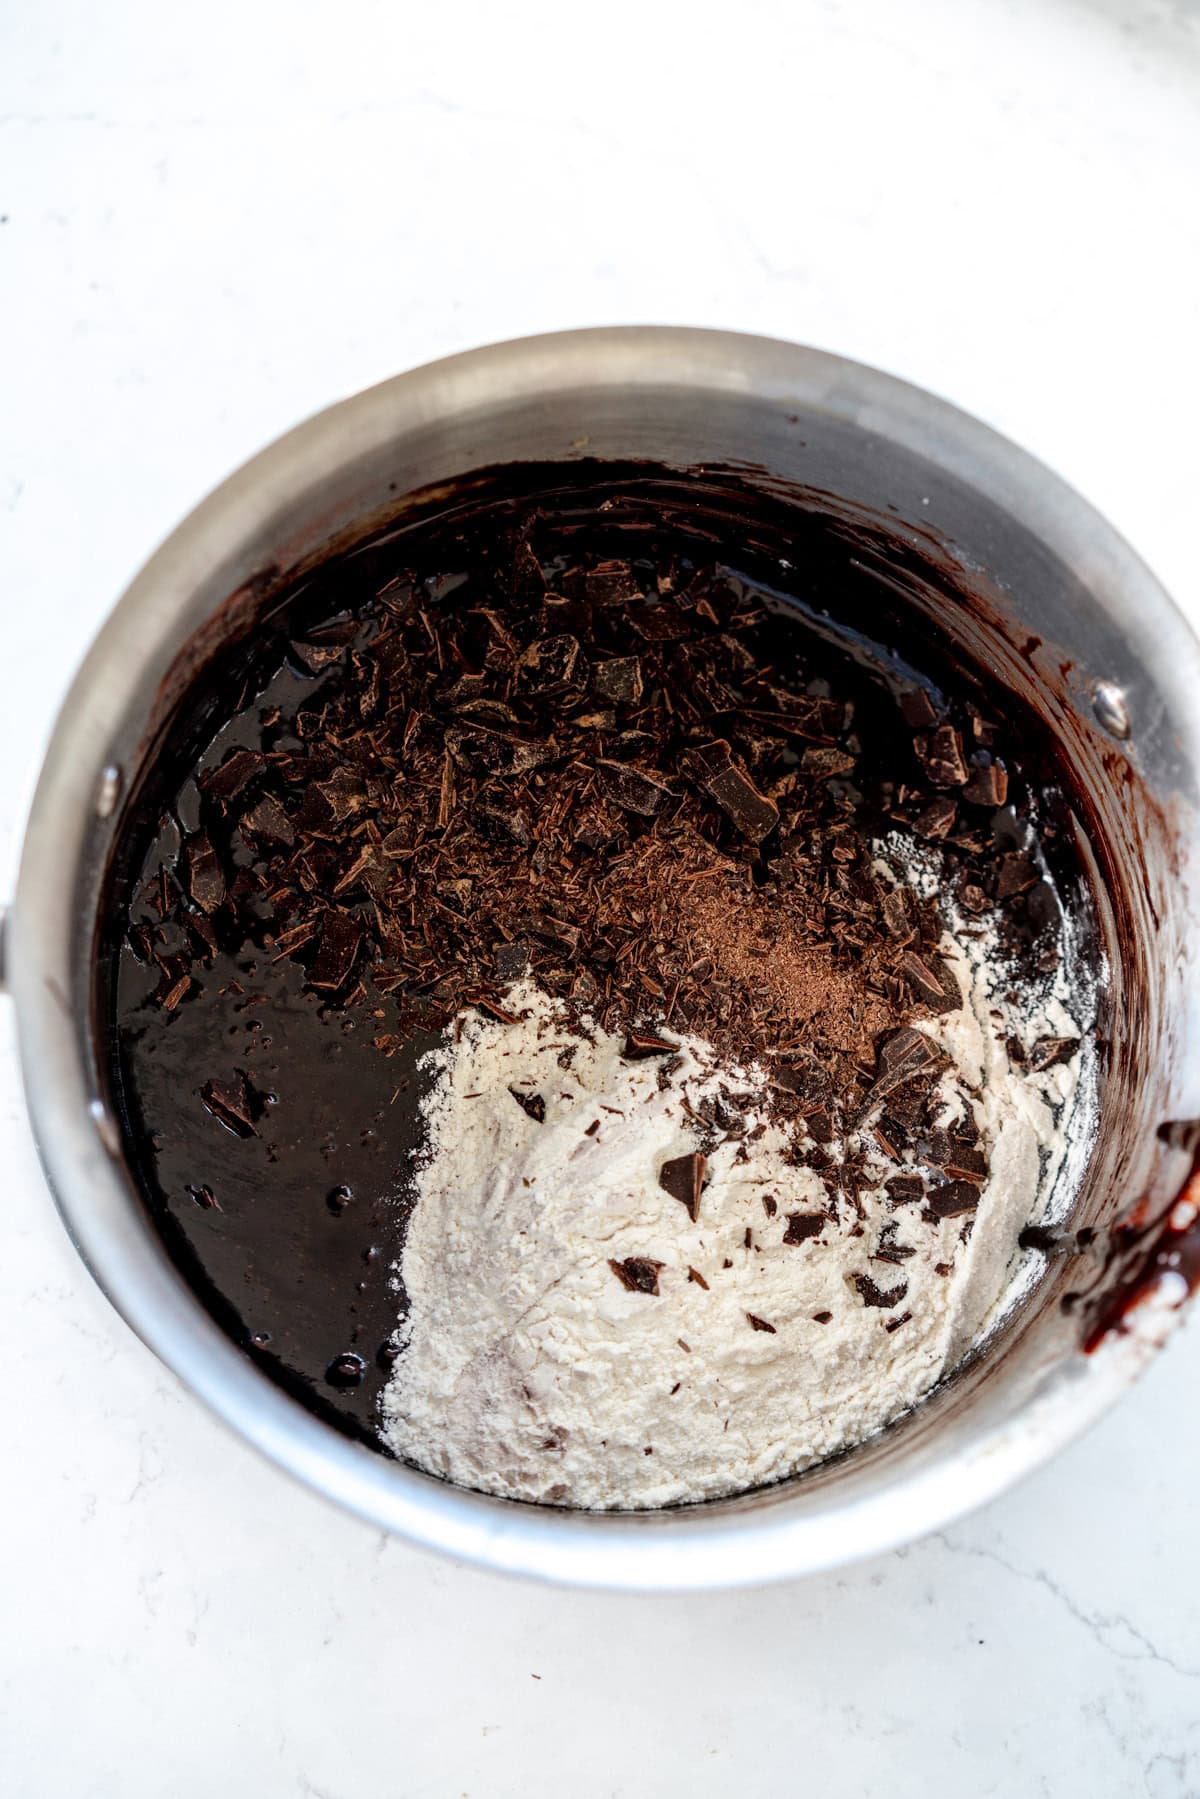
- Add the flour, salt, and chopped chocolate and mix to combine using a spatula.
- Portion the brownie batter between the 24 mini muffin cups - I use a #40 cookie scoop and fill them almost to the top. Try to fill each cup evenly but it is not the end of the world if you don’t manage.
- Bake the brownies for 12 to 13 minutes, checking after about 10 - they will puff up slightly in the pan, and the tops will be shiny and set. You do not want to bake until the middles are set as this will dry them out. When you lightly tap one with your finger it should not collapse but the inside should still feel moist.
- Remove from the oven and leave to stand in the pan for 10-15 minutes to set up slightly then remove from the pan using the parchment slings or a skewer and transfer to a wire rack to cool completely.
- Store in an airtight container in the fridge or at room temperature for up to a week.
Notes
These brownie bites are delicious frosted with my brownie frosting!
The post One Pot Chewy Brownie Bites appeared first on Cloudy Kitchen.


