If you haven't tried brown butter before, it is pure magic. This ultimate guide will teach you how to brown butter, how to make it in advance and store it, and how to take advantage of the amazing nutty flavour that it gives to baking. Plus, check out my tip on making mega brown butter with the addition of milk powder!
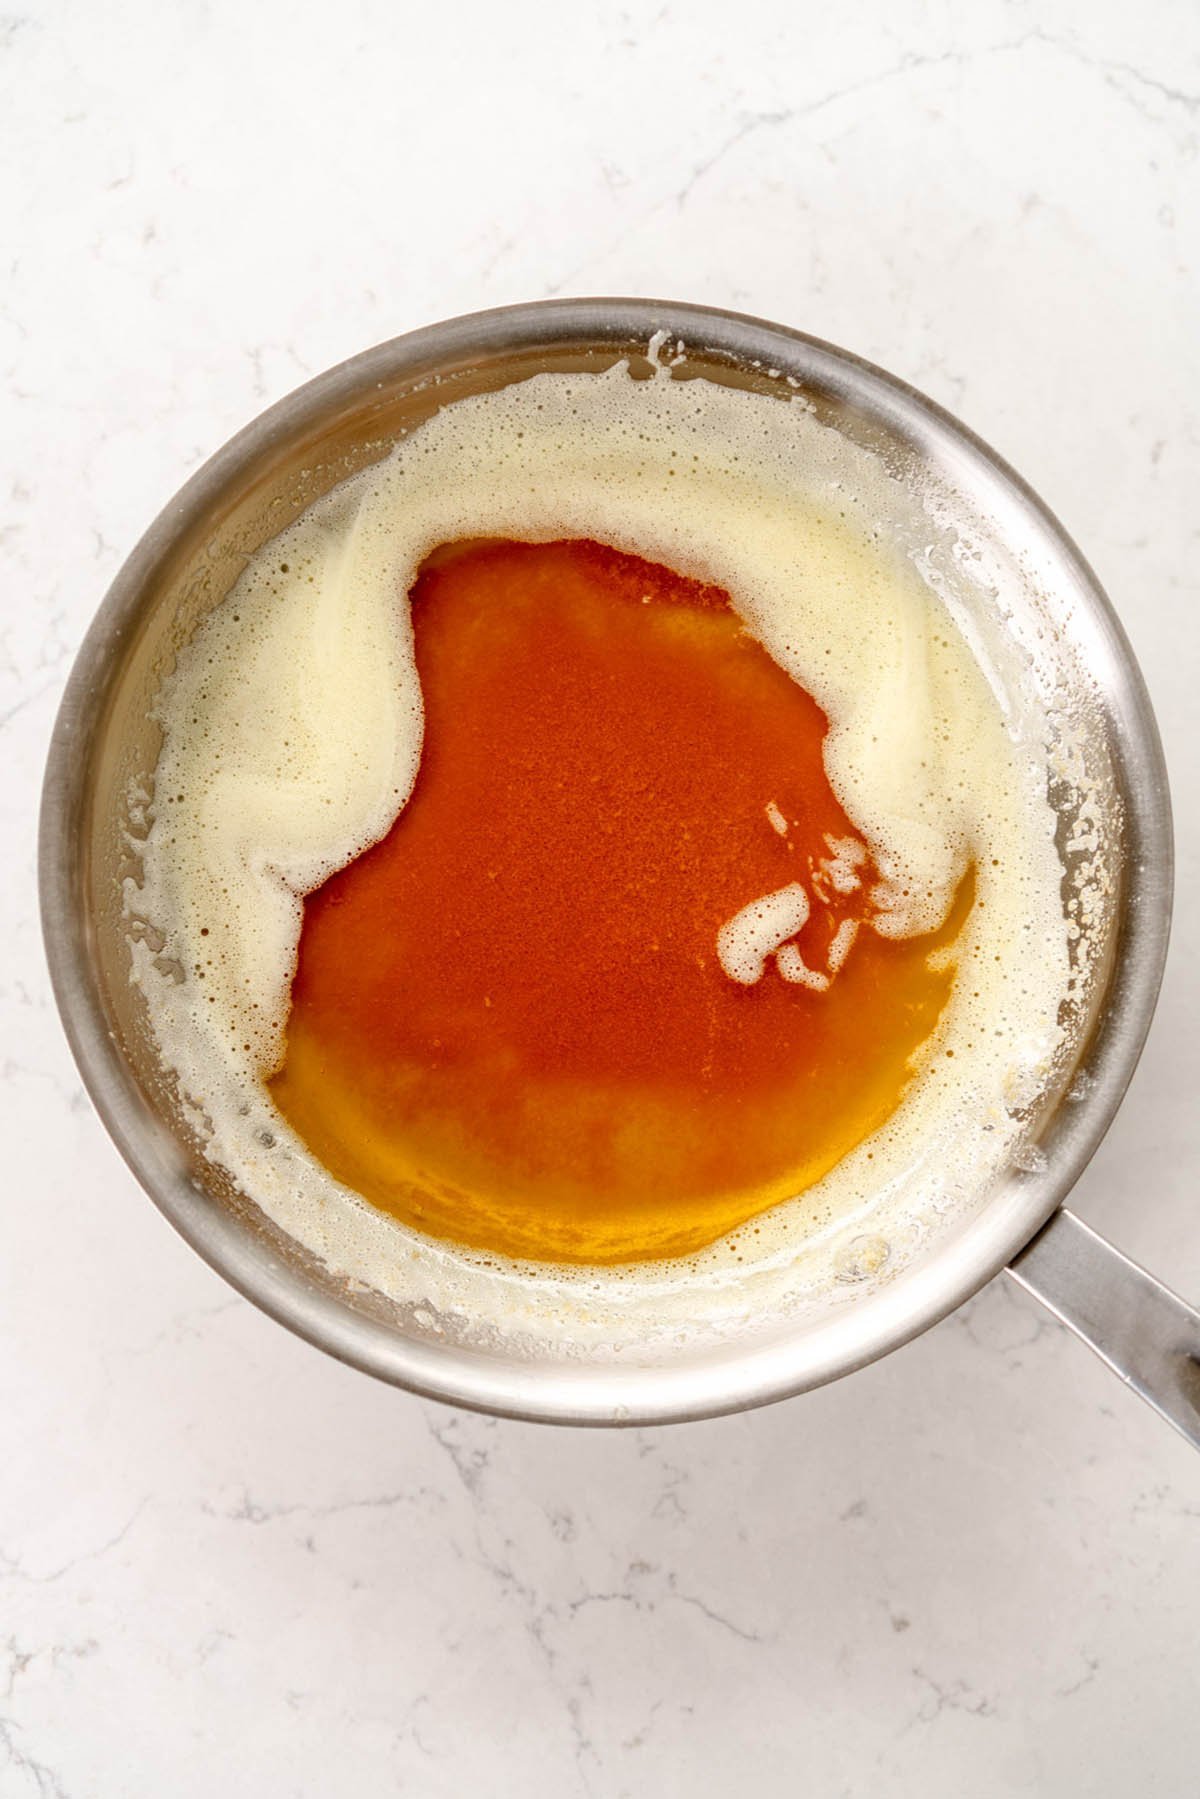
Hi hi! I am just popping in with this ultimate guide on how to brown butter! Brown butter is one of my very favourite ingredients. I love how toasty and complex the flavor is, and it is super easy to make in bulk and have on hand for using in recipes or just for adding amazing flavour to your cooking (I make scrambled eggs with mine!).
I know that browning butter can be intimidating - don't worry, I will hold your hand the whole way through. I break down the whole process in this post, along with all the tips and tricks on what to look for, visual and audio (and smell!) cues, and a couple of sneaky tricks on how to make super amped up brown butter.
You'll be a convert like me in no time.
If you are after recipes to use brown butter I have a whole section: Brown Butter Baking Recipes
What even is Brown Butter?
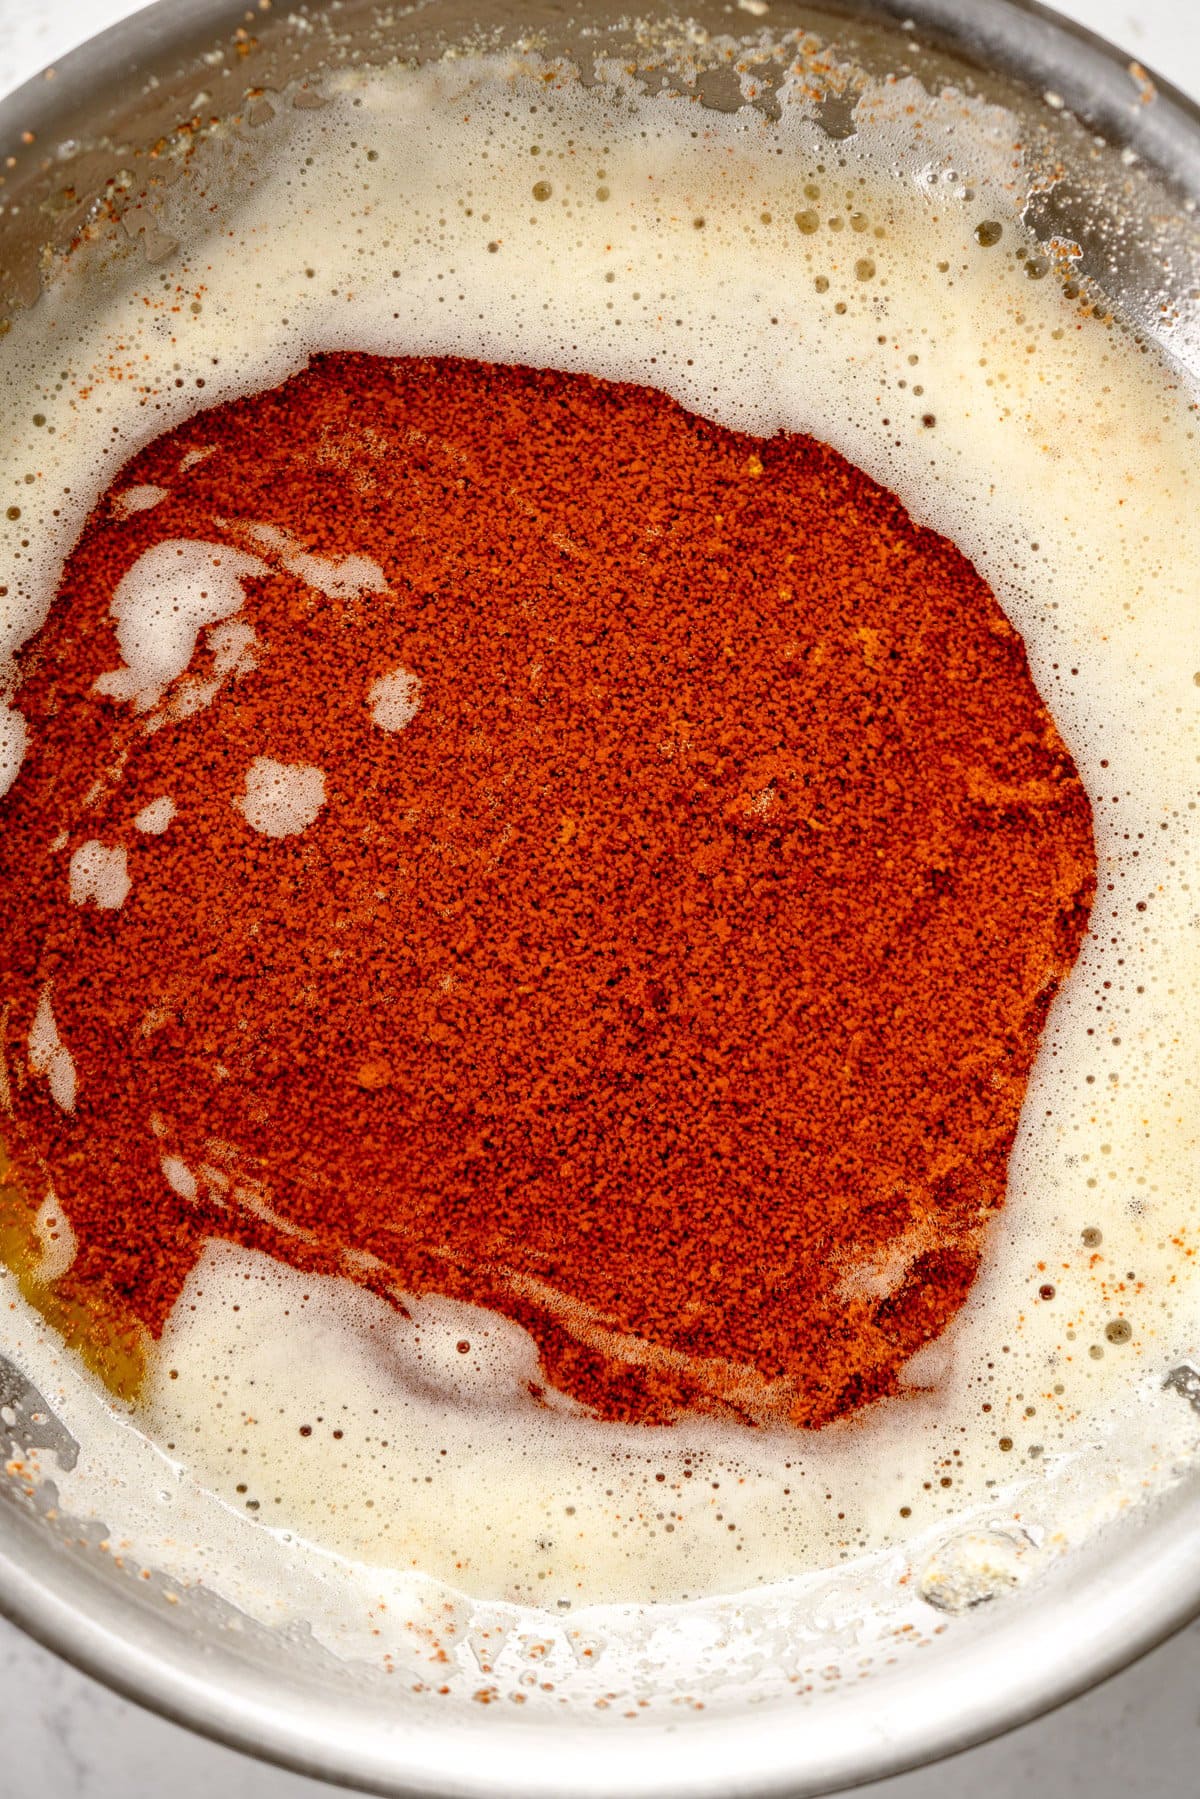
Brown Butter is essentially Butter that has had the water cooked off, and the milk solids toasted. It is similar in makeup to clarified butter or Ghee, except that the milk solids are left in and cooked off, rather than being separated out to give a clarified butter.
Toasting the milk solids is what gives the brown butter the amazing aroma that it has and the incredible nutty taste.
Leave the brown bits in - that is where the flavour is. I often get asked this - do I leave the brown parts in? YES. DO NOT LEAVE THOSE BEHIND. That is where all the flavour is.
The Stages of Browning Butter
There are several stages to browning butter and I will walk you through them with images. Because I make brown butter all the time and know the steps well I usually use a saucepan, but a light coloured pan works well if you are new, doing a large batch, or want to see more closely what is going on.
If at any point you feel like things are going too quickly for your liking, take the pan off the heat. There is no fixed rules on how long brown butter takes, so take it slow if you are learning.
Step 1: Plain butter. Cold from the fridge is fine. Chopping it into pieces means that it melts more evenly.
Step 2: Melted. Nothing crazy here - the butter melts.
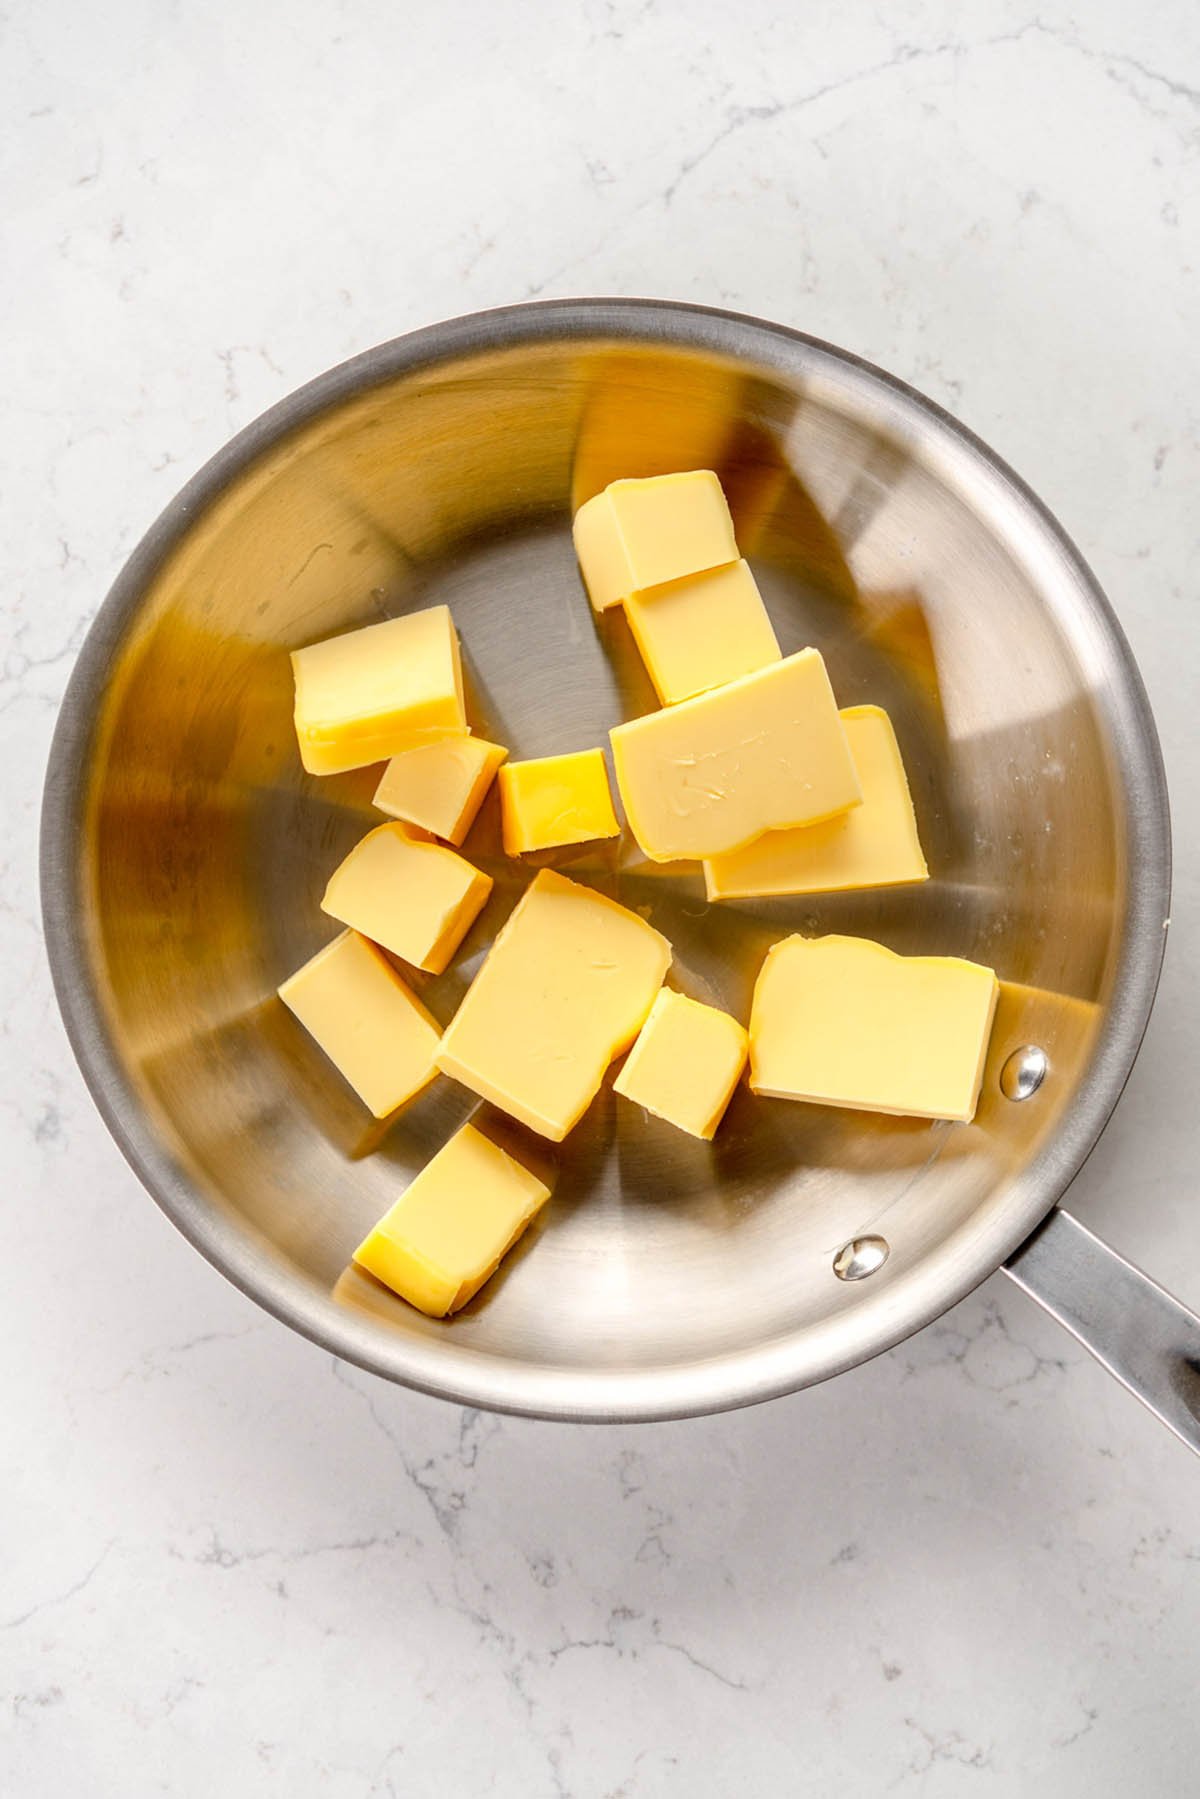
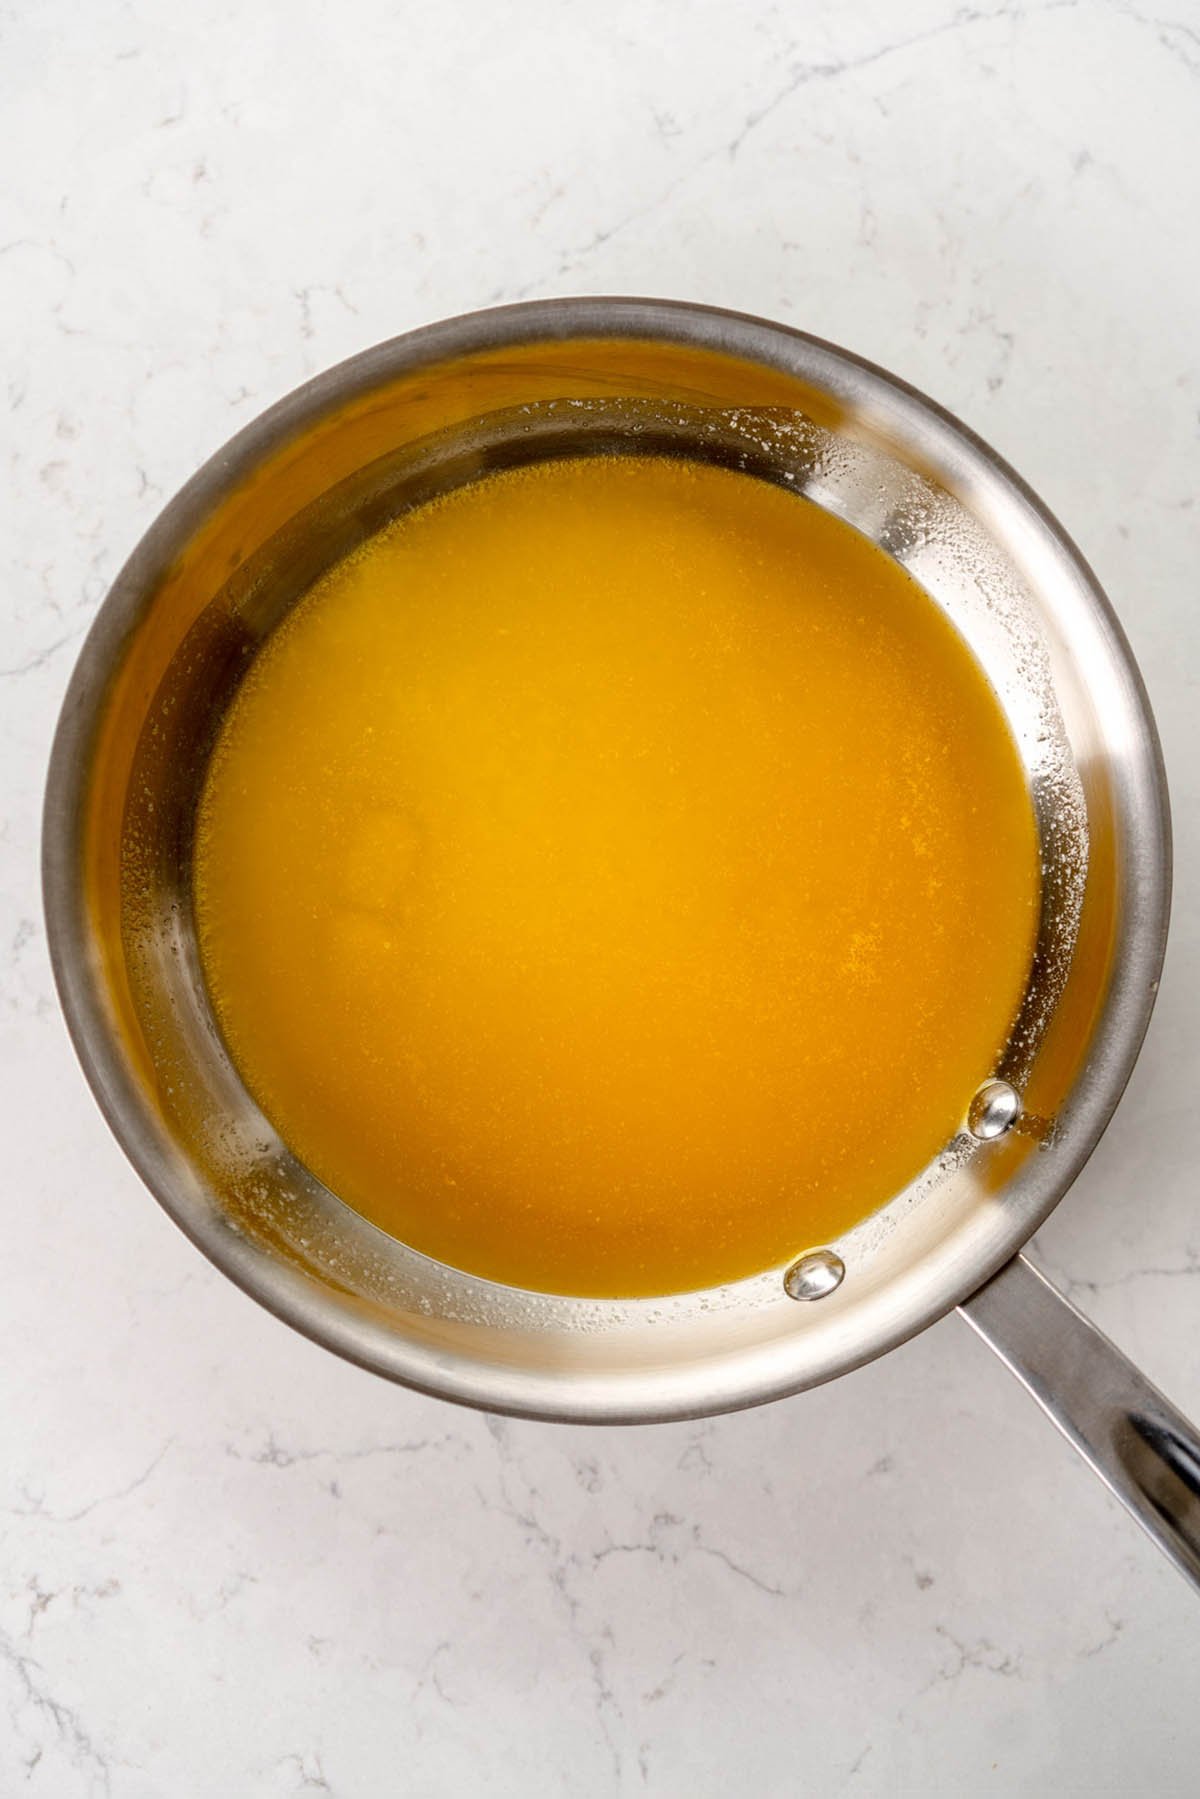
Step 3: Milk solids start to separate. You can see the butter become less homogenous and light coloured milk solids start to separate out from the butter.
Step 4: More separation, boiling starts. This is where the water starts to cook off and the butter will start to boil and make noise. Keep whisking it at this point to help it cook evenly.

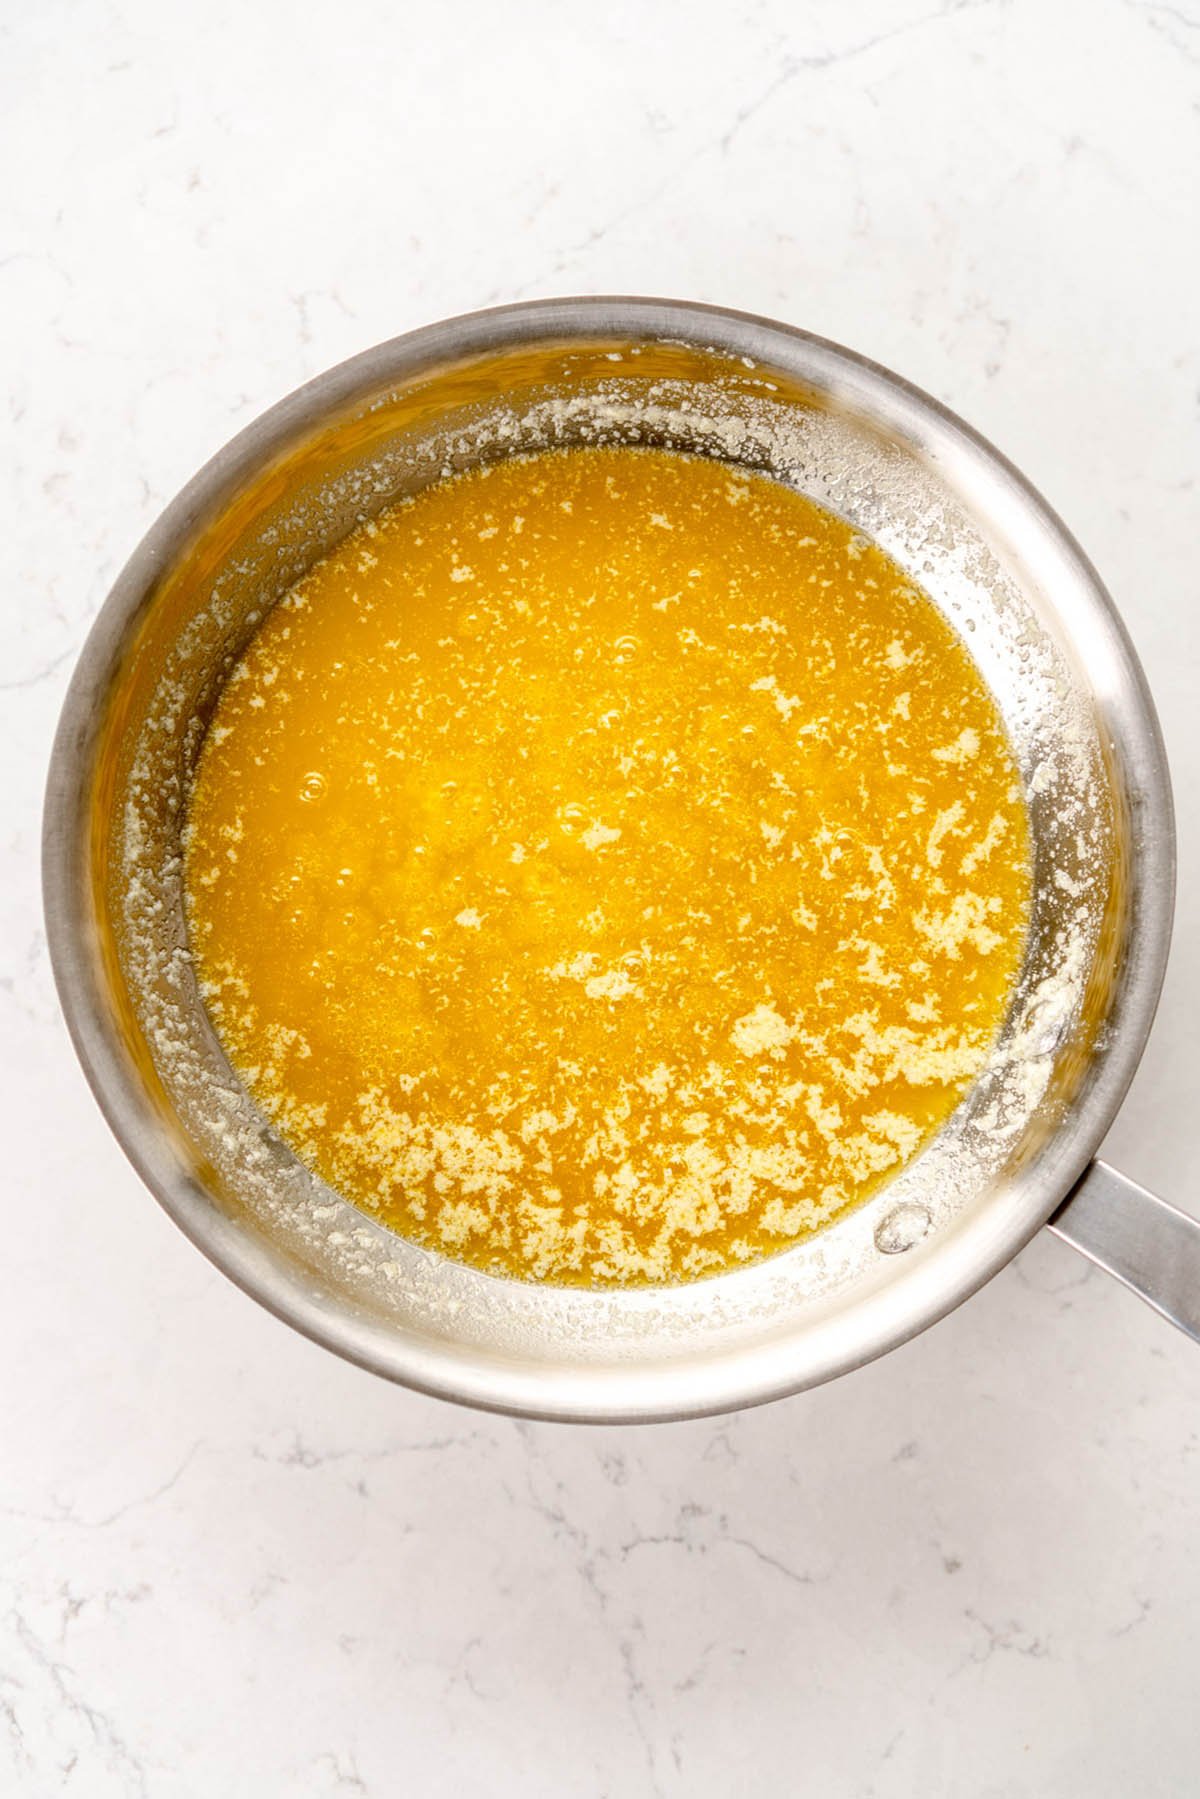
Step 5: Small bubbles. Now you will really hear it doing its thing - lots of small bubbles will be on the surface of the butter. Keep doing what you're doing and whisking.
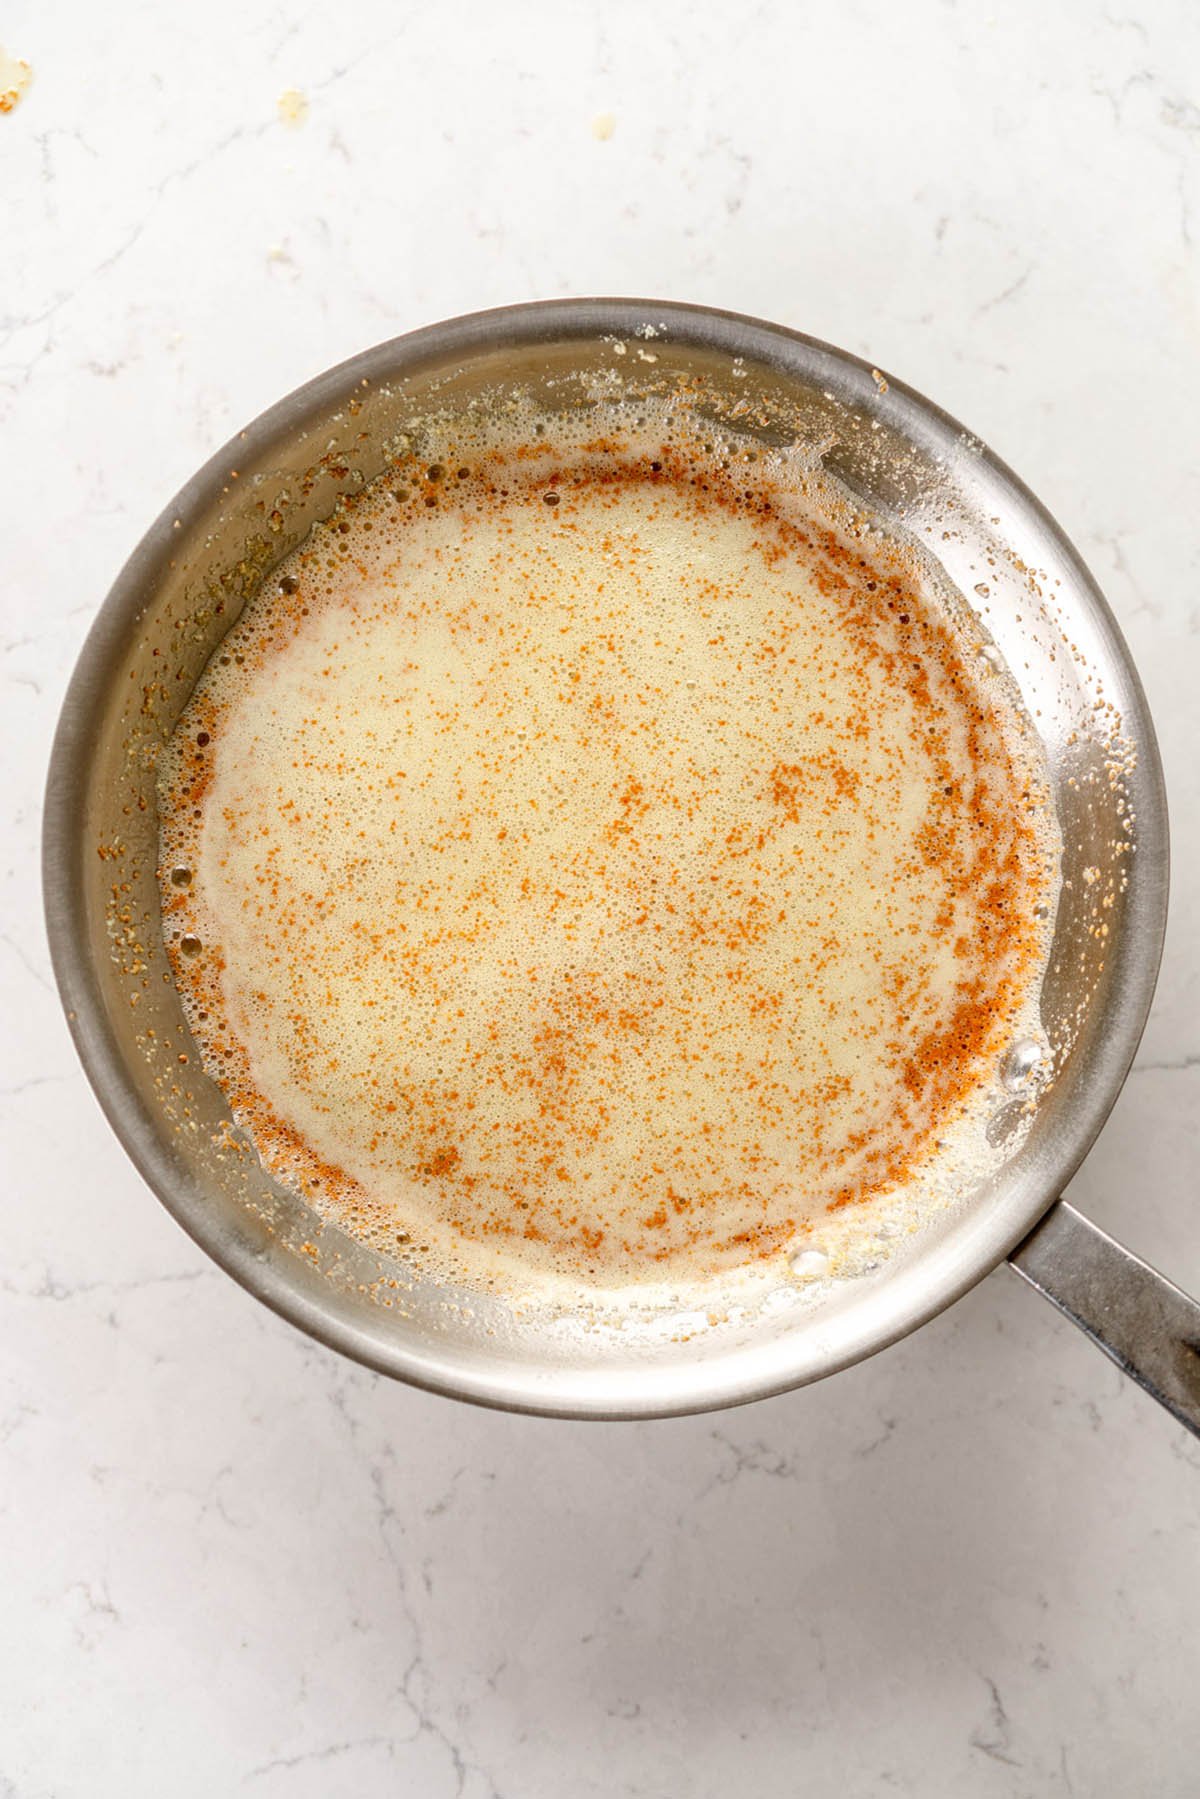
Step 5: Large bubbles. It will start to smell delicious at this point, and the butter will have large bubbles in it rather than small ones. You will be able to hear the boiling. The milk solids will be starting to brown which is where the smell comes from.
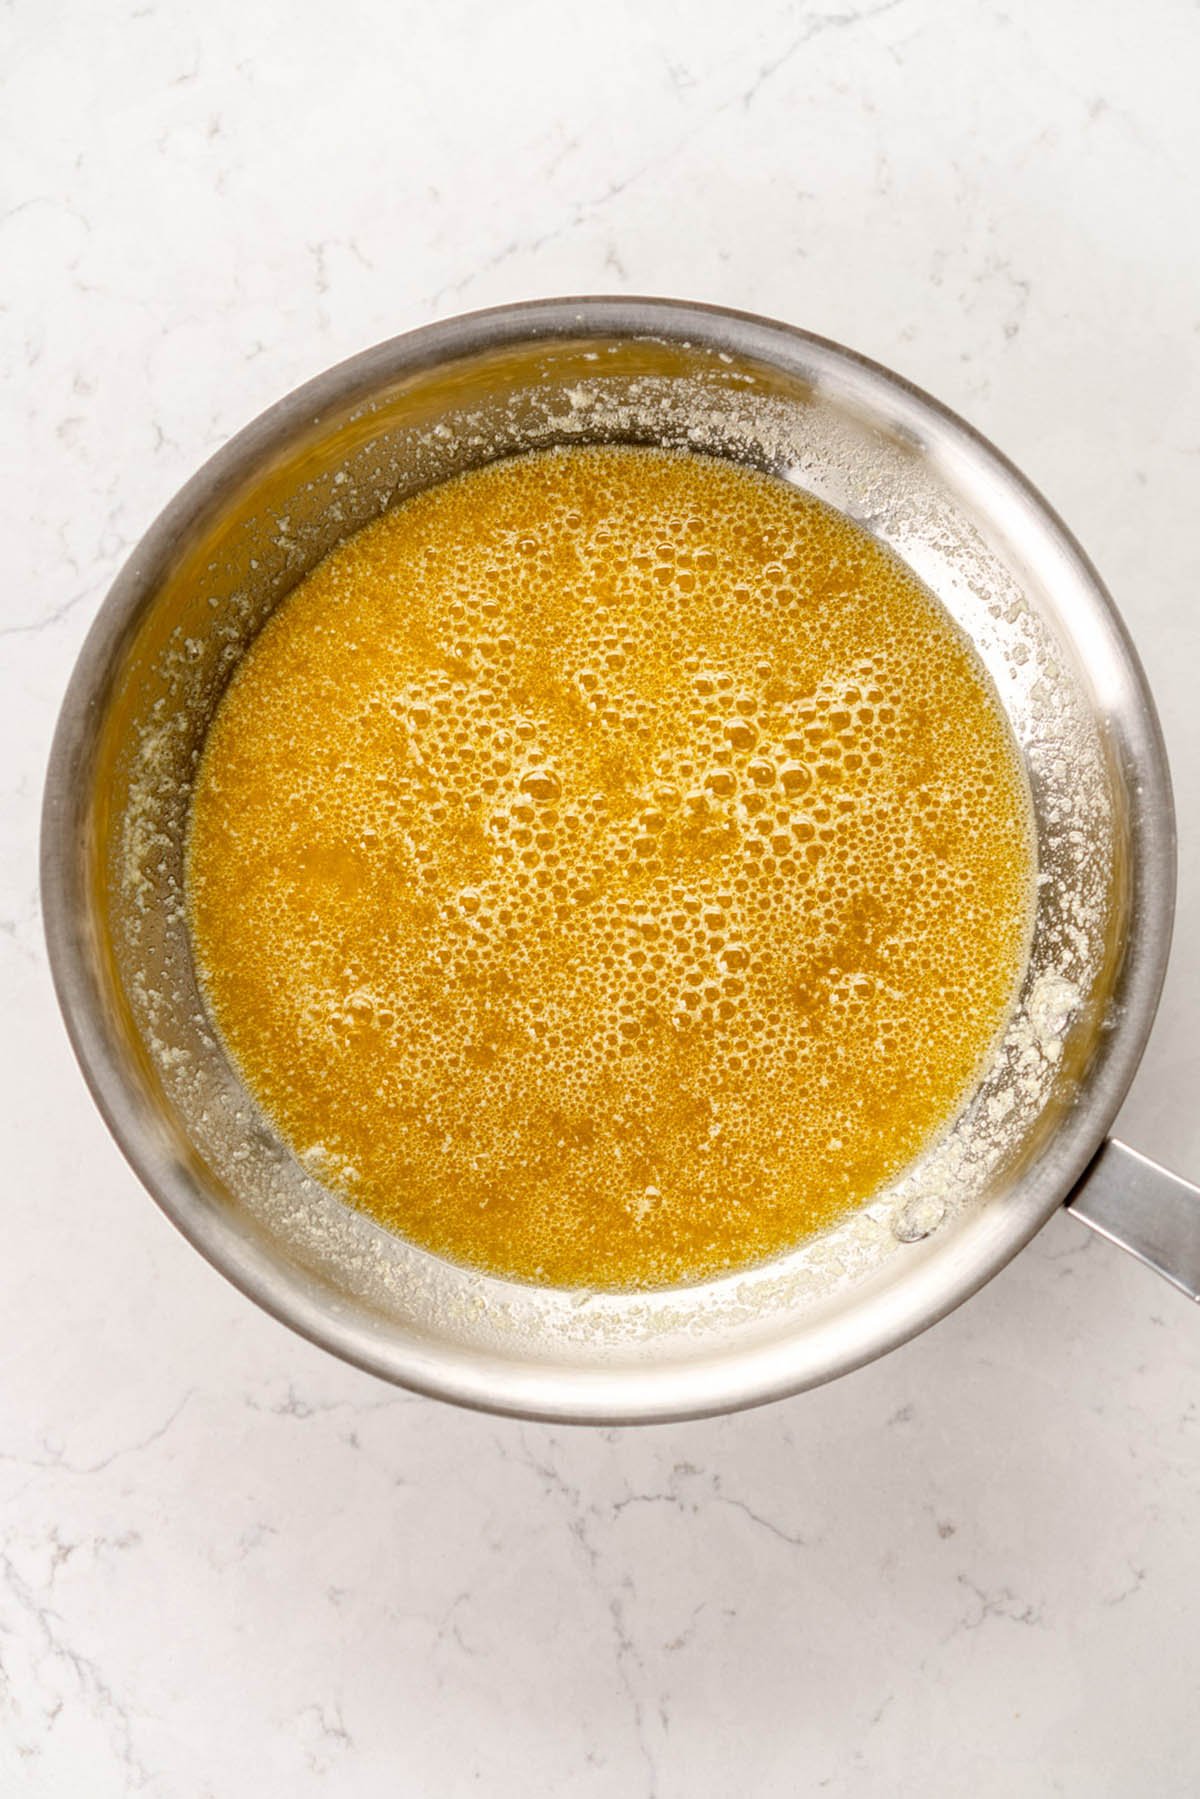
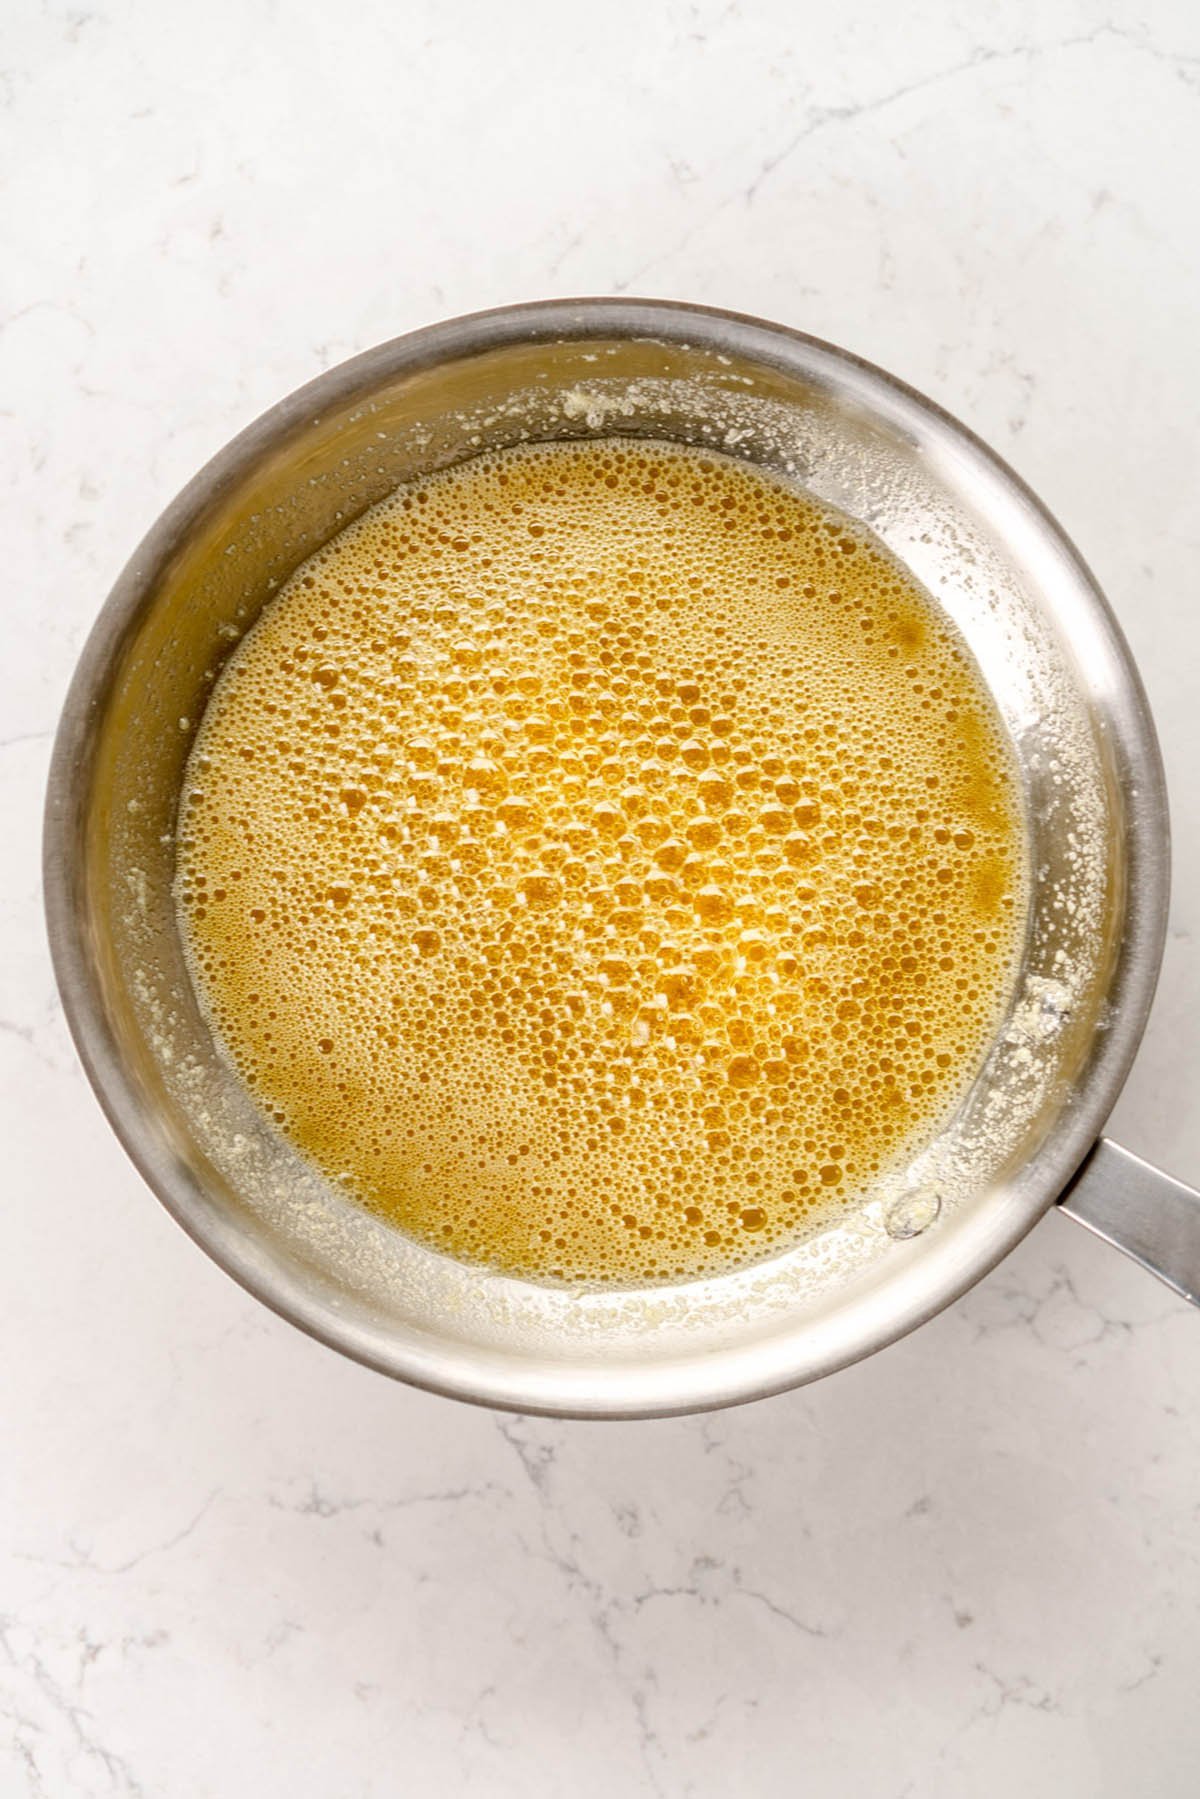
Step 6: Foam. This is the point that you want to look for and start watching your butter super carefully. The butter will go quiet and the bubbles will turn to foam. Keep whisking. Turn the heat down if you are worried you are going to take it too far.
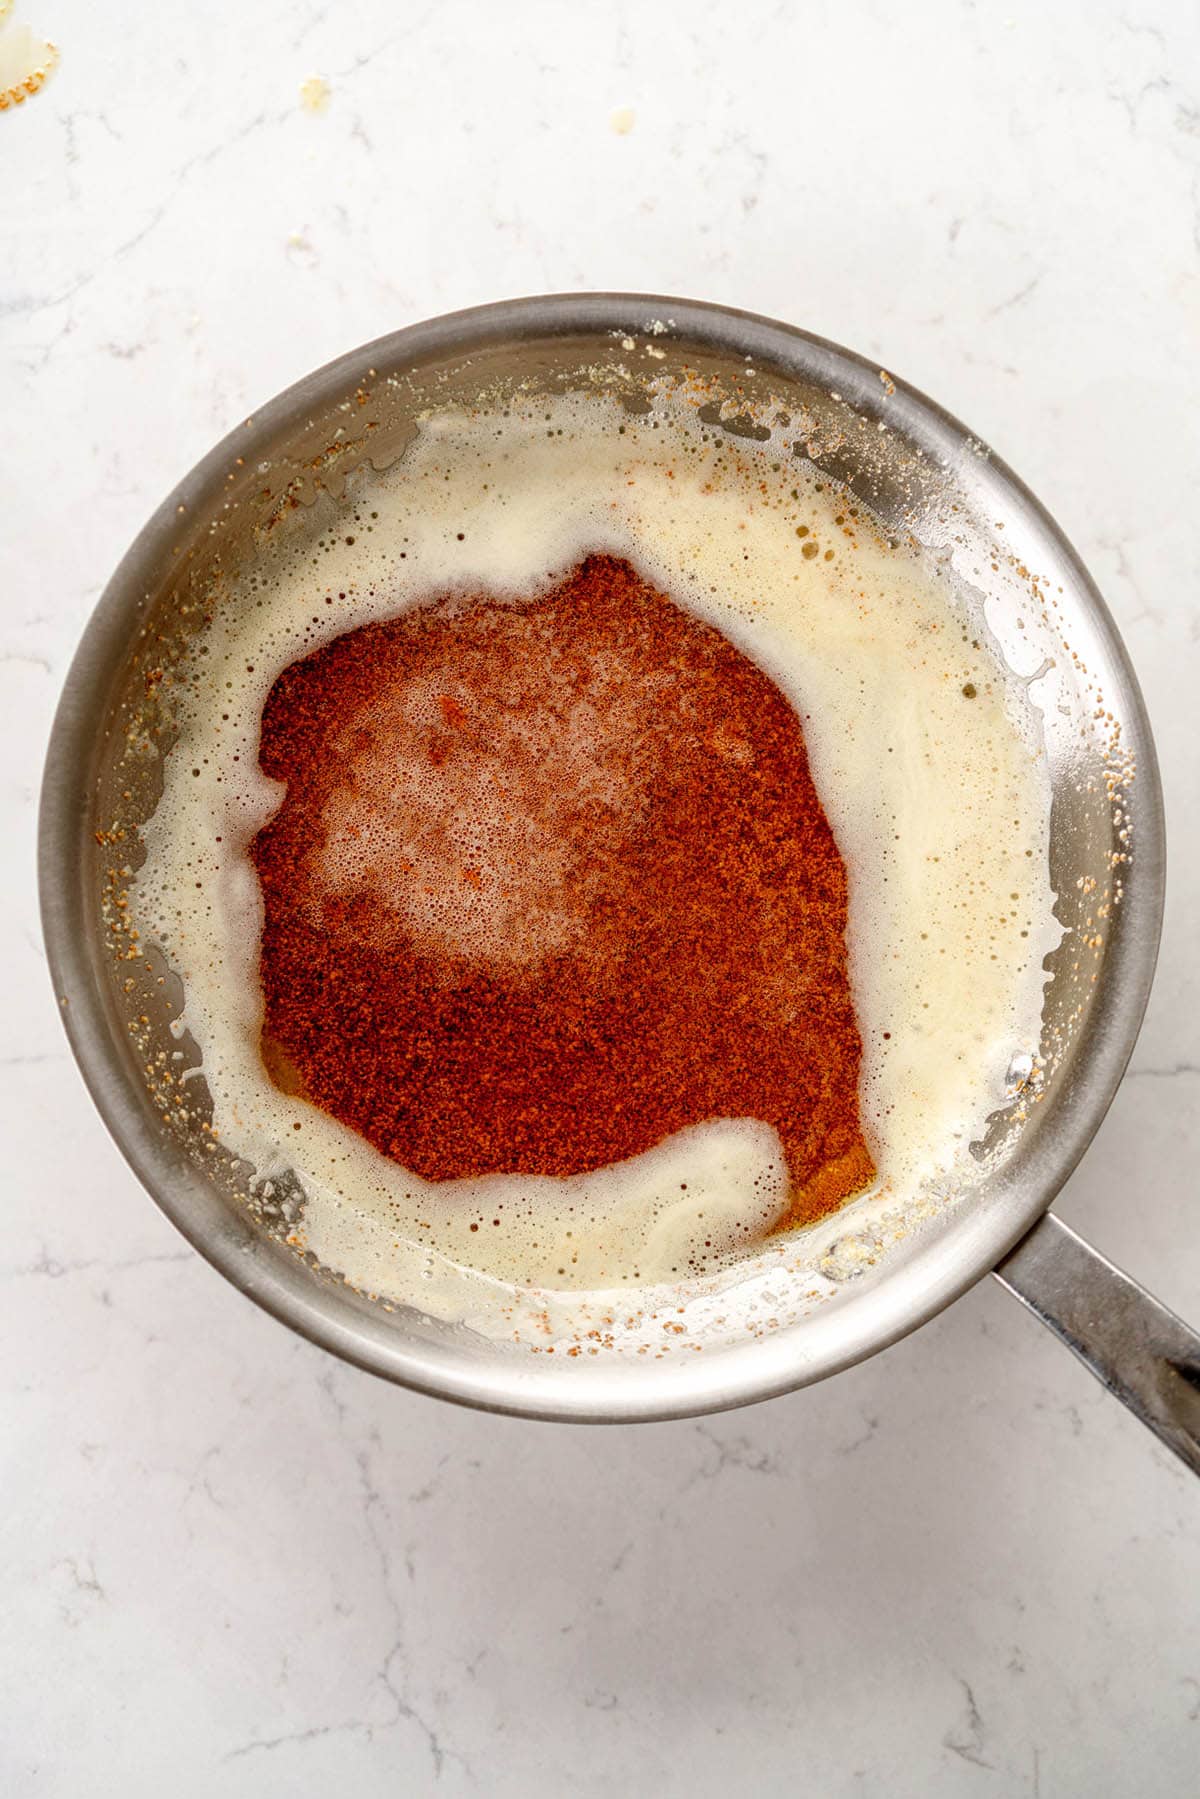
Step 7: Brown bits come up through the foam. This is where you are getting super close. The butter will smell amazing and nutty, and will have stopped foaming. Brown bits will usually come up through the foam - this doesn't always happen though so don't use this as a hard and fast rule. Swirl the pan to see how brown the milk solids are.

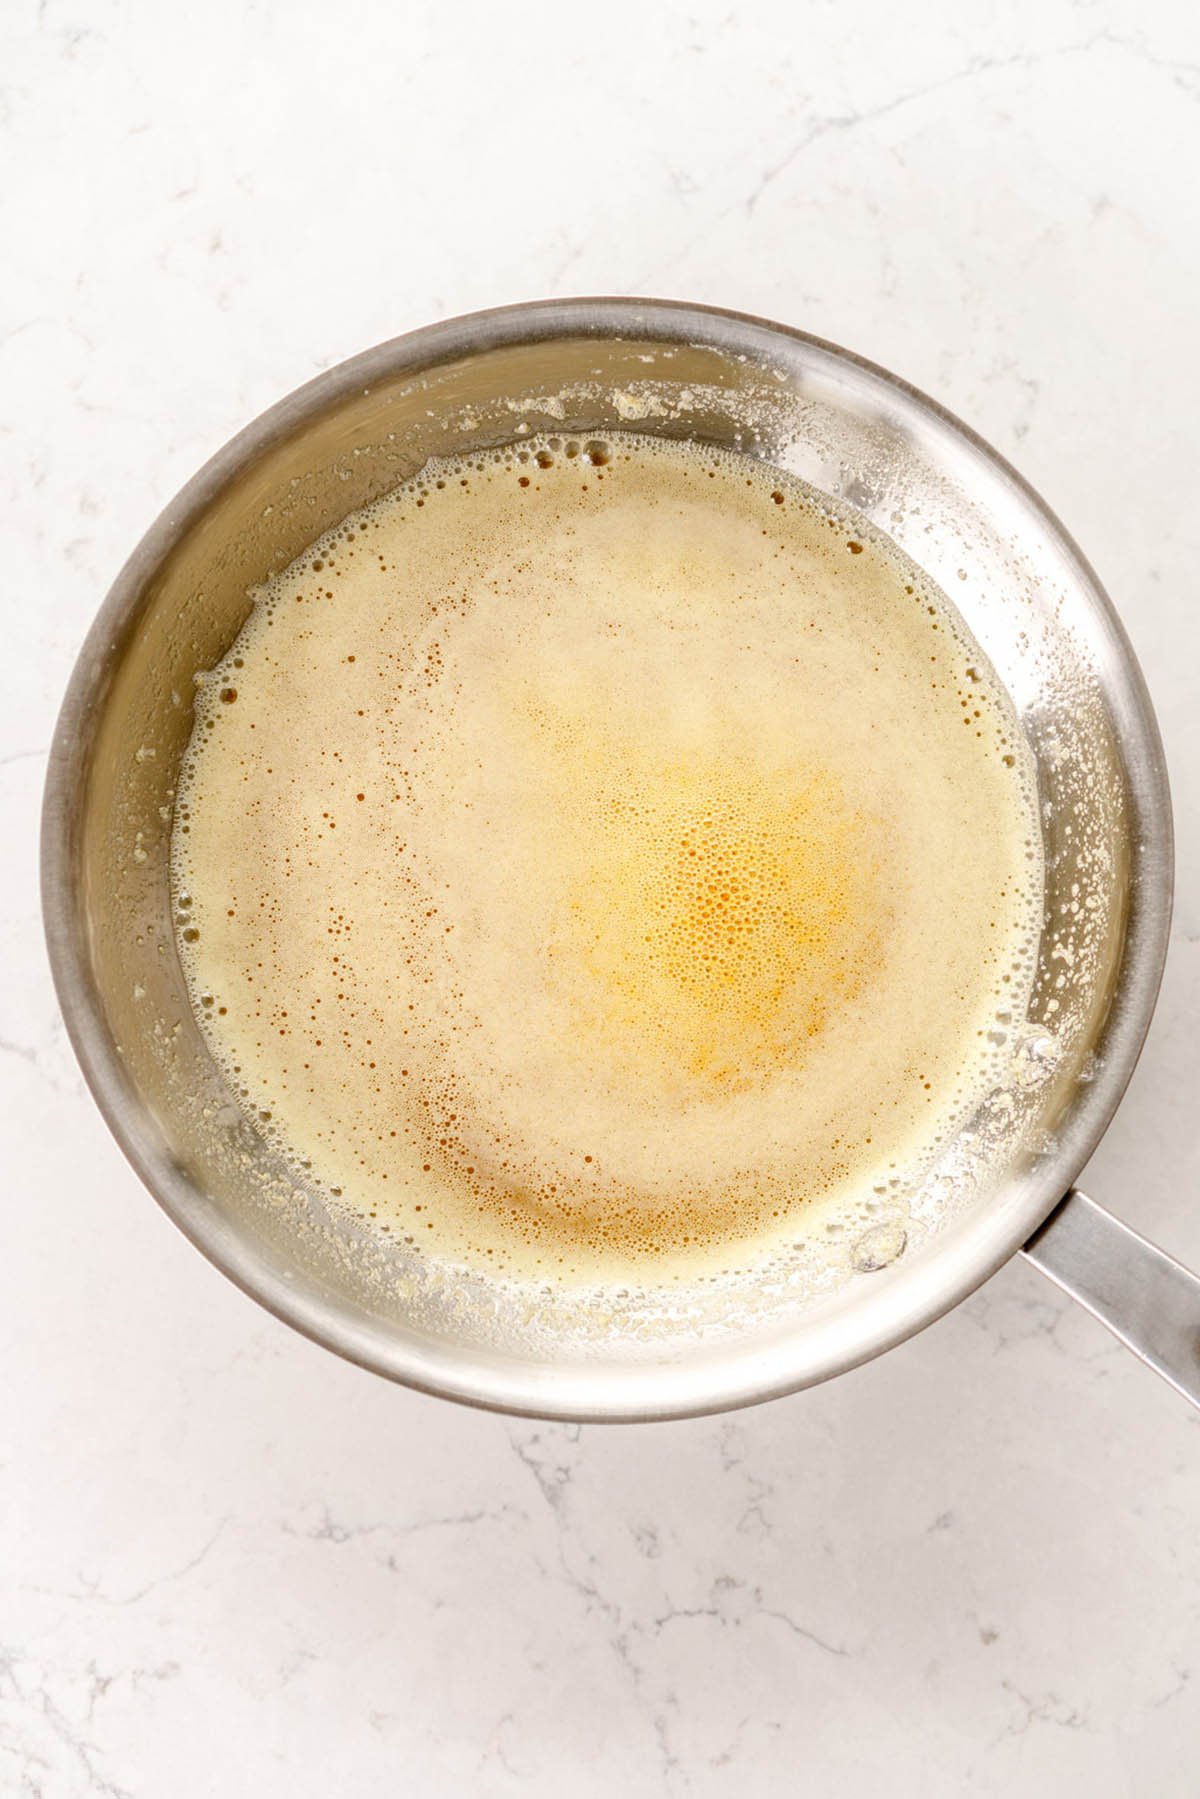
Step 8/9/10: Done. Transfer ASAP. You are done! The milk solids are browned and the water has been cooked off. You want to transfer your brown butter to either a container to store it in (go glass over plastic so you don't melt it), or the bowl you are using to bake in. You want to cool it in a bowl or container rather than the pan as you want to stop the cooking process.


How to use Brown Butter in a recipe - it takes some maths!
I have seen in a few places that you can use brown butter in the place of melted butter - this is not the case. Brown butter is butter that has had the water cooked off. Water plays a role in baking. With no water left in the butter, it is a pure fat and behaves more like an oil. Butter is about 80-83% fat, so you will need to adjust the amount of brown butter you use in a recipe when subbing it for melted butter. If a recipe uses creamed butter and sugar, brown butter will not be a direct sub. Using recipes that are developed to use brown butter, or subbing it for oil in a recipe is your safest bet!
There will be a change in weight of the butter - butter contains water!
I get this question a lot - why are there two different measures of butter in the recipe? There is a simple answer to this - butter contains water. When you brown the butter, the water cooks off, so the final amount of brown butter is going to be less than the amount that you started off with, because the water is gone. This is not a typo. I have accounted for the water lost during the browning process.
My general rule of thumb is to multiply the amount of butter I need in a recipe by 1.3 to get the starting weight of butter - so if I need 100g brown butter, I start with 130g solid butter.
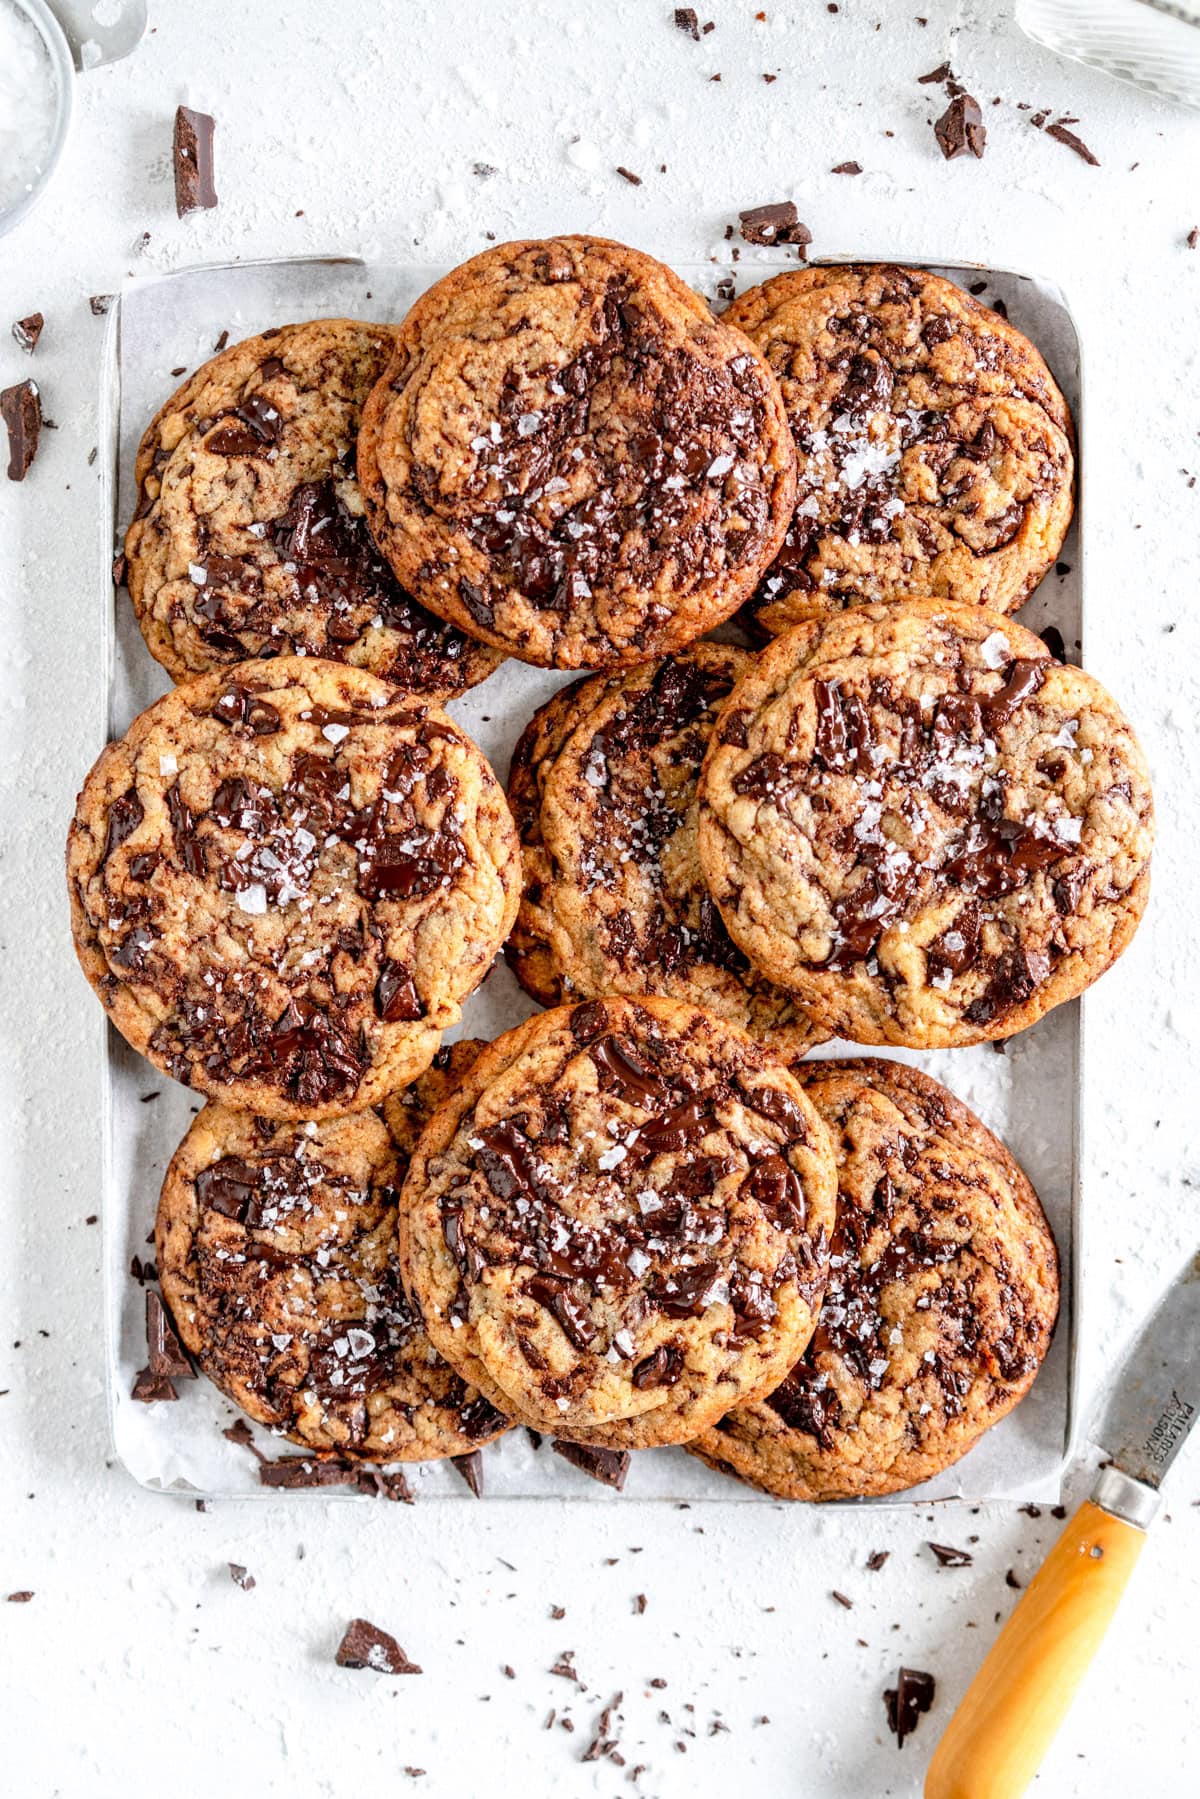
Different butter browns differently.
Butter varies in fat / water content between brands. High butterfat butter will contain more butterfat and less water - higher end brands in the US, or European or Irish Style butter, or the butter in New Zealand. This means that when you brown it, you end up with a larger finished quantity of brown butter as there is less water to cook off. Conversely, lots of US style butters contain slightly less butterfat and more water, so you end up with less brown butter because more water has cooked off.
This is why I always work by weight in my recipes and always get you to re-weigh the butter. I see so many recipes which get you to brown butter and then not weigh it afterward. This assumes all butter is the same, which is absolutely is not. Choose your recipes wisely.
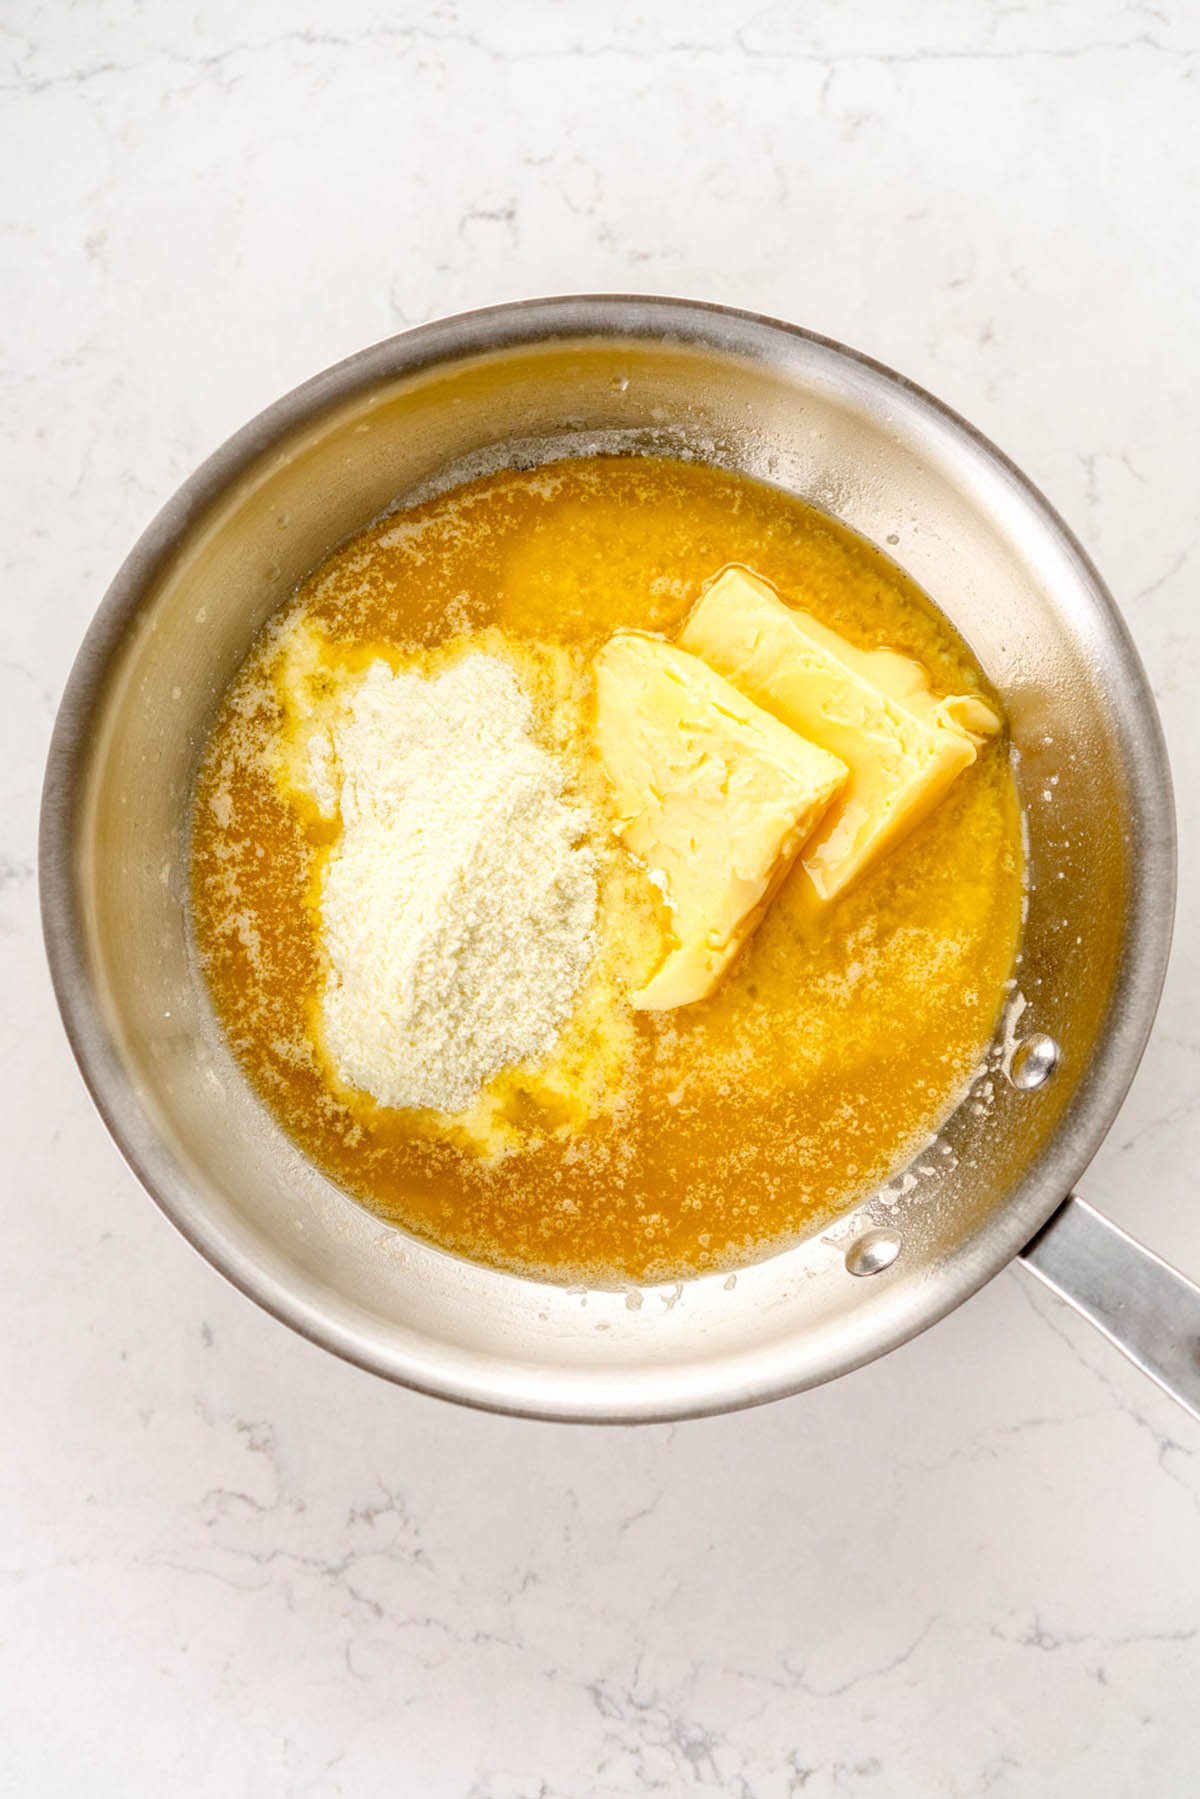
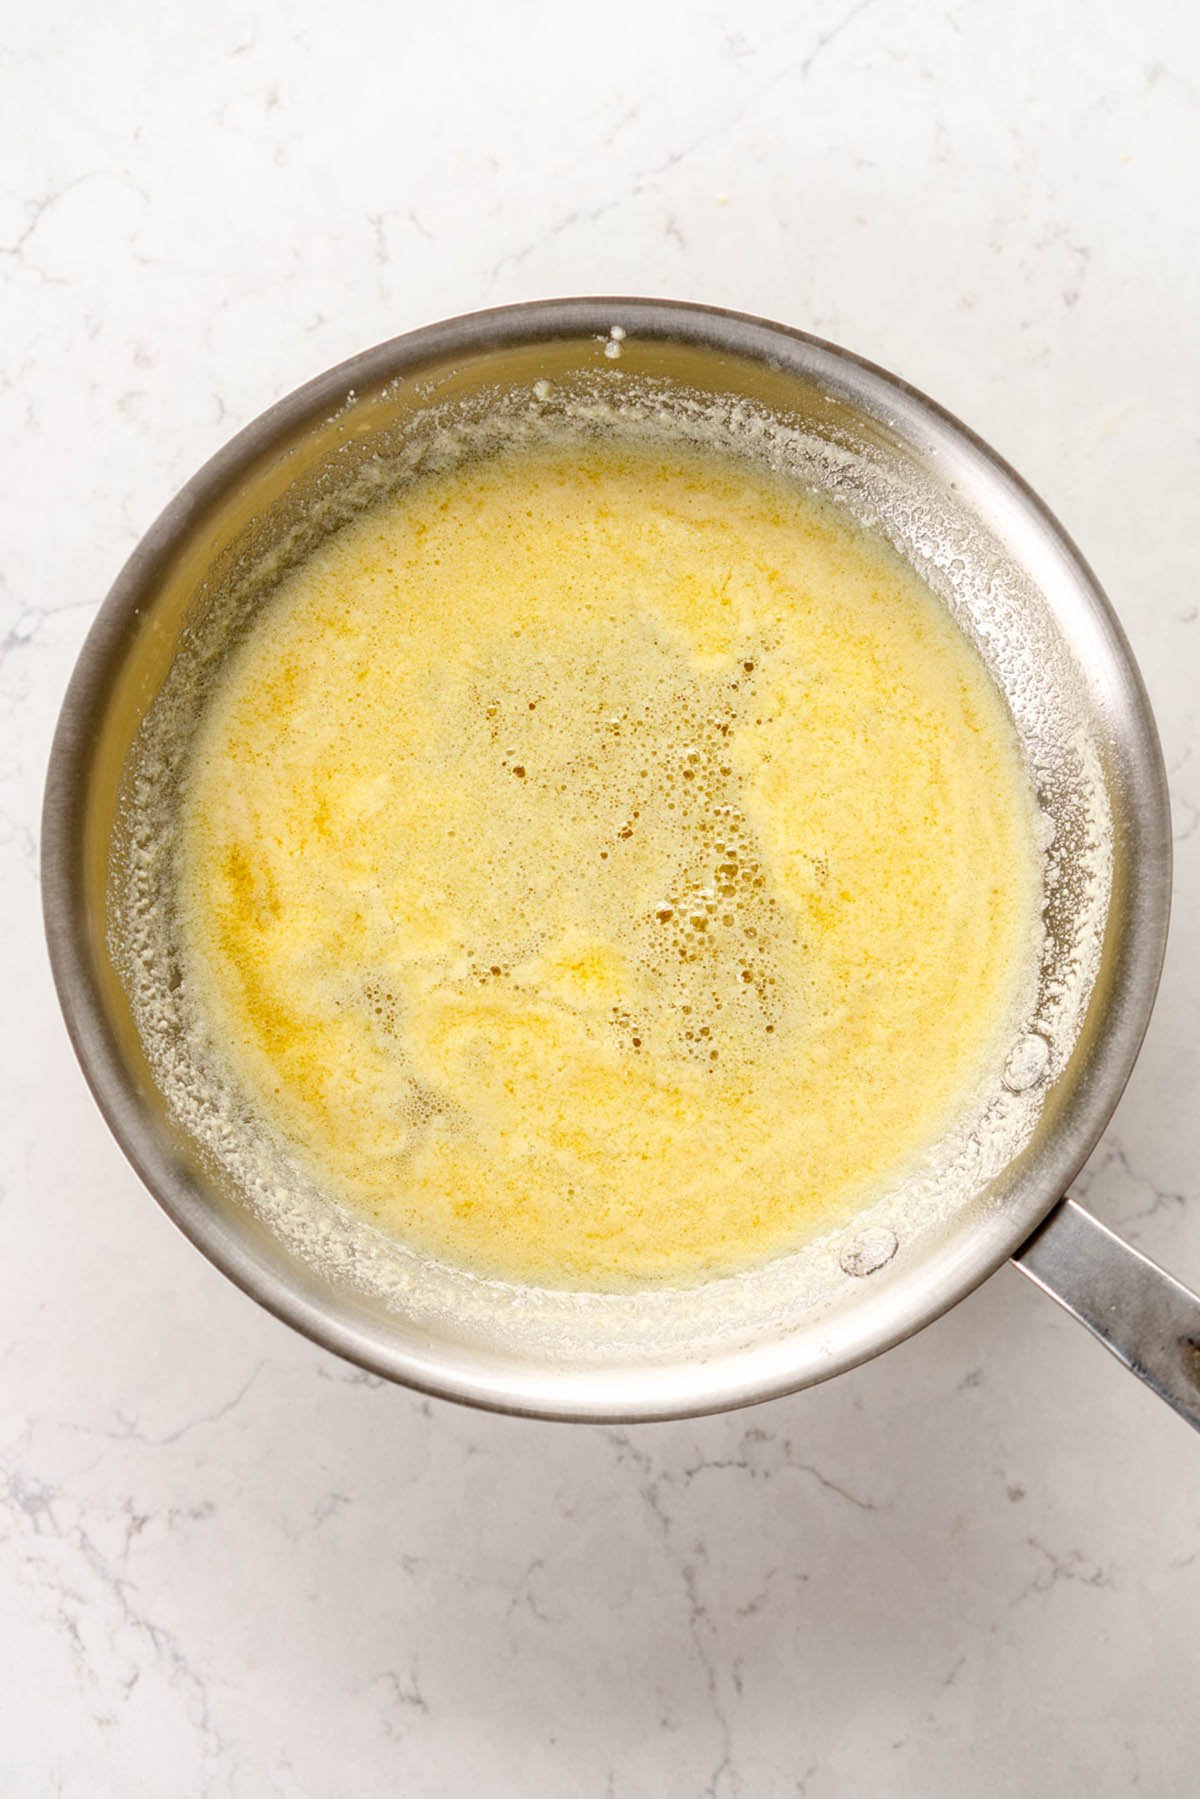
Brown Butter's best friend: Milk Powder!
Now we know that brown butter is butter with cooked milk solids, let me teach you a little trick - you can add more milk solids by adding milk powder. This increases the ratio of milk solids within the butter, and so you get a mega brown butter situation. I add it in once the butter has melted, and then whisk well throughout the cooking process.
The only thing you need to take note of when you are adding milk powder is that it affects the final quantity of brown butter. For example if you are starting with 130g of solid butter to shoot for a final browned quantity of 100g, if you add in 20g of milk powder to this, your final amount of butter remaining for the recipe will be 120g as the milk powder does not cook off, so it is accounted for in the final weight of the butter. I have found that adding milk powder does not work for every recipe as it can make the butter behave slightly differently but it works great for recipes such as my Oatmeal Raisin Cookies and my Rice Krispie Treats.
How I make Brown Butter in Bulk or Ahead of Time
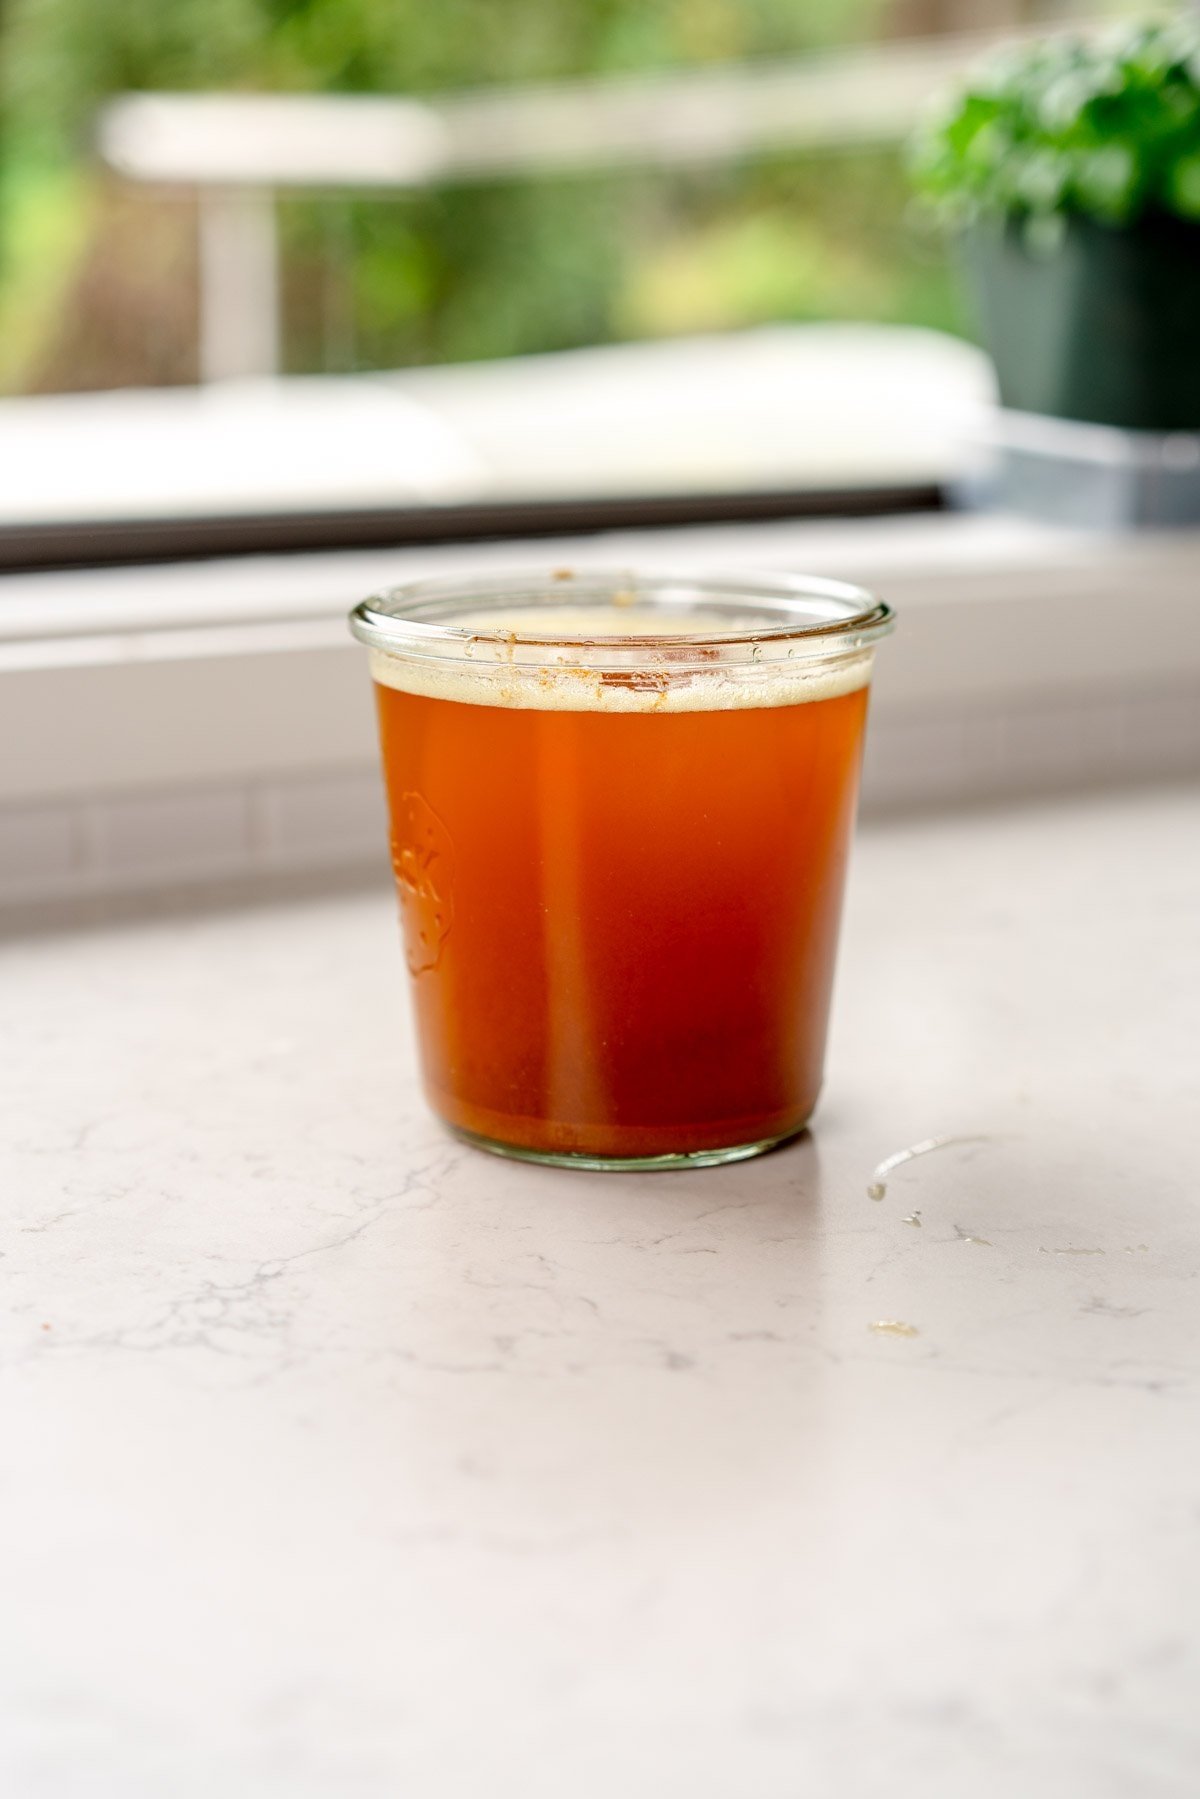
I often make brown butter in bulk if I am doing a lot of recipe testing with brown butter, but I also like to keep it on hand for making my scrambled eggs. The key thing to make sure of here is that you cool it at room temperature and stir often. The brown milk solids sink to the bottom, so if you leave it to sit and then pop it into the fridge you hav a layer of butter on the top and all the milk solids on the bottom.
You can easily avoid this - stir the butter as it cools. This distributes the browned milk solids within the brown butter so that it is more homogenous. I like to let it come to room temperature then place in the fridge, stirring regularly, until it is cool enough to not separate.
To use pre-made brown butter just weigh out the amount that you are needing in your recipe and melt and proceed as usual - I usually just quickly melt it over a double boiler in the mixing bowl I am planning to use or put a little hot water into the sink.
❤️ Made this recipe and love it? ❤️
I would LOVE for you to leave me a review and star rating below to let me know how you liked it! Also, please make sure to tag me on Instagram!
Answers to your baking questions
Over the years, many of you have asked me questions about:
- baking in grams
- adjusting oven temperatures
- what kind of salt to use
- and many more!
I've curated and answered them all for your easy reference in this frequently asked questions post!
Brown Butter 101: The Ultimate Guide
- Author: Erin Clarkson
-
 Prep Time: 2 minutes
 -
 Cook Time: 10 minutes
 -
 Total Time: 12 minutes
 -
 Yield: 4 servings 1x
 -
 Category: Butter
 -
 Method: Stovetop
 -
 Cuisine: American
Description
If you haven't tried brown butter before, it is pure magic. This ultimate guide will teach you how to brown butter, how to make it in advance and store it, and how to take advantage of the amazing nutty flavour that it gives to baking. Plus, check out my tip on making mega brown butter with the addition of milk powder!
Ingredients
- Salted or Unsalted butter, cold from the fridge is fine (use the amount the recipe calls for)
- Milk Powder (optional, see notes, I usually do 20g milk powder per 120g butter but this can vary)
Instructions
- Note - this can go quickly, so watch your stove temperature and the butter closely. If you are worried it is going too quickly, remove from the heat to stop the cooking process then return once the stove temperature has been lowered.
- Place the butter in a medium pan, and place over medium heat. Cook until the butter has melted, and then continue to cook, swirling the pan often and stirring with a whisk, until the butter foams and turns golden brown and nutty - this should take 3-4 minutes at medium heat but may take longer if you have your temperature lower (which is totally fine, do what you are comfortable with!)
- The butter will go through phases as it cooks - it will melt and then start to foam, then become quite bubbly and noisy as the water starts to cook off. When it is getting closer to being done the large bubbles will turn to more of a foam and the noise will quiet down. The butter will start to smell very nutty.
- Once the butter has browned, transfer it (including all the brown pieces, that is where all the flavour is!), to a jar or bowl.
- Use as desired.
- To add milk solids to the butter, melt the butter then add the milk solids and whisk to combine. You will have to watch the brown butter extra carefully and whisk well as the solids can clump up. The cooking process is the same.
Notes
As a general rule of thumb I do 20g milk powder to 130g butter for adding in milk powder but feel free to adjust!
Salted or Unsalted butter? This is up to you. I love the taste of browned salted butter so that is what I usually make, but unsalted works great too.
You can brown your butter further than I have for this blog post - but it is a fine line that takes some practice. I like mine super well toasted, but for the purpose of teaching I have not done that because it is too easy to burn, and burnt butter is so sad. Play around with what you are comfortable with, the best way to do this is to turn the heat right down at the end and watch carefully.
The post Brown Butter 101: The Ultimate Guide appeared first on Cloudy Kitchen.


