If you can make Pie Crust, you can make Puff Pastry. While it may seem intimidating, there are very few differences between them! This step-by-step guide will walk you through the basics of making your very own homemade rough puff pastry, and will have you no longer reaching for the store bought stuff when you see puff pastry recipes - I promise you this is so much better!
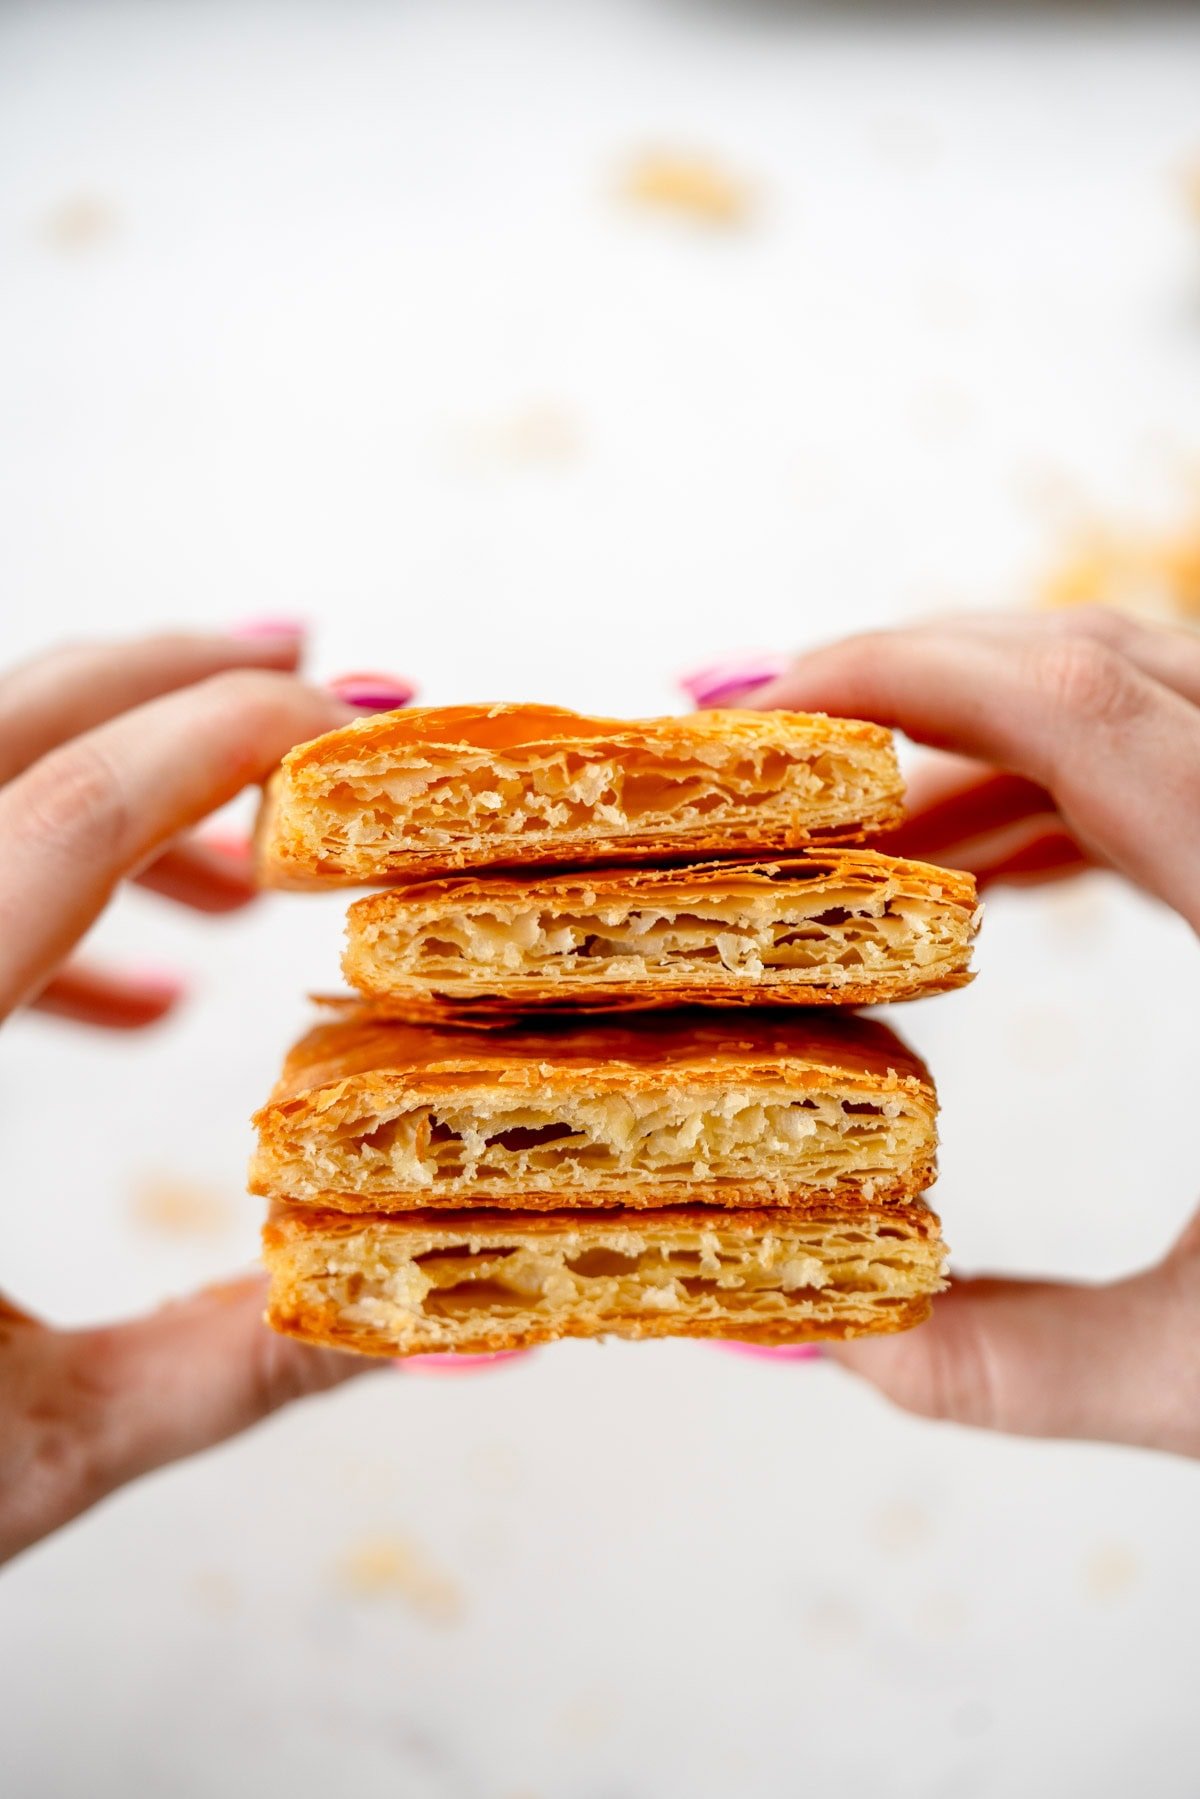
Hi hi! I am just popping in to share this recipe for easy homemade puff pastry with you! I promise it really is easy. If you can make Pie Crust, you can make rough puff pastry - they are essentially the same thing, only the technique is slightly different.
This puff pastry recipe is super versatile, and is a great thing to keep on hand in your freezer for whenever the need strikes. Not only is is super easy to make (no fiddly butter block here than you very much!), it is buttery and flaky and gives the most amazing flavour to any puff pastry recipes you might need it for.
I promise this step by step guide will have you feeling super confident in no time and making your very own puff pastry like a pro! This recipe uses the rough puff method, and still produces the most amazing flaky pastry.

Puff Pastry vs Rough Puff Pastry: What is the difference?
Rough Puff Pastry is the chill younger sister of Big Girl Puff Pastry. They are made up of the same components, but the main thing that differs is the technique in which they are made.
Traditional Puff Pastry is made with a butter block. You make the base dough, then make a block of butter which you enclose in the dough, then laminate (a fancy word for fold) over a series of turns to give you a flaky dough. This technique gives you a flaky dough, but honestly? I have made puff pastry both ways and this way isn't worth the hassle. If you follow my technique for rough puff pastry, you'll get all the flaky layers and flavour without any stressing over butter blocks.
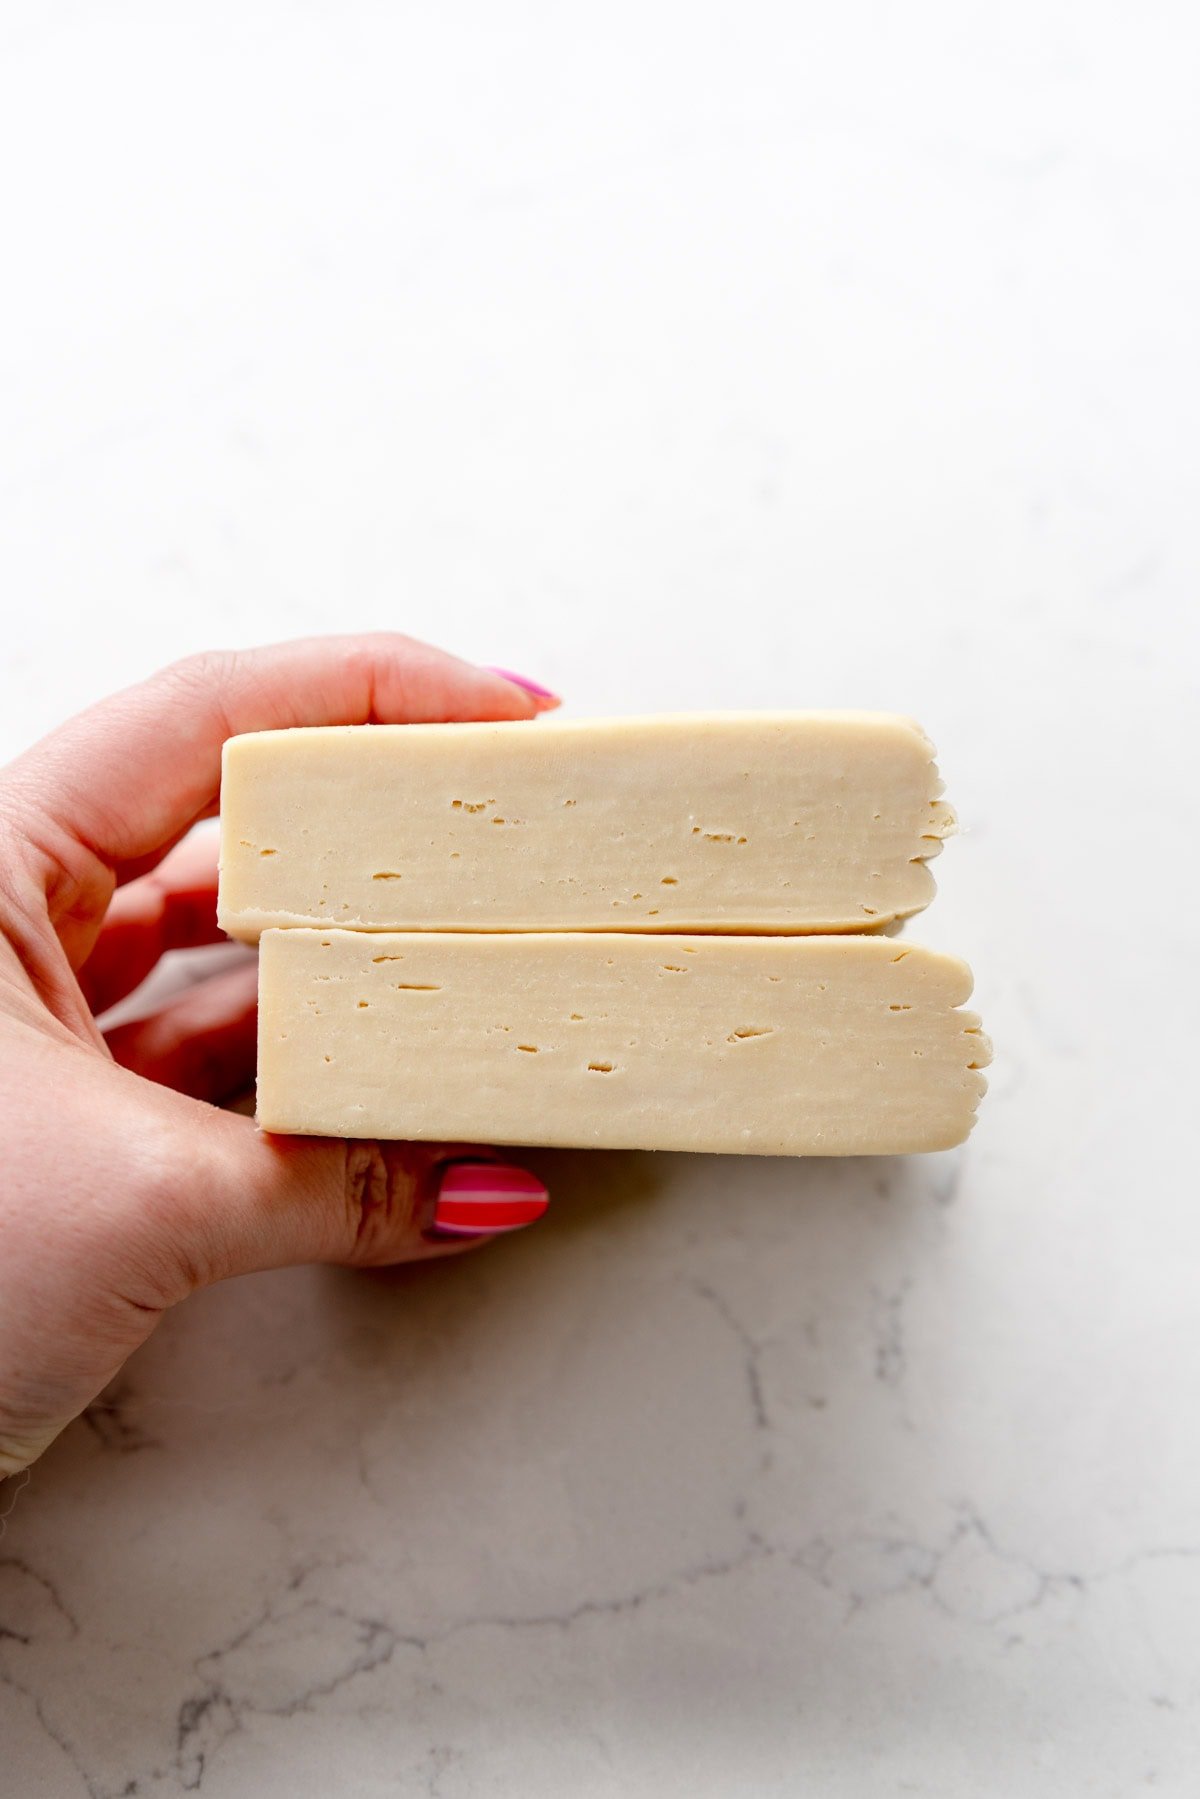
Rough Puff Pastry still uses the same components - dough and butter, but the butter gets incorporated into the dough right at the start rather than being enclosed as a butter block. This makes it much easier to make and less stressful to work with.
So how do you even make it?
I use the same technique that I use in my All Butter Pie Crust for making this puff pastry. If you're familiar with my pie crust you know that after bringing the dough together you give it a series of folds. We do the same thing here. The only thing that is different is that we keep the butter pieces slightly larger when mixing, and do one additional fold. That's it. Told you - if you can make pie crust, you can make puff pastry.
Let me break down the process: Puff Pastry from Scratch.
Like I mentioned, the process is very similar to making Pie Crust, we just are using slightly larger pieces of butter at the start, not incorporating them as well so they add nice buttery layers to the puff pastry, and doing just one extra fold. Here are the steps, with photos, to show you exactly how it goes.
Step 1: Make your dough. This is all broken down in the recipe card for you - the main piece of information here is that you want to only squish each piece of butter once to flatten it so that when you give the dough laminations, you have large pieces of butter in the dough to give you a nice flaky puff pastry.
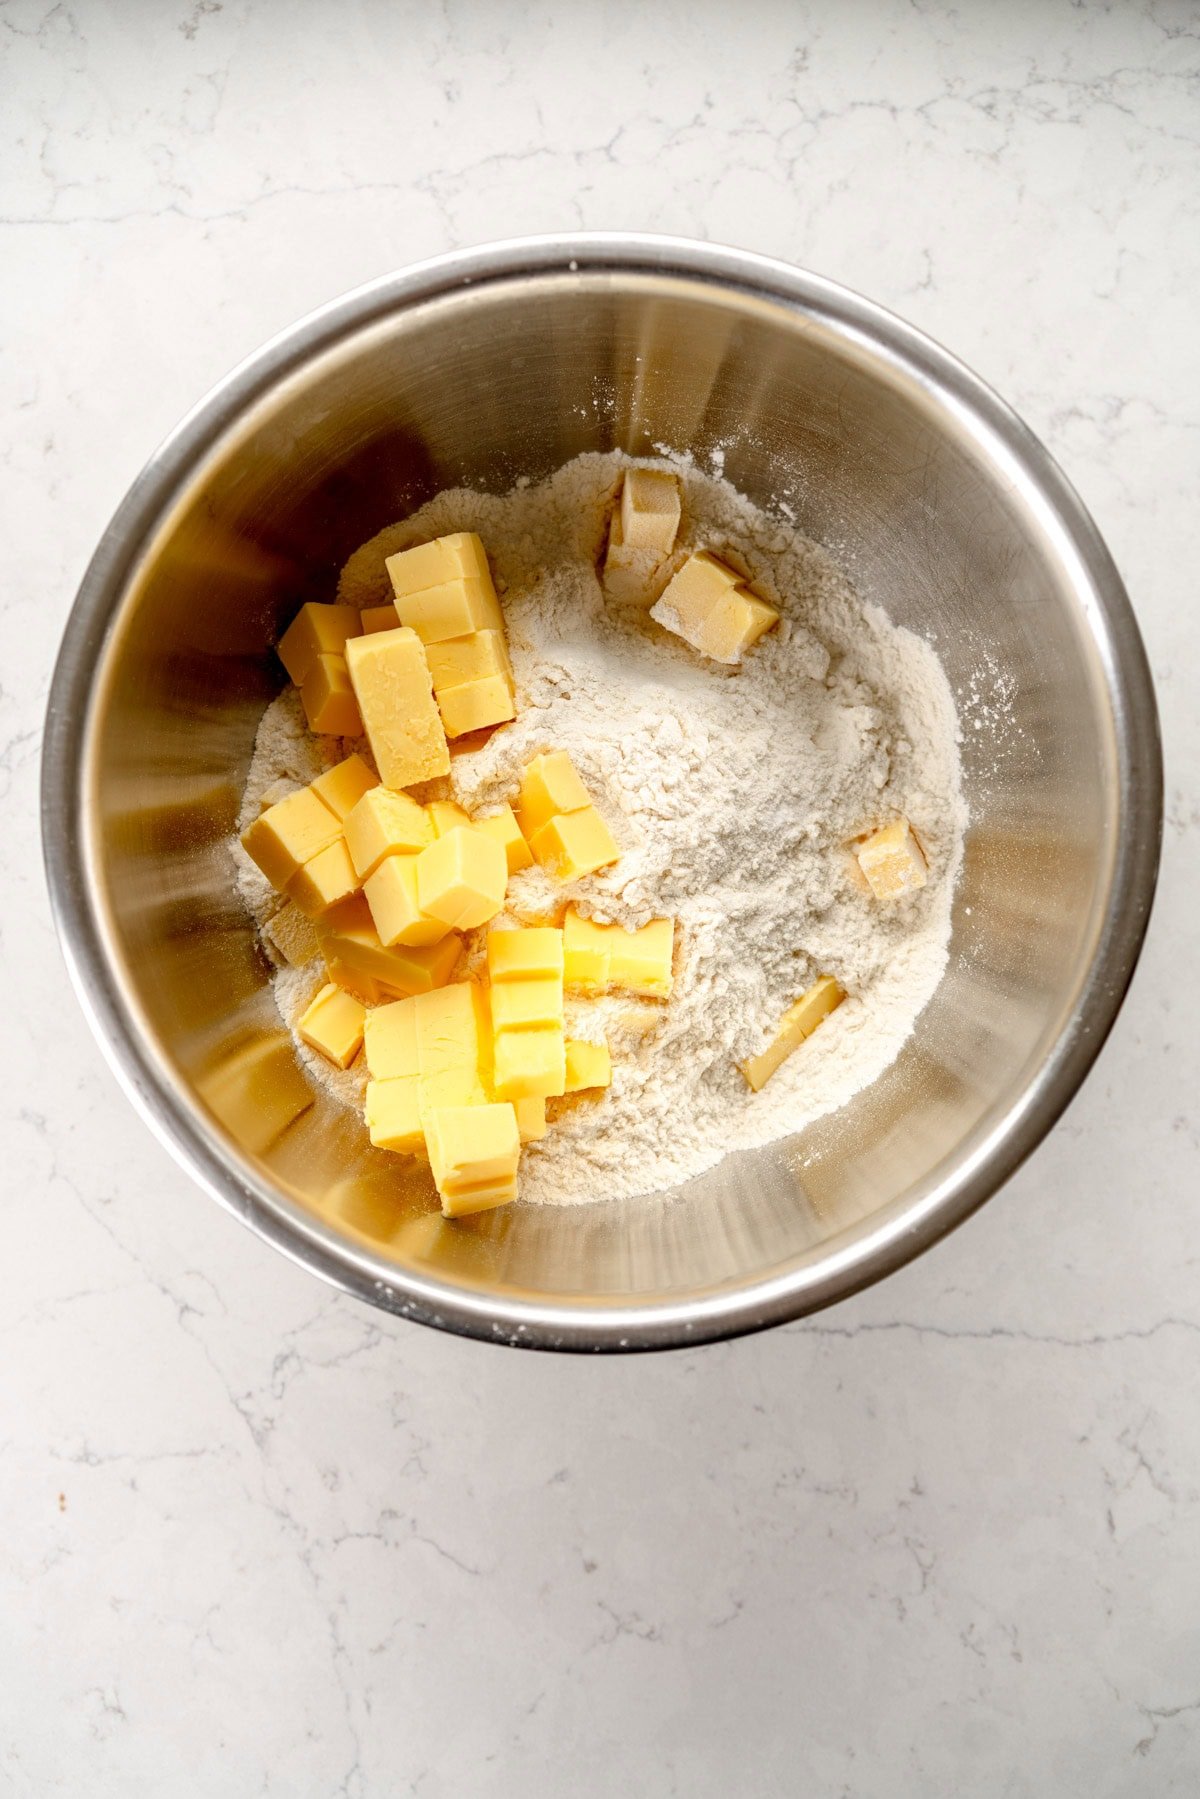


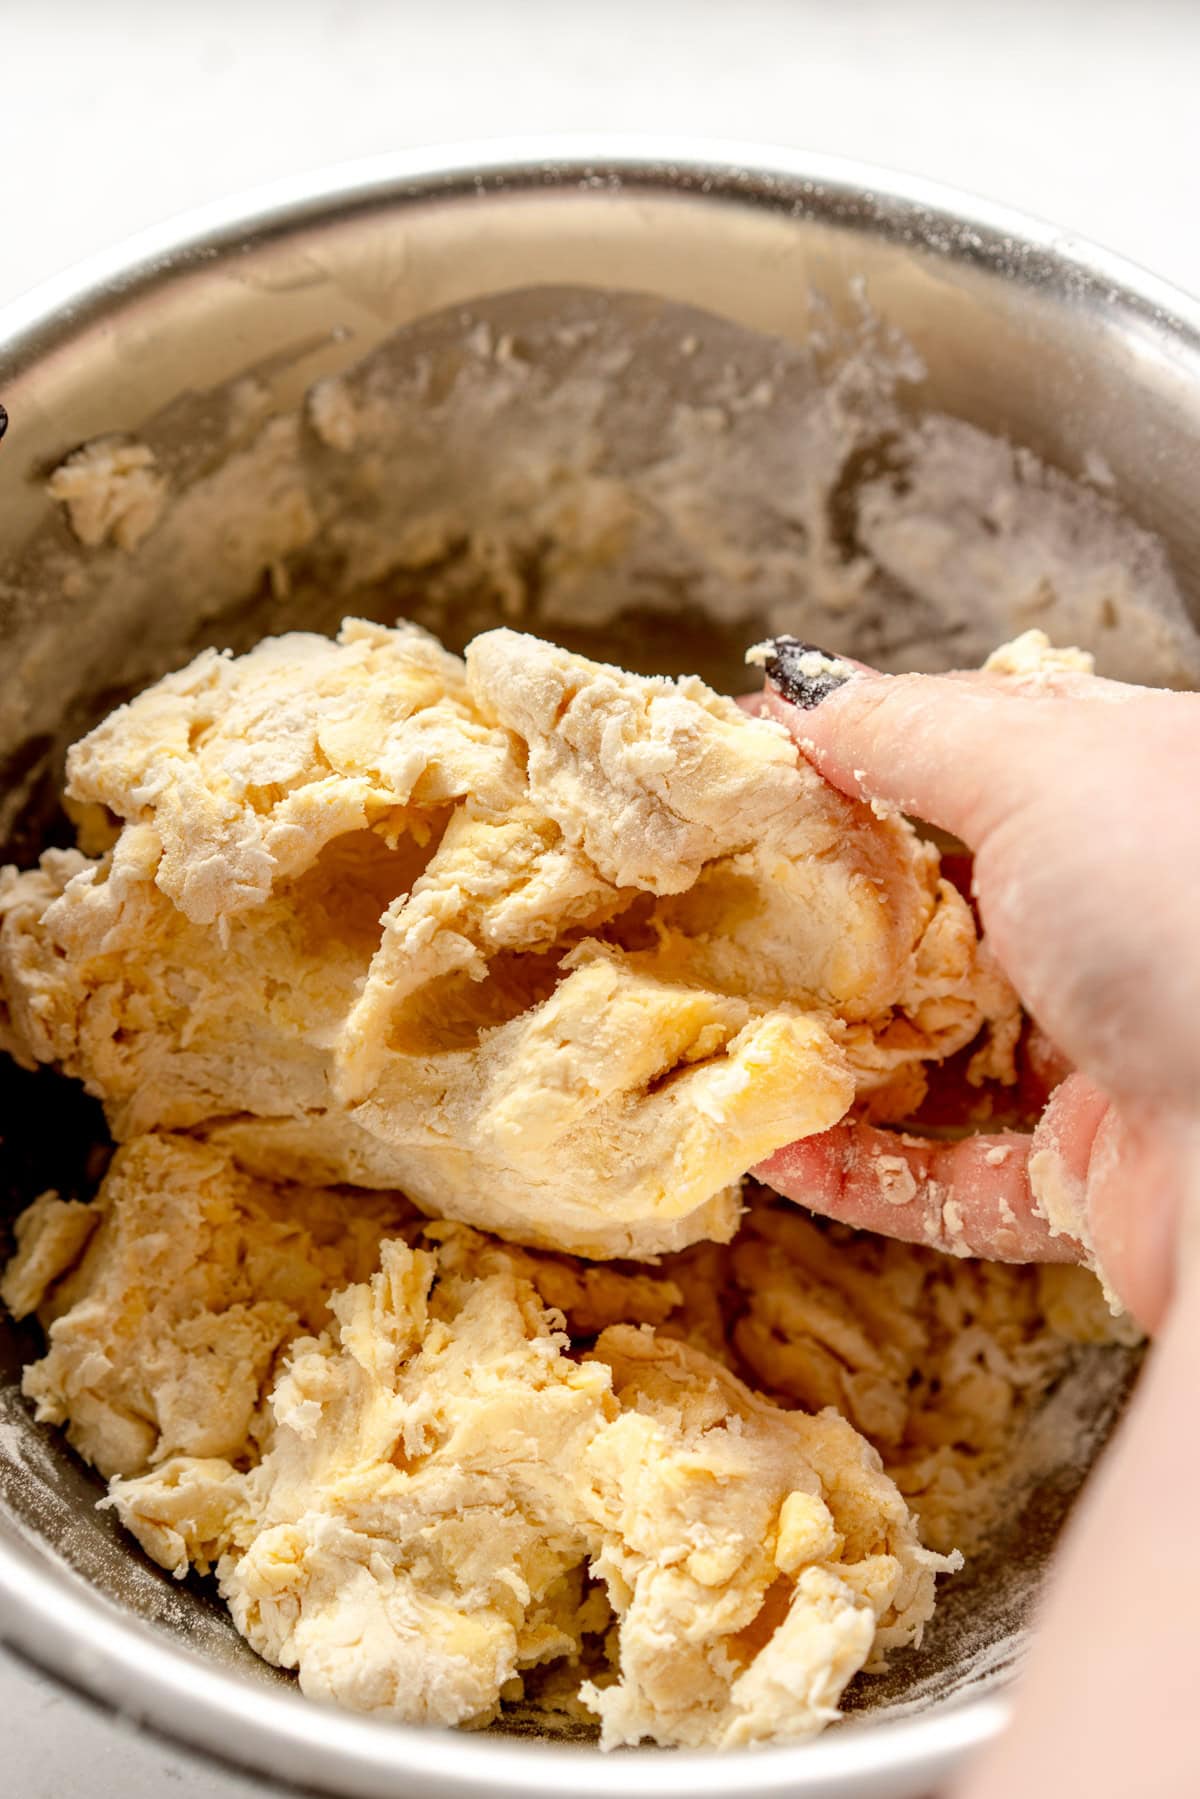
Step 2: Rest the dough. This gives the gluten a chance to relax, the dough a chance to hydrate, and the butter a chance to cool down so that when you do the folds, the dough won't smoosh everywhere.
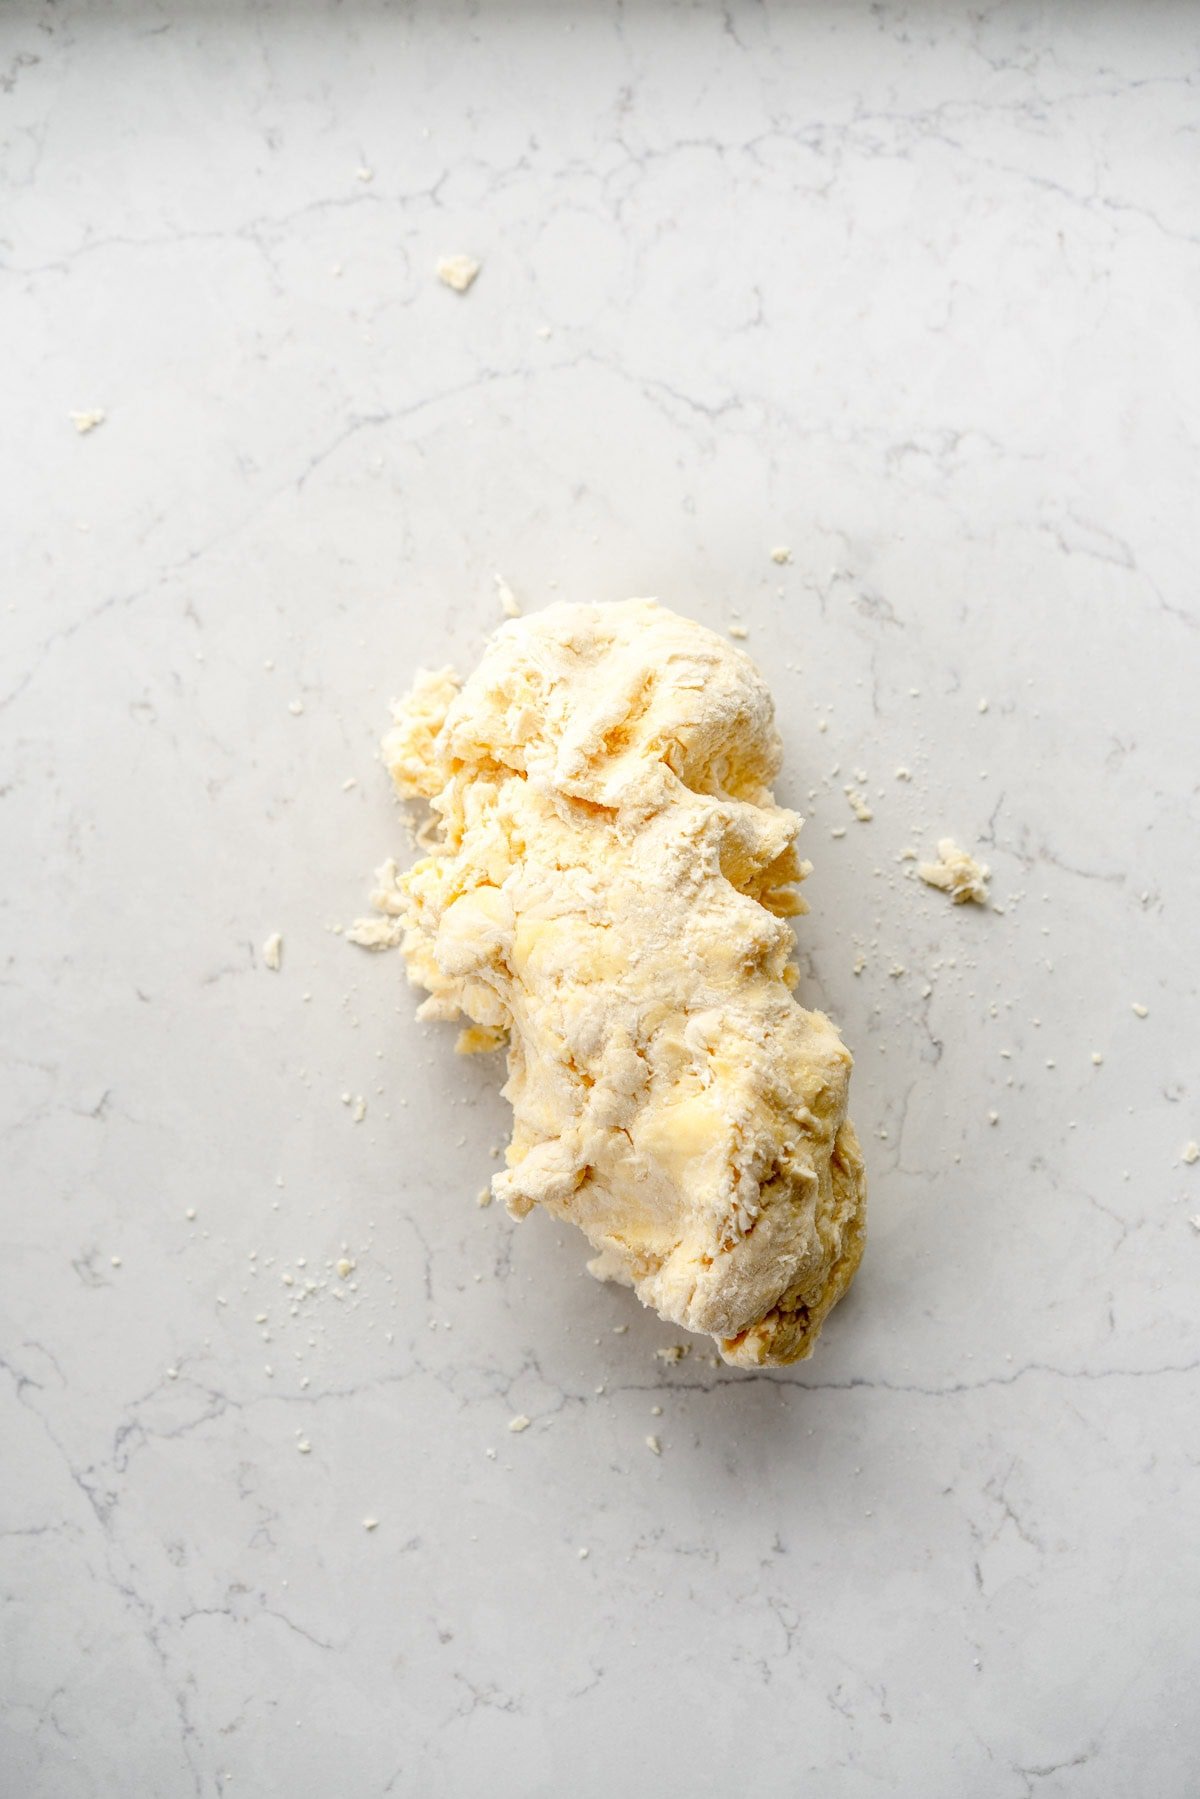
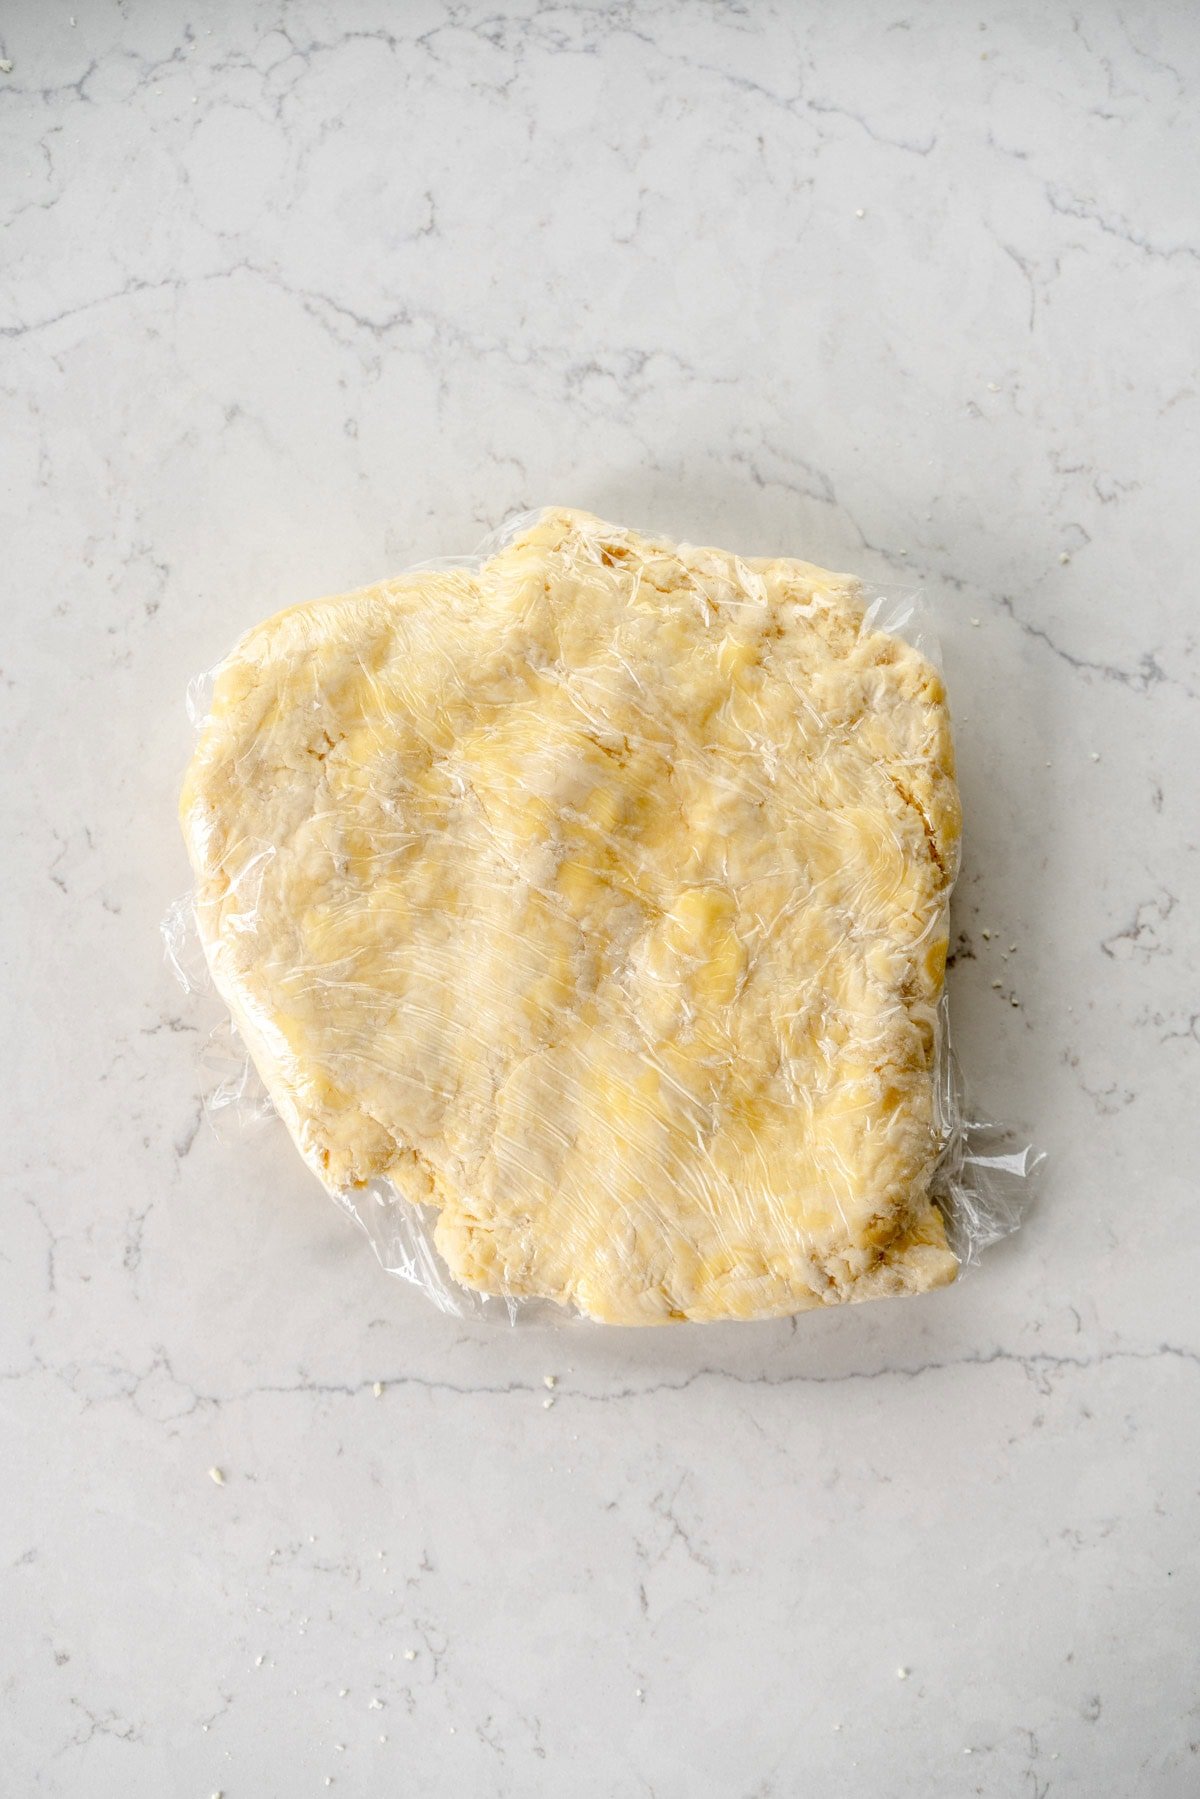
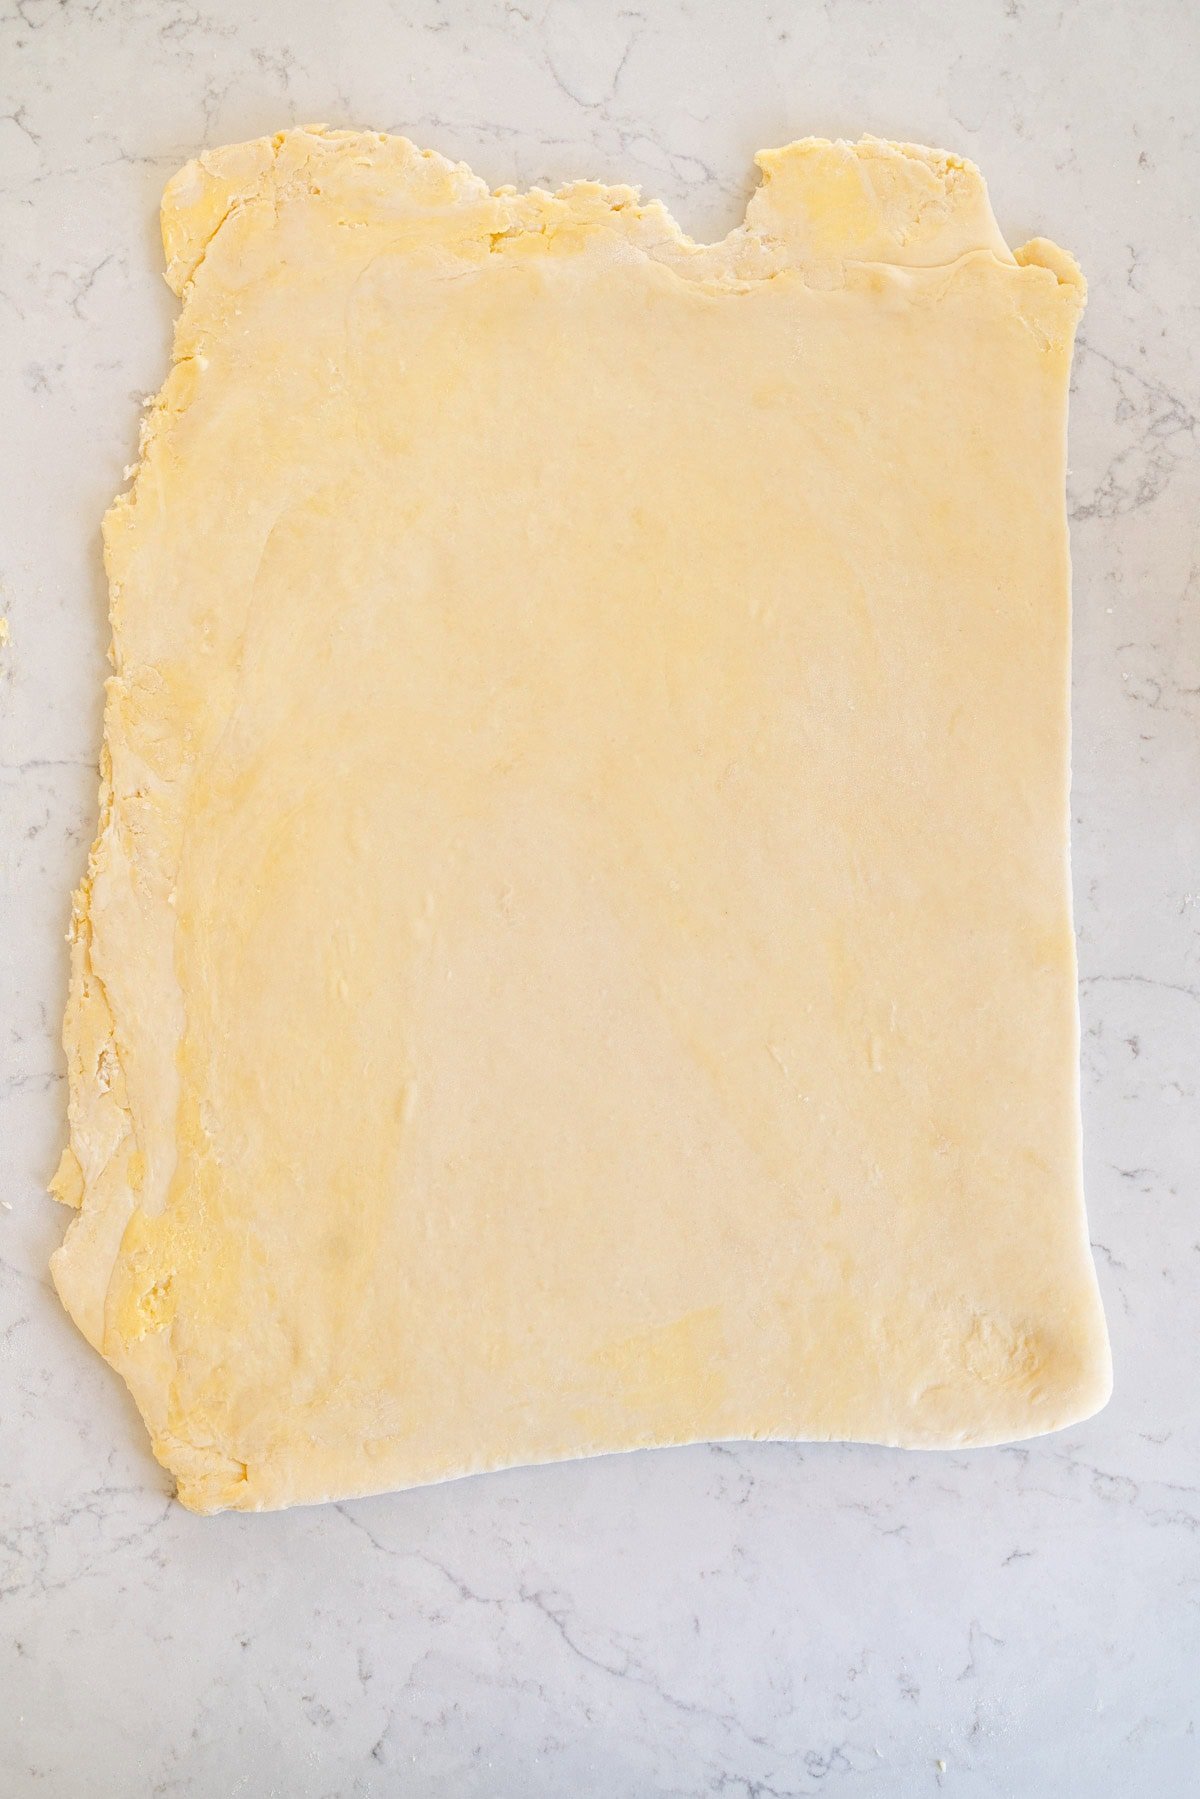
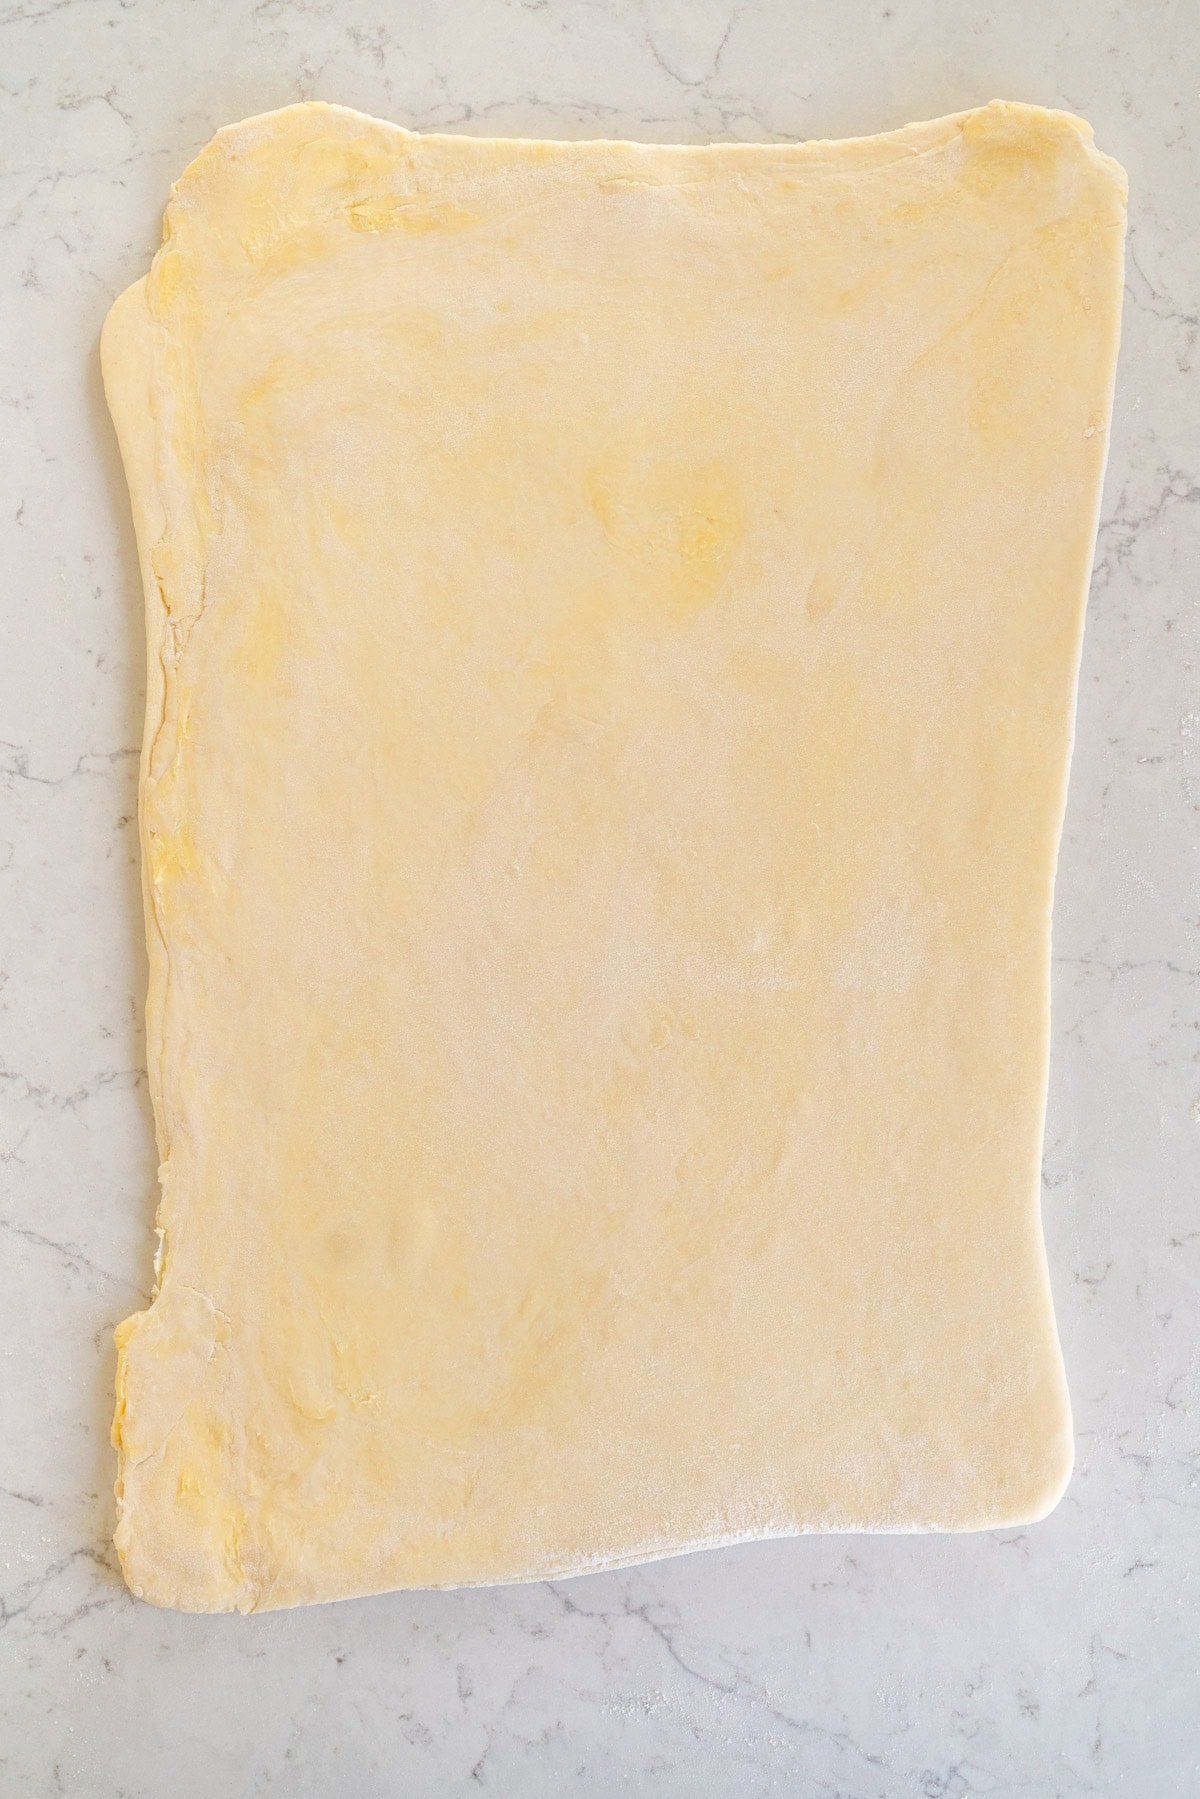
Step 3: Folds. We do four sets of folds with this puff pastry dough (like in my pie crust), each about 20 minutes apart. The resting time gives the butter a chance to cool down again and the dough to relax. You can see in the images below as the dough goes through each fold, how the butter becomes more homogenous within the dough. This is also developing flaky layers.
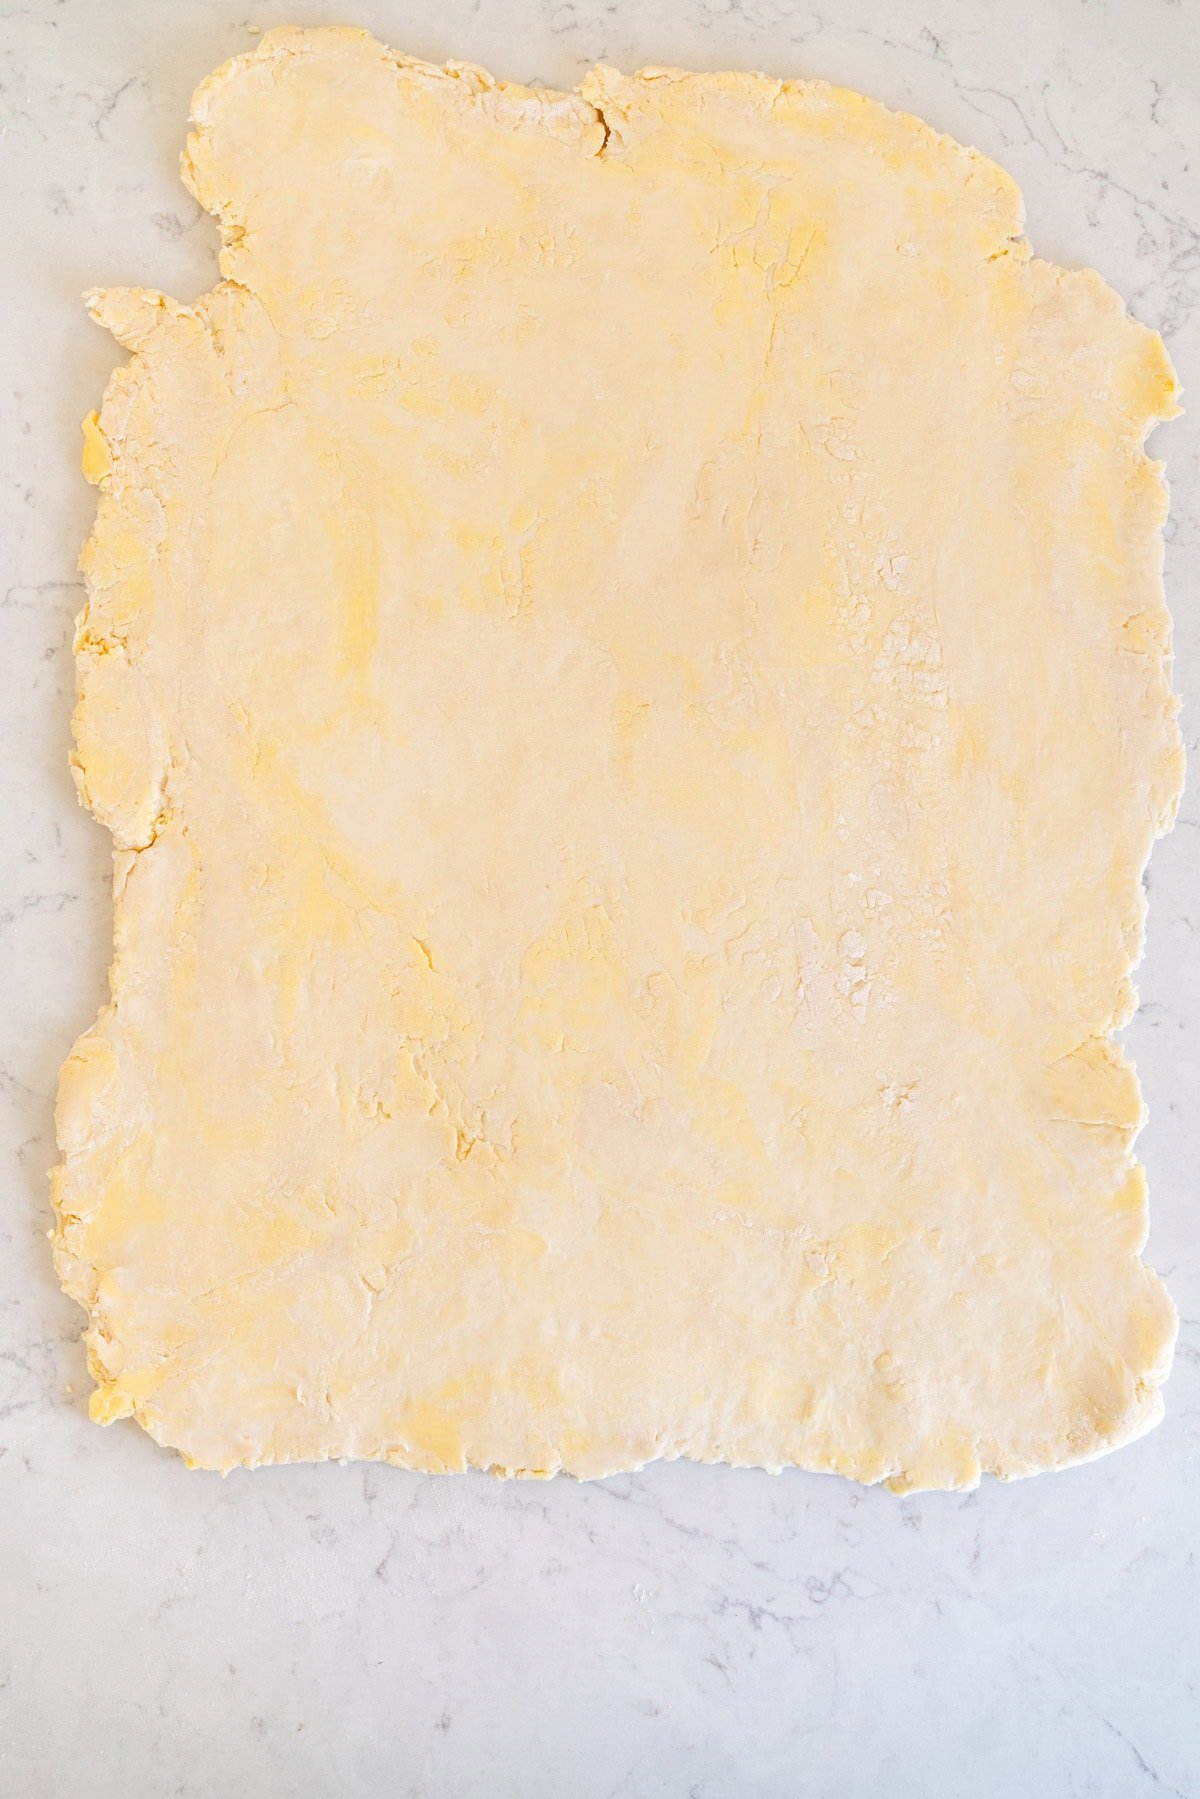
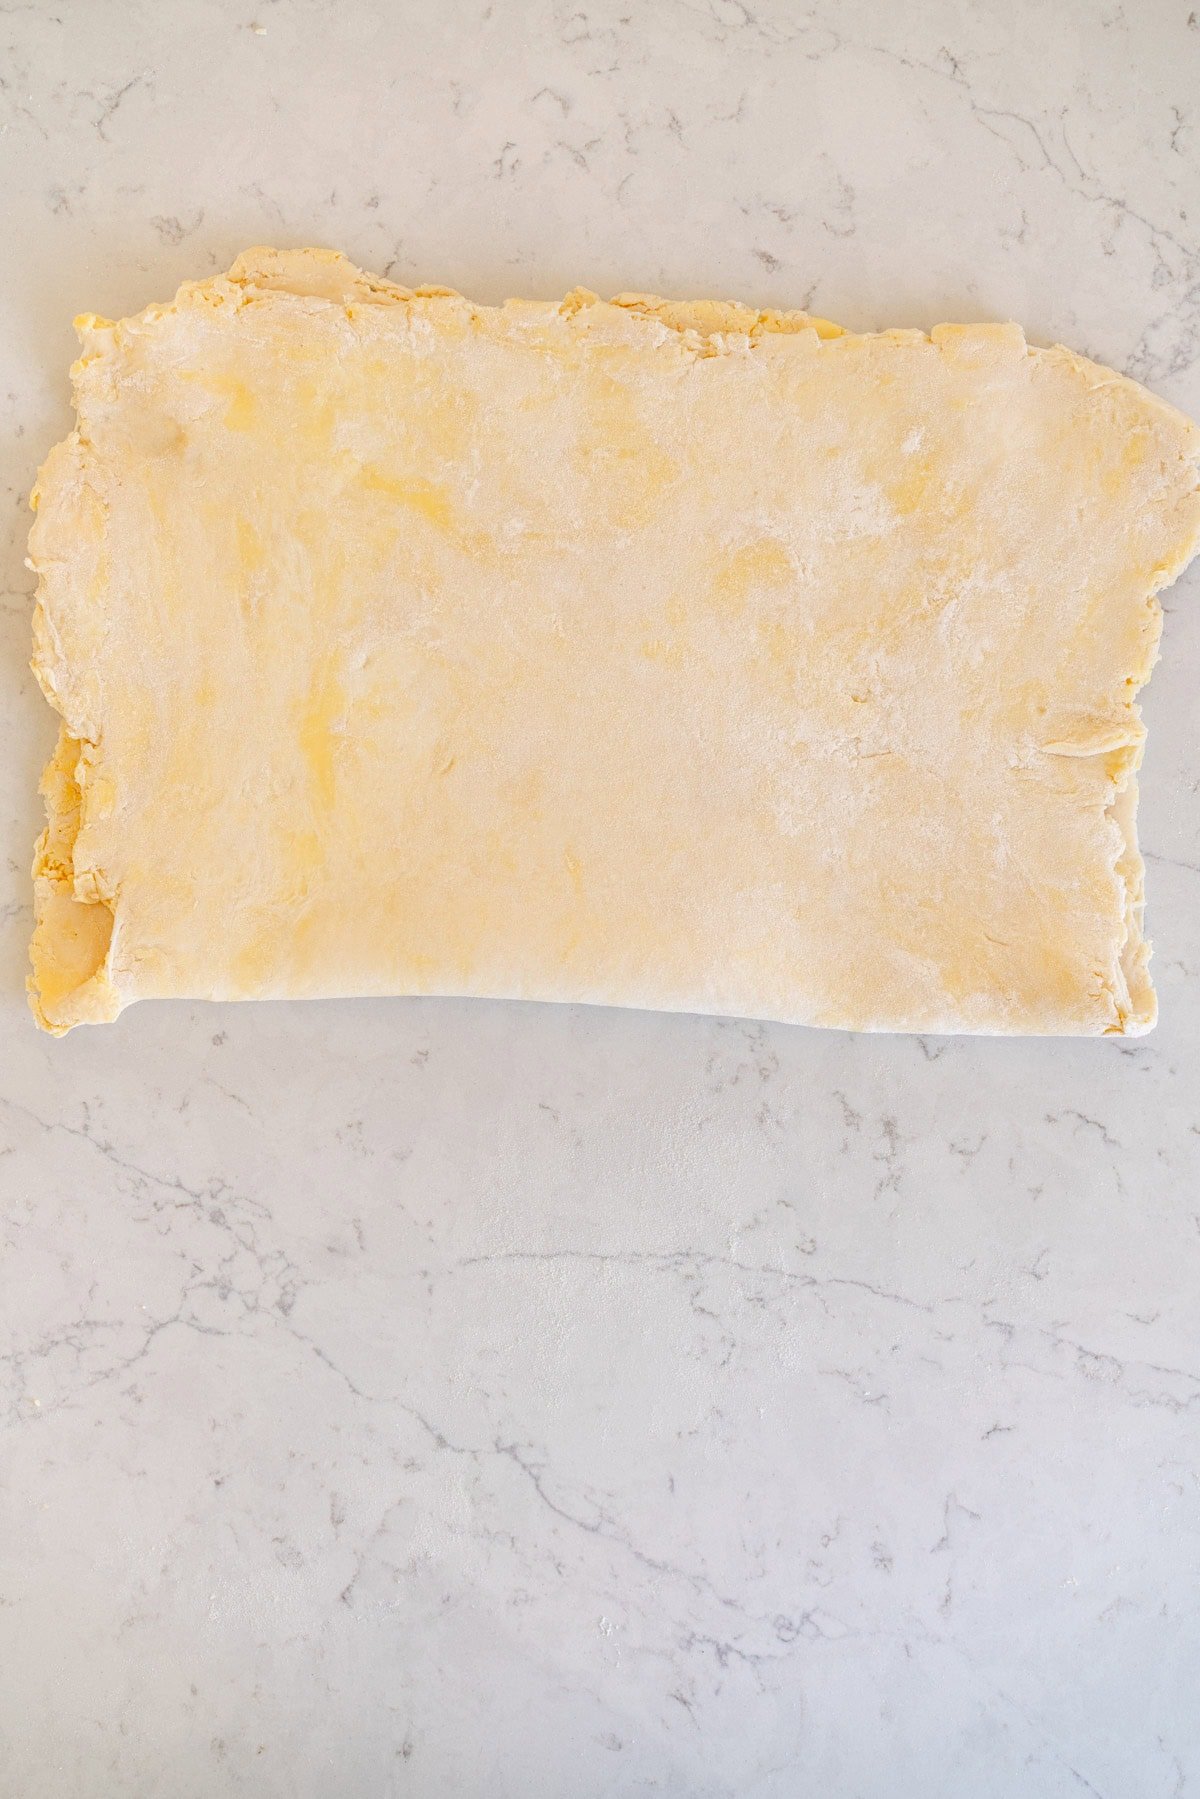
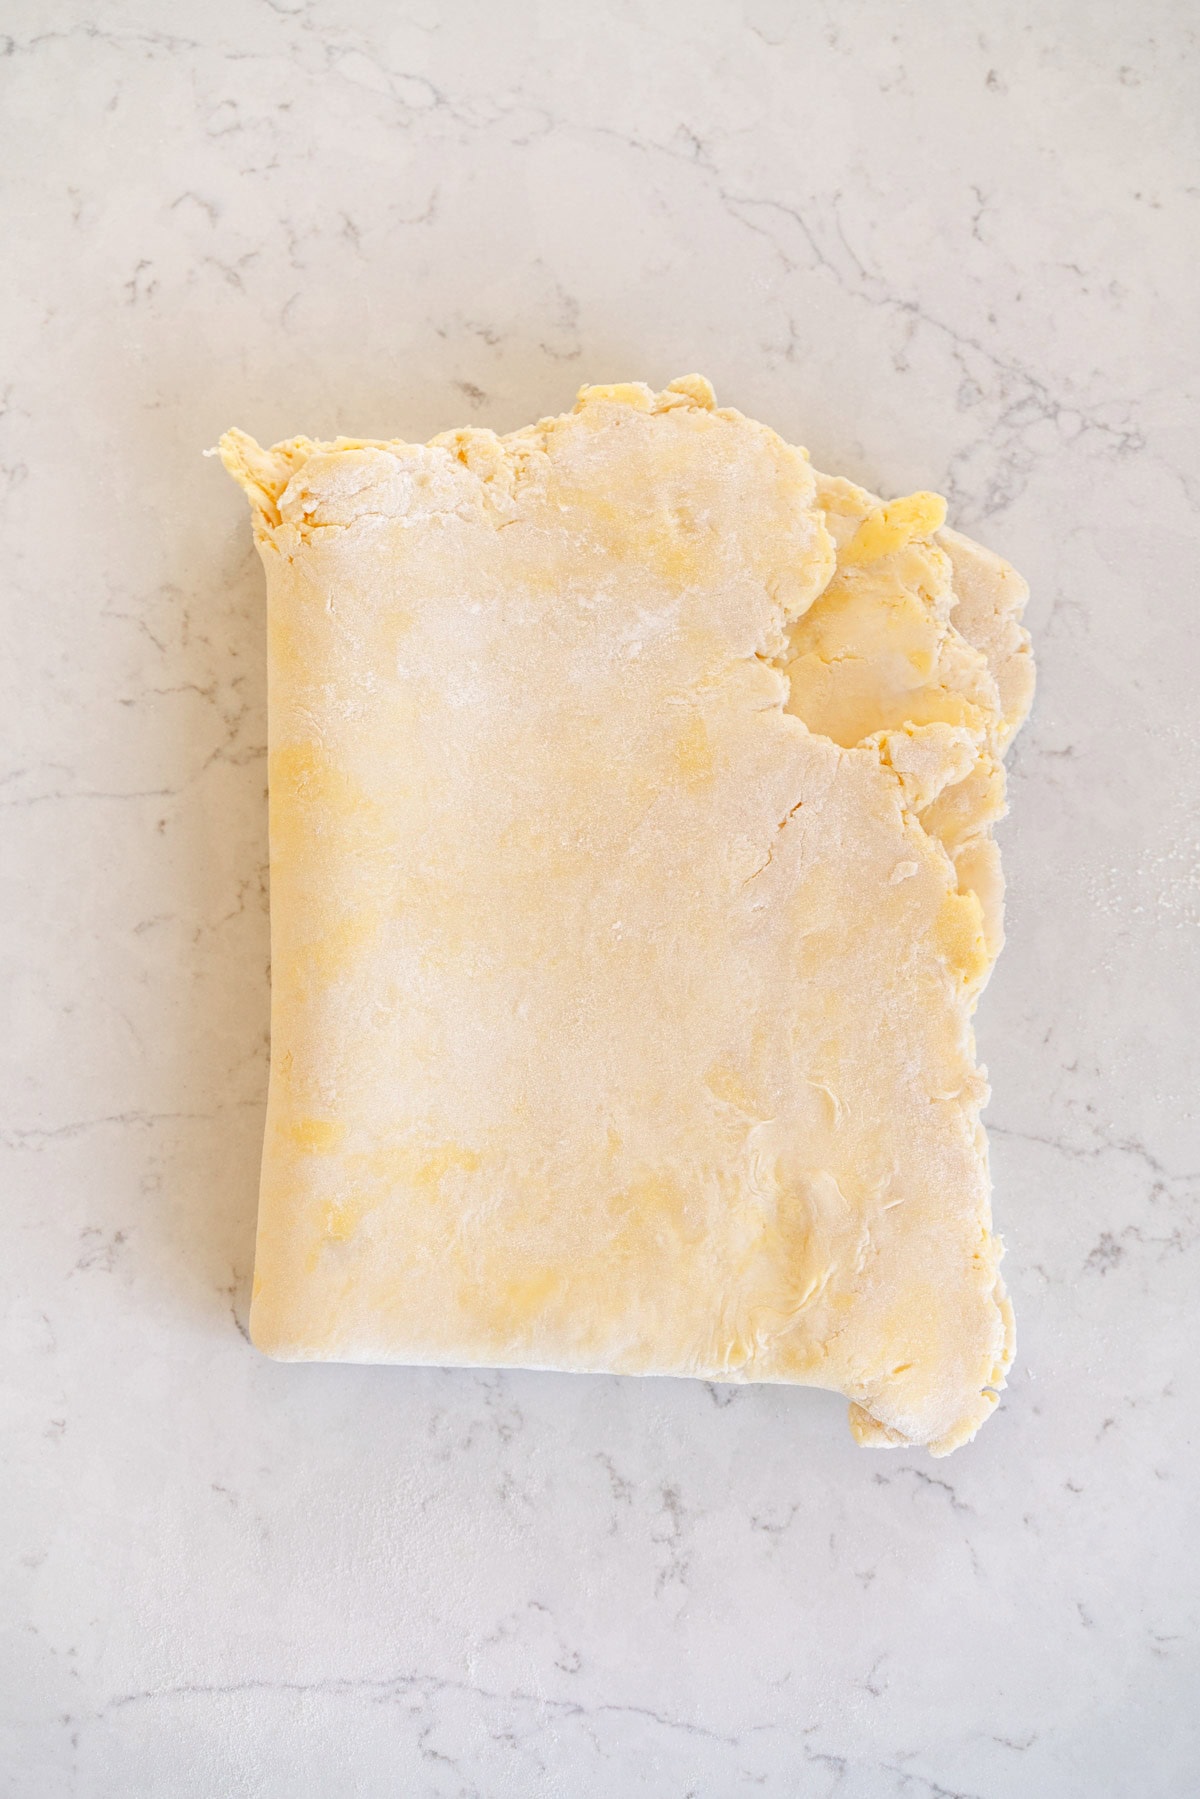
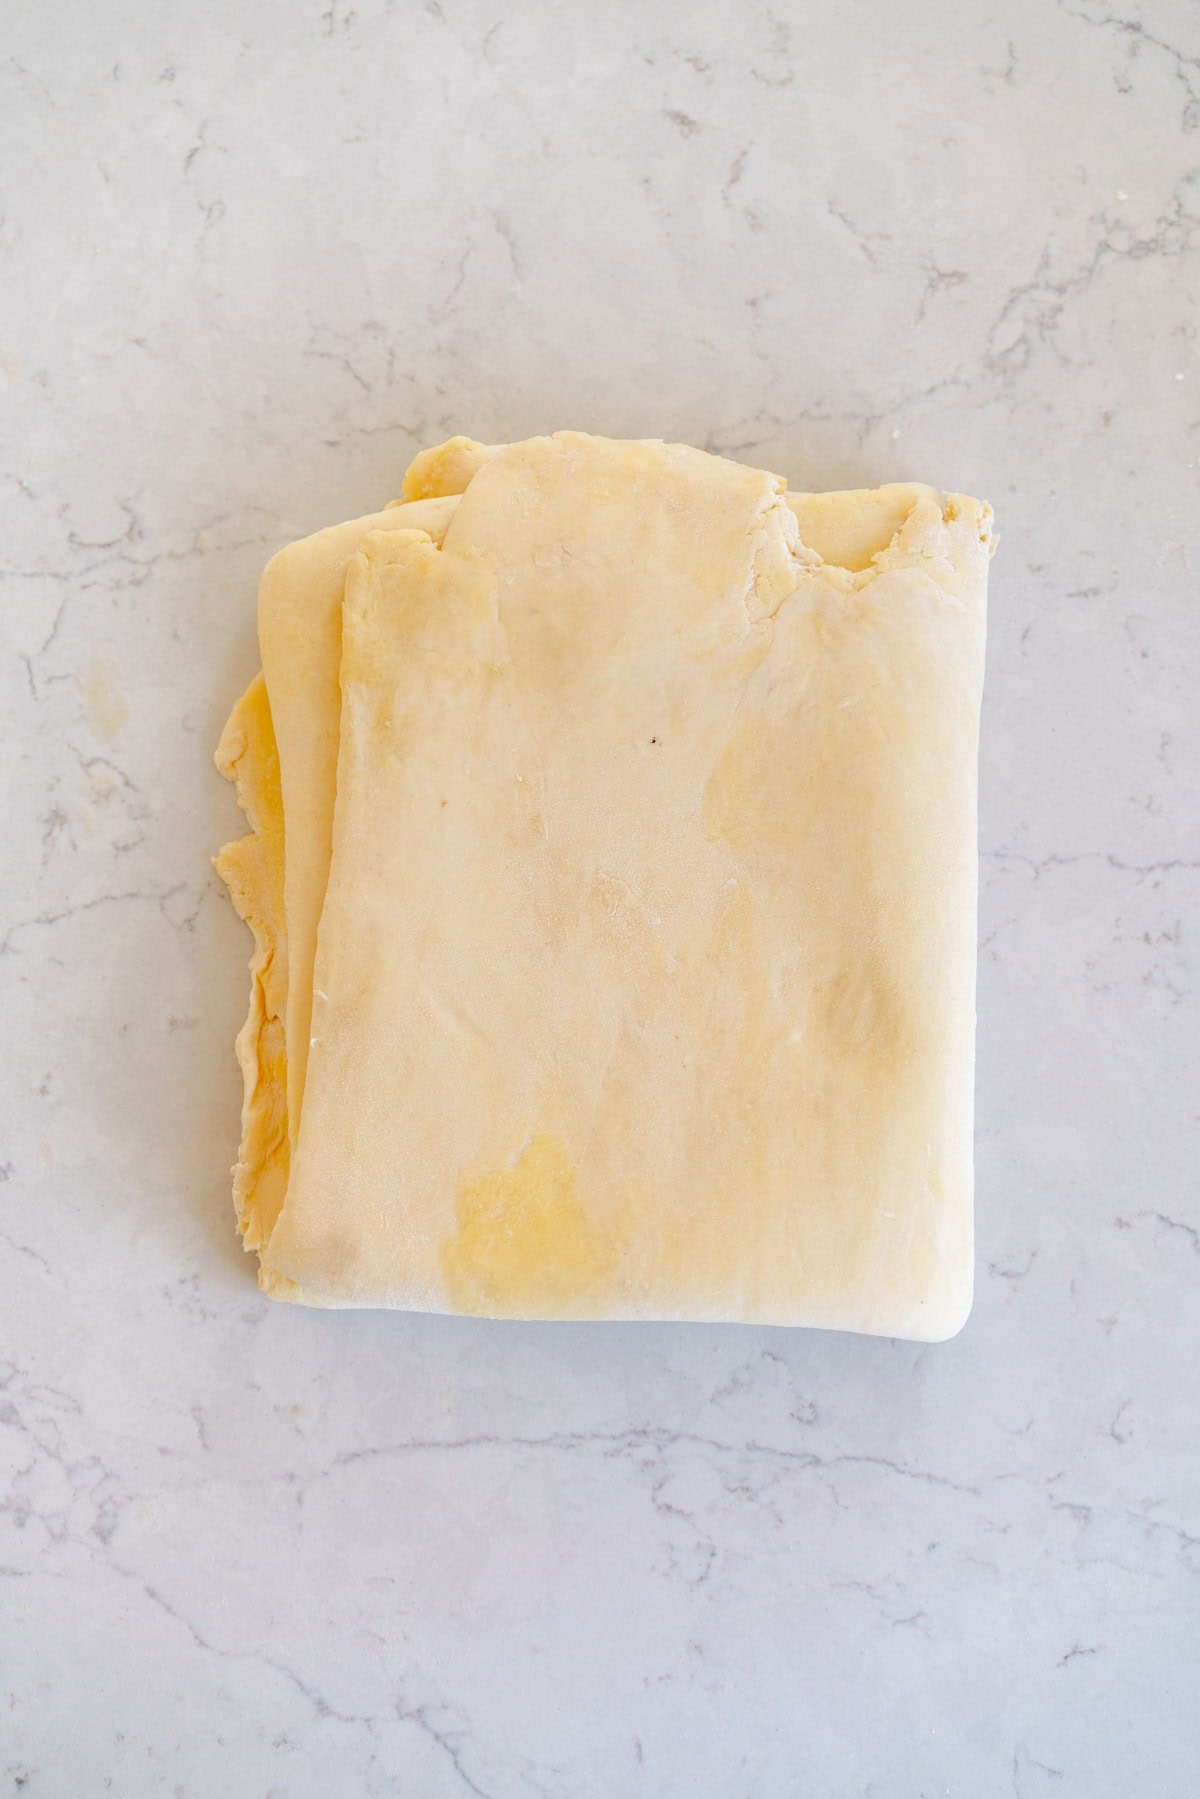
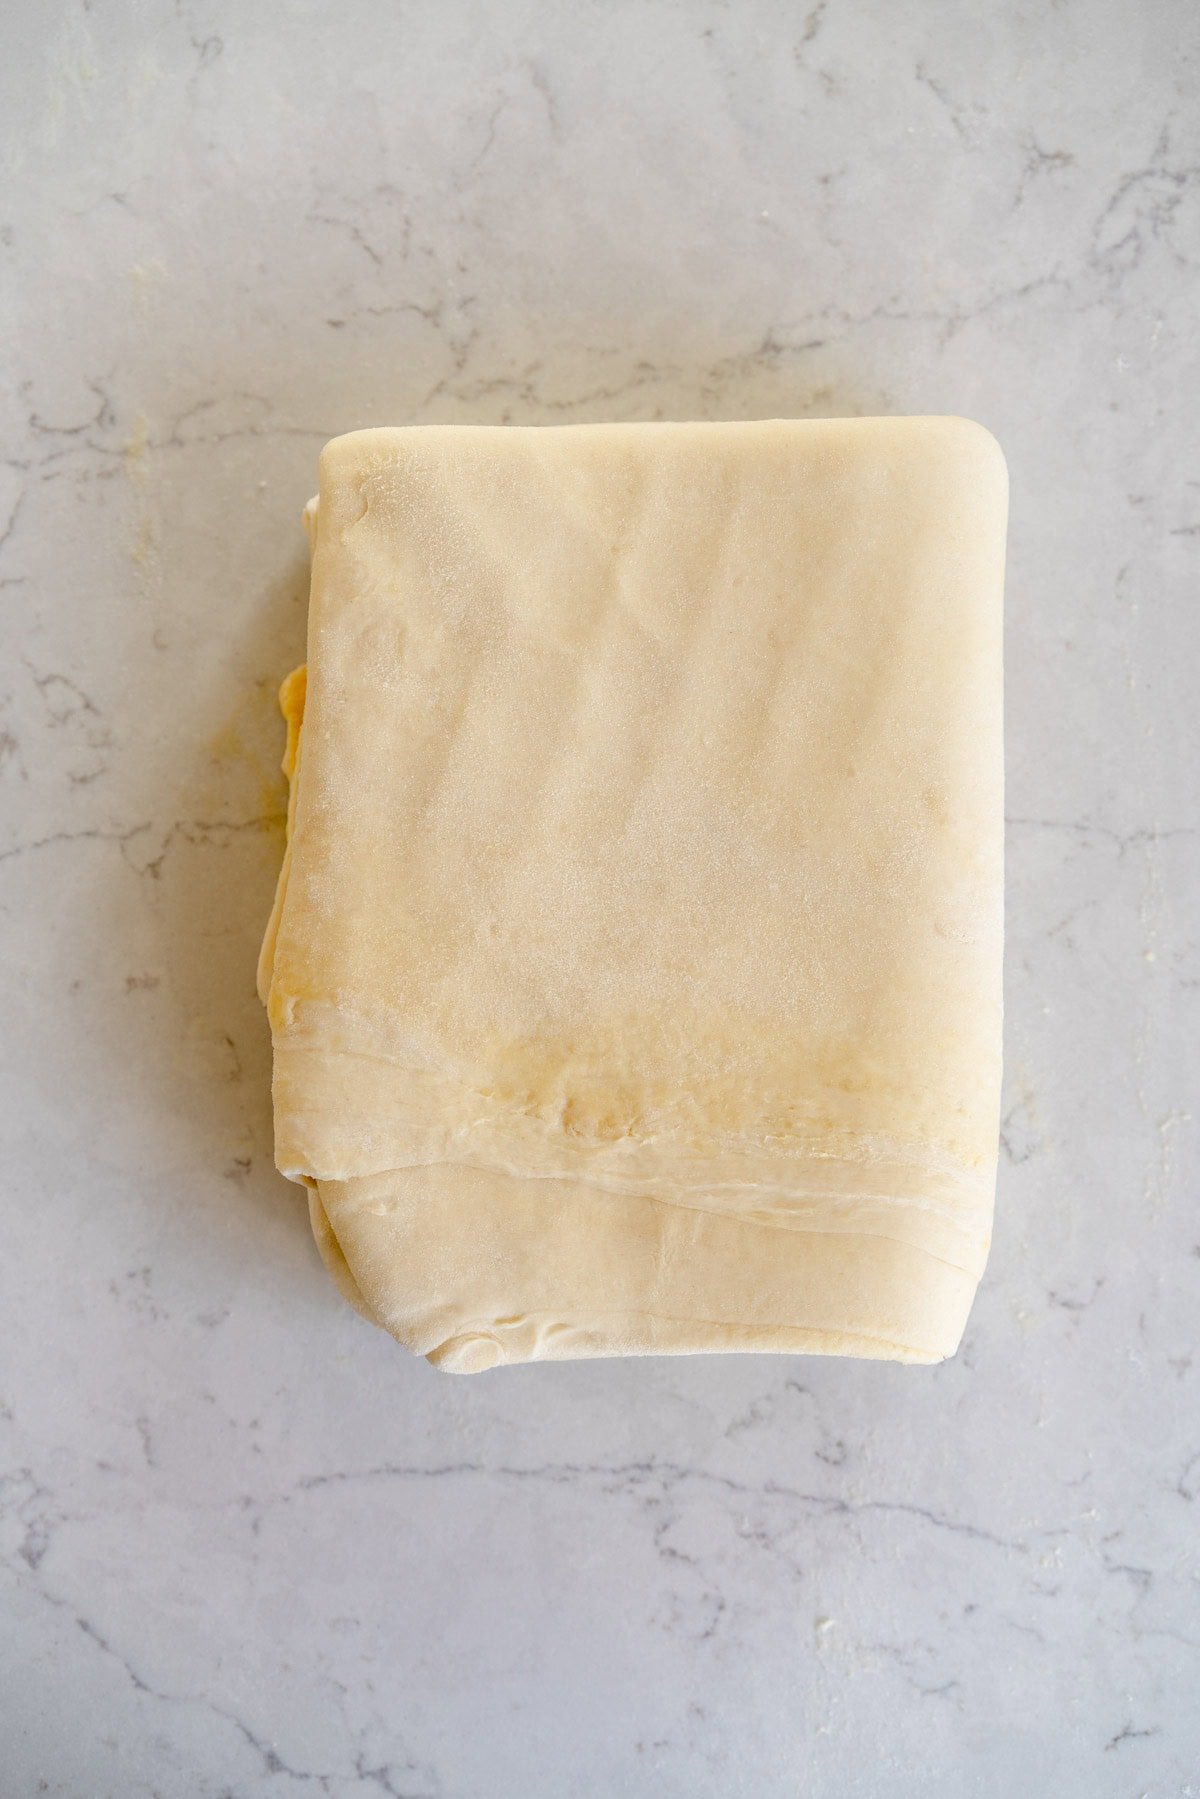
Step 4: More folds, then rest. The dough goes through a total of four sets of folds. It then needs to rest for at least two hours, or my preference is overnight to let it fully relax. You can see in the images below that it starts to look more smooth in texture - this is the butter being made into very thin layers, which is what gives the flakiness of puff pastry.
The best part about Puff Pastry? It freezes like a dream. Make double.
I almost always have puff pastry in my freezer. It bakes up just as well as it does from fresh. To freeze puff pastry, give it the 2 hour to overnight rest called for in the recipe - this is to let the dough fully relax. I like to do overnight if I can.
Make sure that the puff pastry dough is tightly wrapped in plastic wrap, then place inside a ziploc bag. Store in the freezer for up to 3 months. To use, defrost in the fridge overnight then proceed with the puff pastry recipe as written.
If you find that you often only use a half batch of puff pastry (my palmiers and cheese straws use a half batch), divide the dough in half (375g per piece) and wrap up so that you have a half batch ready to go when needed.
Some suggestions - recipes using puff pastry
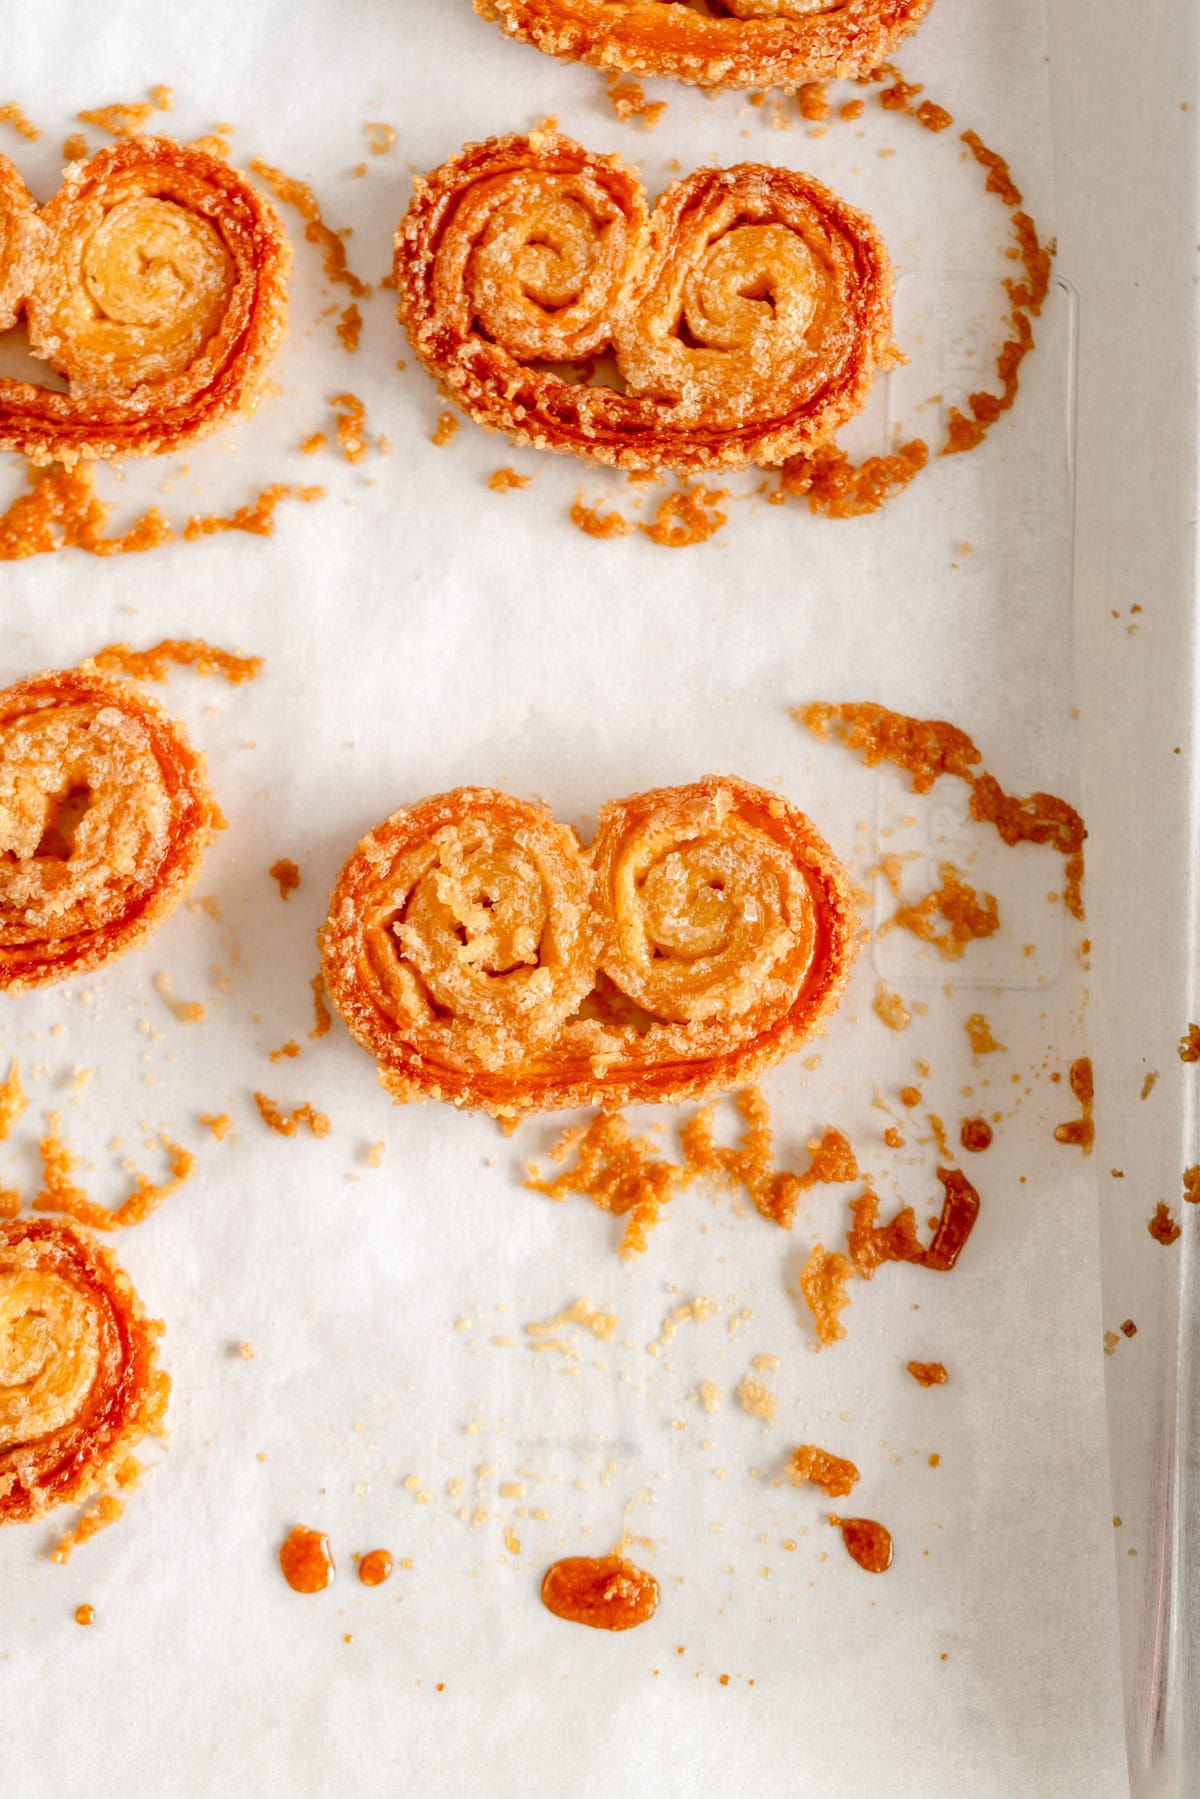
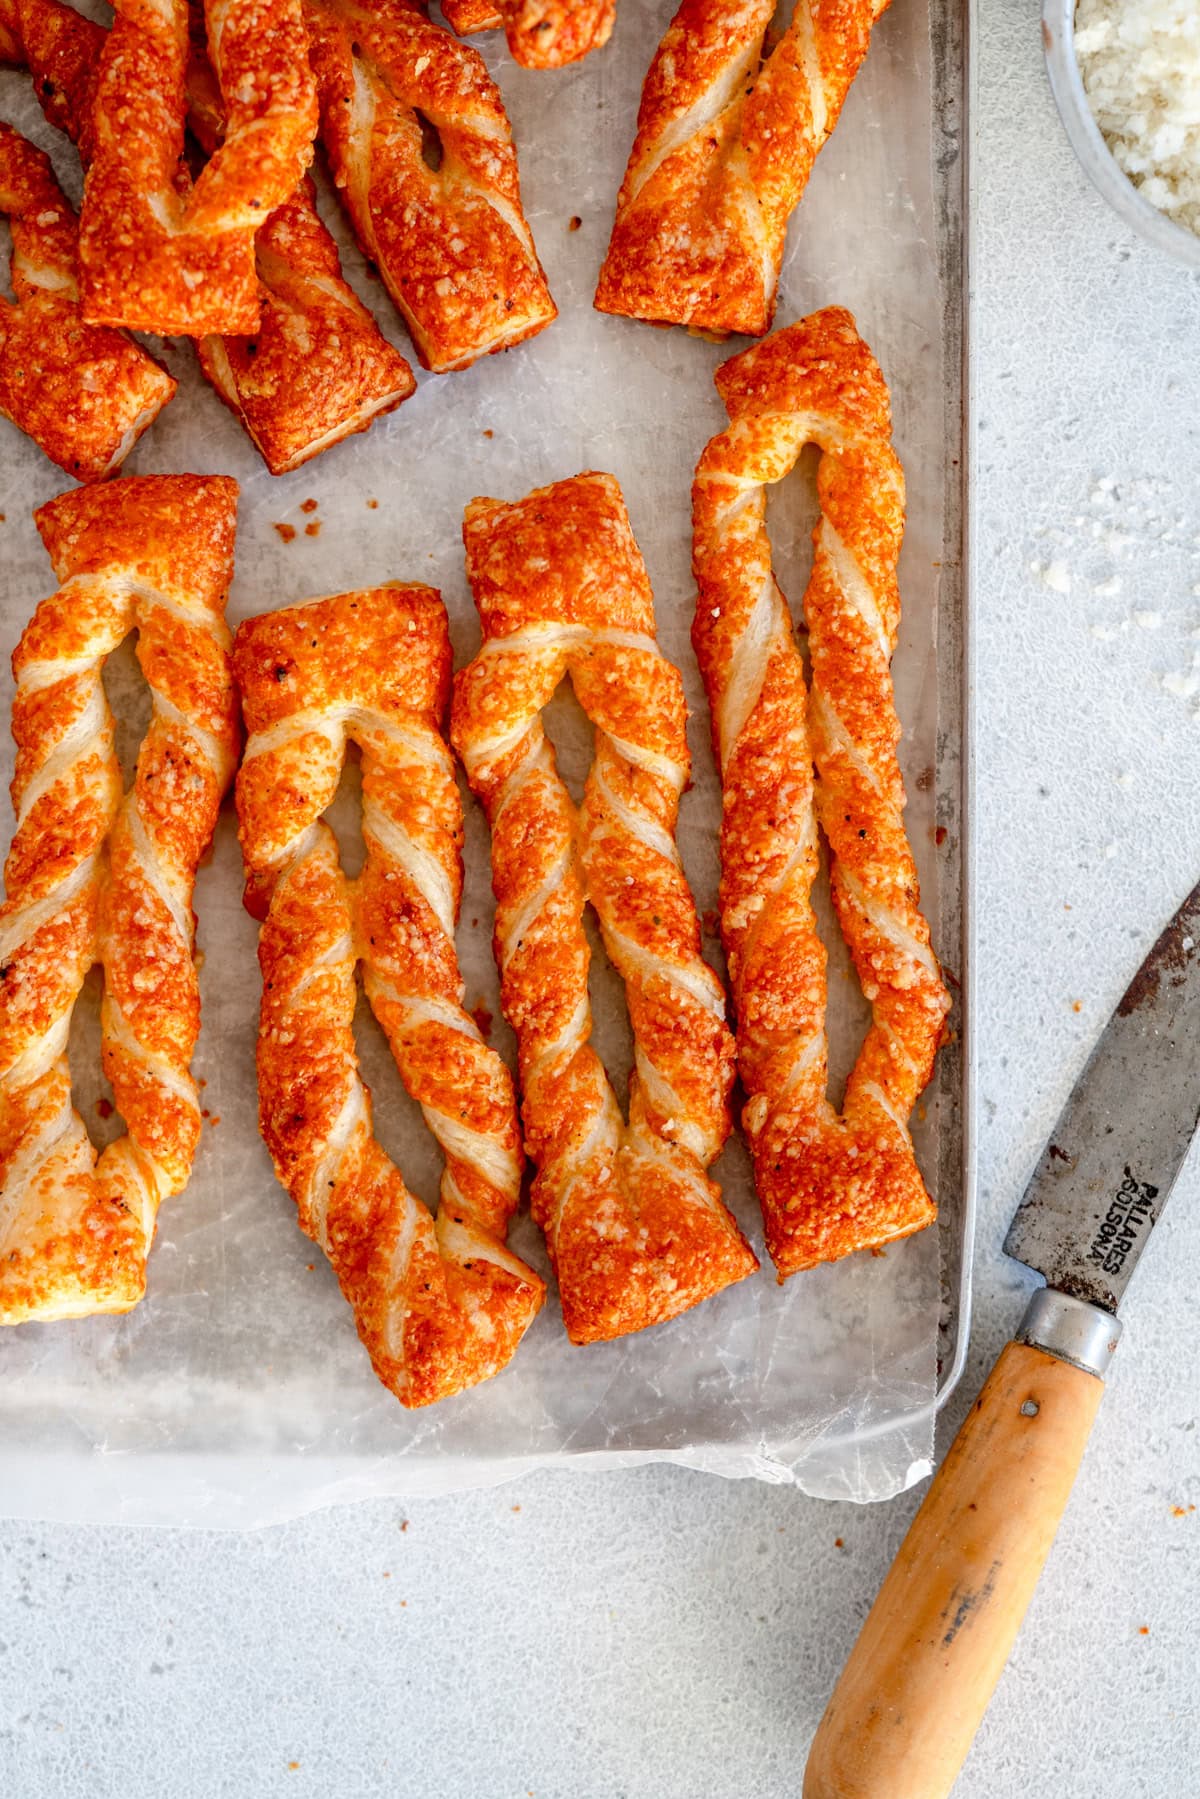
The thing that I love about puff pastry is how quick it makes an amazing dish. If you are looking for puff pastry dessert recipes try my apple turnovers or my palmiers, or I use it as the crust for my custard square. For savory puff pastry recipes it makes an amazing top to a chicken pot pie, or is super delicious rolled out, covered in cheese, and twisted up to make cheese straws.
❤️ Made this recipe and love it? ❤️
I would LOVE for you to leave me a review and star rating below to let me know how you liked it! Also, please make sure to tag me on Instagram!
Answers to your baking questions
Over the years, many of you have asked me questions about:
- baking in grams
- adjusting oven temperatures
- what kind of salt to use
- and many more!
I've curated and answered them all for your easy reference in this frequently asked questions post!
Puff Pastry Dough Recipe: A Beginner's Guide
- Author: Erin Clarkson
-
 Prep Time: 2 hours
 -
 Cook Time: 0 minutes
 -
 Total Time: 2 hours
 -
 Yield: 1 batch Puff Pastry 1x
 -
 Category: Pastry
 -
 Method: Pie Crust
 -
 Cuisine: American
Description
If you can make Pie Crust, you can make Puff Pastry. While it may seem intimidating, there are very few differences between them! This step-by-step guide will walk you through the basics of making your very own homemade rough puff pastry, and will have you no longer reaching for the store bought stuff when you see puff pastry recipes - I promise you this is so much better!
Ingredients
- 375g all-purpose flour
- Pinch of Salt
- 225g cold unsalted butter, cut into about 1cmx2cm pieces
- 240g cold water
- 1 cup ice (this doesn't have to be exact, just enough to make the water cold)
- 60g Apple cider vinegar
Instructions
- Place the flour and salt in a bowl. Add the butter, and toss lightly to coat.
- Combine the water, ice, and apple cider vinegar in a jug.
- Working relatively quickly, squish each piece of butter in between your fingers to flatten it, then place it back in the flour and make sure that it is nicely coated. This gives you nice flat pieces of butter to give you nice layers in the puff pastry. Squish each piece of butter once. Continue until all have been flattened.
- Add some of the ice water into the butter and flour mixture - I usually start with 120g. Using your hands, mix in well, but do not knead the dough - you do not want to develop gluten. Continue to add water, a tablespoon at a time and mixing in, until you have a dough that holds together well, but is not too wet. A little flour around the bowl is ok (see images in blog post).
- Squeeze the dough together with your fingertips then turn out onto a work surface and shape into a rectangle.
- Wrap the dough tightly in plastic wrap, then rest in the fridge for one hour.
- Remove the rested dough from the fridge, unwrap, and place on a lightly floured surface. Using a lightly floured rolling pin, roll the dough out into a rectangle - you want to aim for a rough rectangle shape, and the dough thickness to be around 1 cm. The shape doesn't have to be exact, you just want to aim for a rectangle shape.
- Brush any excess flour off the pastry with a pastry brush, then hold a short end and fold the pastry in half. Fold it in half again, so the dough has been folded in four. Tuck any loose edges in if you would like, the re-wrap in plastic wrap and rest in the fridge for 20 minutes.
- Repeat step 8 three more times, for a total of four folds. If the dough seems like it is fighting you or it is starting to stick, then increase the rest time between folds. Sometimes I can sneak fold two and three in back to back without any rest time in between, but just see how you go. I try and make my last fold into a nicely shaped rectangle so that the dough ends up a nice shape in the fridge.
- Re-wrap the puff pastry, and rest in the fridge for at least 2 hours and up to two days. It is now ready to use.
Notes
The lamination technique for my pie dough recipe and subsequently this puff pastry was taught to me by my good friend Erin McDowell. If you don't have it already I highly recommend checking out her amazing book - The Book on Pie.
If you need recipe ideas, I use this puff pastry recipe to make my custard square, apple turnovers, cheese straws, and palmiers.
If you are making puff pastry for a recipe which only needs half a batch, you can store the rest in the freezer for up to 3 months or the fridge for up to 3 days.
The post Puff Pastry Dough Recipe: A Beginner's Guide appeared first on Cloudy Kitchen.


