
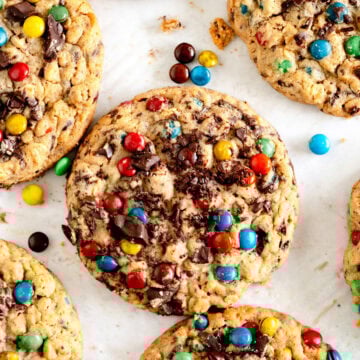
These Monster Cookies are absolutely huge! Packed with toasted oats, peanut butter, M&Ms, chocolate chunks, and brown butter, these super easy but delightful cookies will be an absolute favorite. There is no chill time in the recipe so you can bang them straight into the oven! These can be made with a bowl and a whisk - no fancy equipment needed!
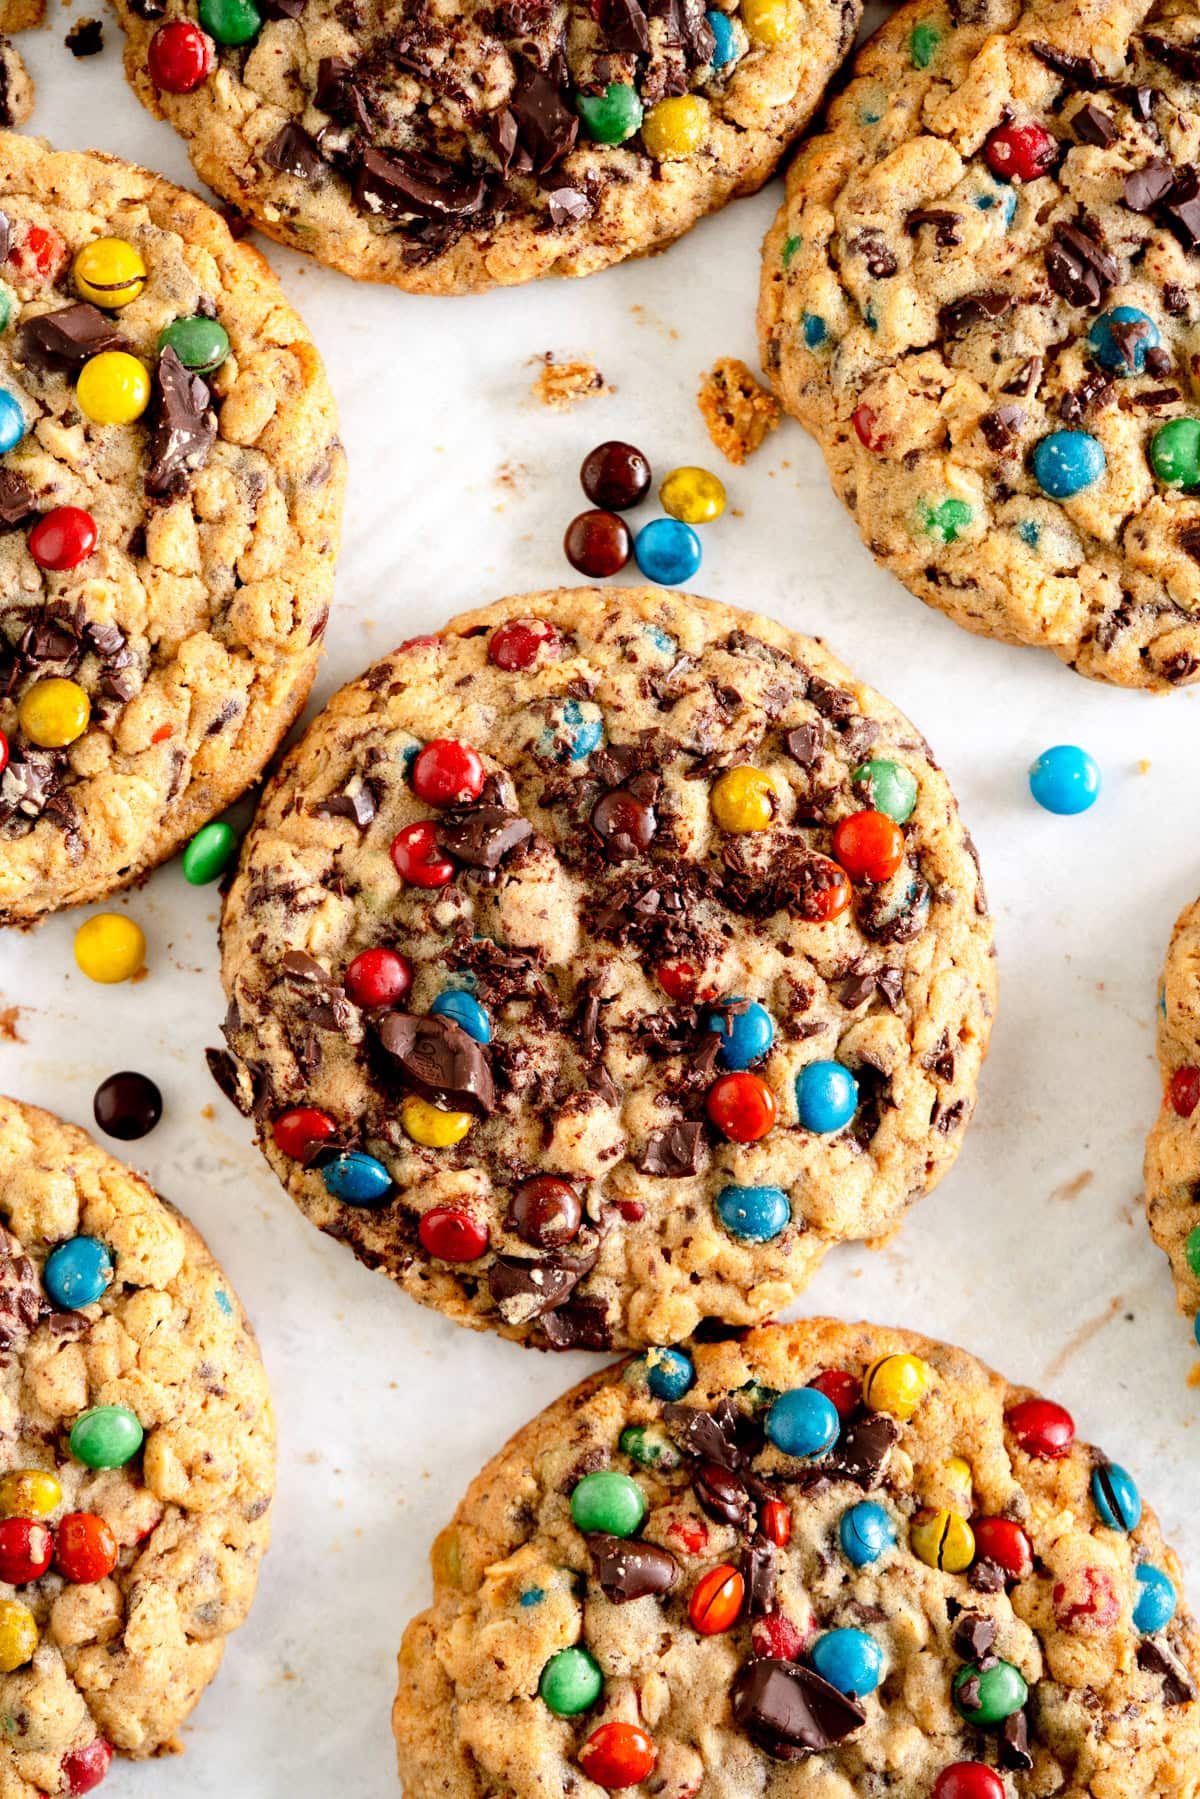
Hi hi - I am just popping in to share this Monster Cookie recipe! These massive cookies are quick and easy to make, and filled with toasted oats, peanut butter, brown butter, chocolate chunks, and loads of m&ms. Allll the good things. This recipe makes 9 huge Monster Cookies.
I went down a bit of a Peanut Butter Cookie rabbit hole when I was developing the recipe for my Peanut Butter Cookies and decided to adapt my Peanut Butter Oatmeal Cookies to be even bigger, and filled with lots of bits and pieces.
This monster cookie recipe took a bit more developing than I was expecting but don't worry - I've done all the work for you and tested the recipe inside out to make sure that it is another foolproof cookie recipe for you to whip out whenever you need!
I don't know about you but I am impatient when it comes to baking cookies and always want them in the oven ASAP so I came up with a sneaky work around to get around having to chill this slightly sticky dough.

Ingredients in Monster Cookies and why I used them
These monster cookies are made with regular pantry staples, which is why I love them - they are super easy to make, but the ingredients you use do make a difference:
- Brown butter. If I can, I almost always brown the butter in recipes. It adds an amazing toasty flavour to recipes and is a super simple step that makes a huge difference. Salted or unsalted butter works - if you are using salted butter you will need to adjust the salt in the recipe (make sure you also read the note on salt in peanut butter)
- Brown and white sugar. I play around with the ratio of white and brown sugar in recipes to change how much a cookie spreads or not and also for flavour - white sugar for spread, and brown for chew and a cookie that spreads a little less.
- Peanut Butter. I use smooth / creamy peanut butter for my cookies - I haven't tested this with crunchy sorry!
- Oats - Old Fashioned, not quick oats. I toast the oats in this recipe, and make them using old fashioned / whole grain oats. I haven't tested it with quick oats and I would say it definitely won't work as well.
- Mix-ins of your choice. I used mini M&Ms with this recipe, but you can use whatever you like. I also added in some chopped chocolate too - I went with dark chocolate to offset the sweetness of the cookie.

The secret to great texture in a cookie - toasted oats.
I do this with almost all of my oatmeal cookie recipes - I briefly toast the oats. Oats give an amazing chewy texture to cookies, and toasting them really amps this up, making them super chewy.
The oats do toast down slightly, so if you don't want to toast them, use 110g untoasted oats.
What is the best Peanut Butter to use for monster cookies?
I use smooth peanut butter for my monster cookies - you want to use a non natural style kind of peanut butter - so one that does not separate out when it sits.
I have not tested this with any other kind, but in order to make sure that the mixture emulsifies, a peanut butter that stays homogenous is the kind you are after. Natural peanut butter may not work as well.
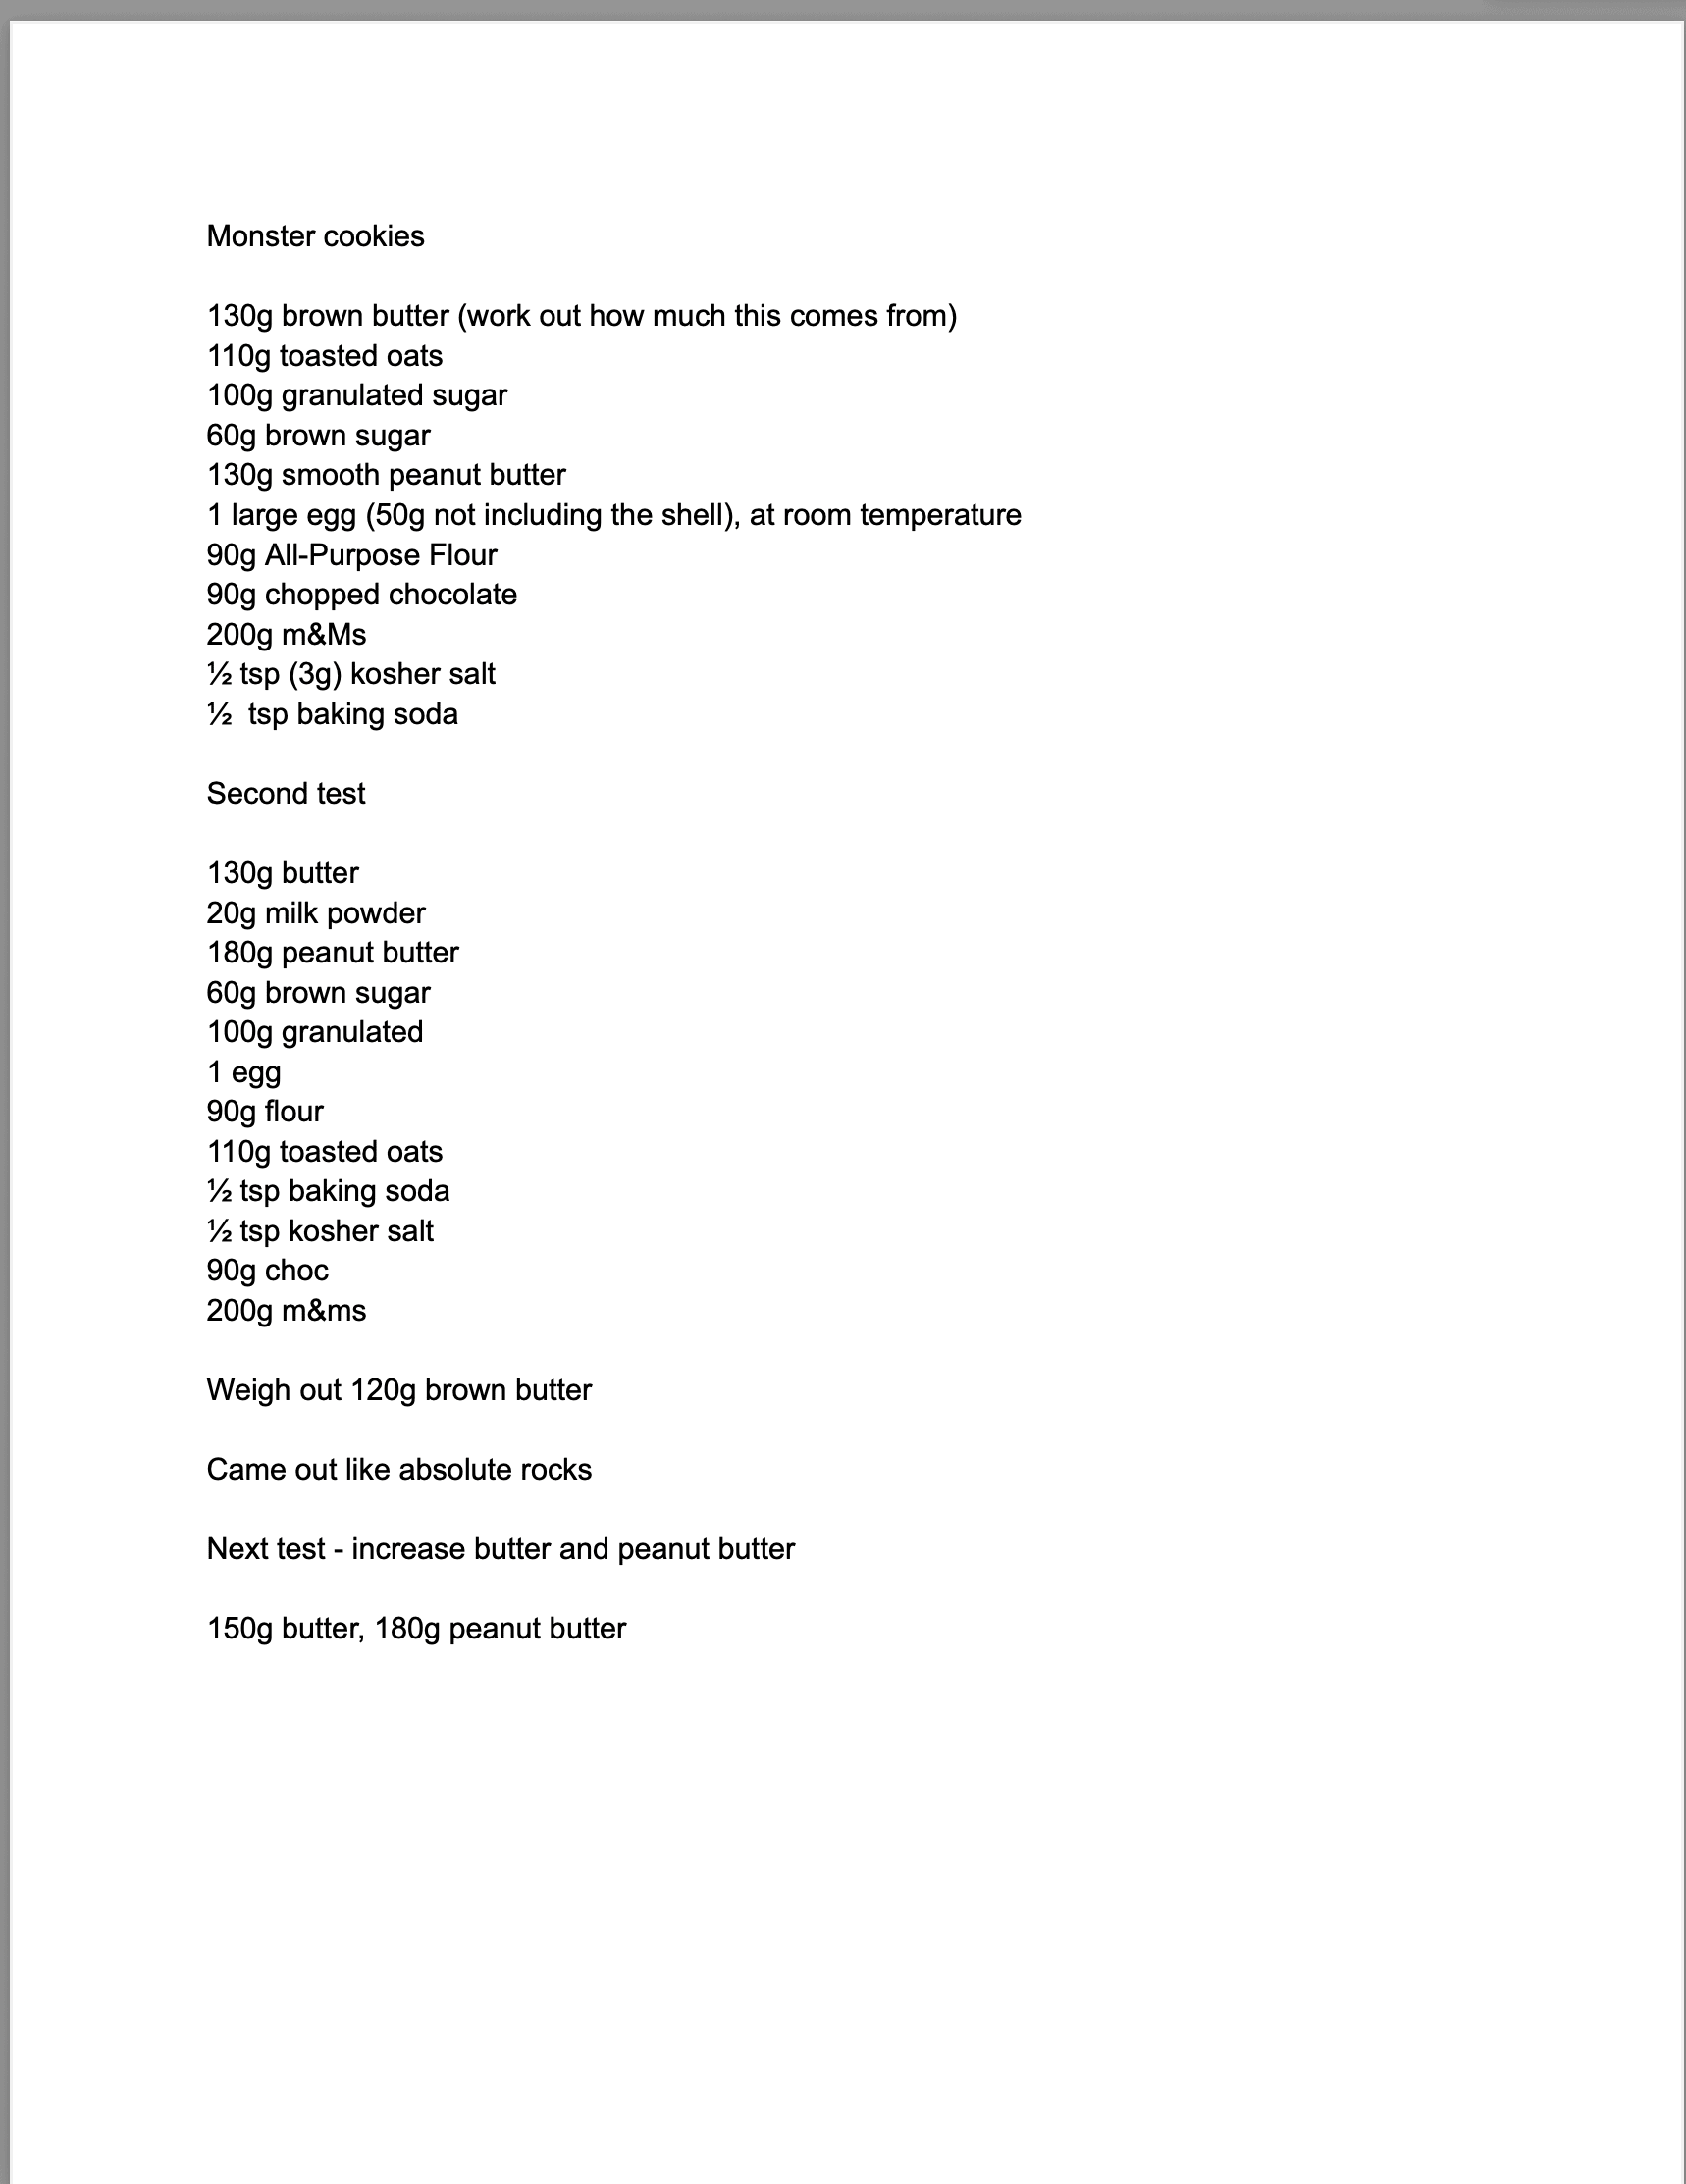
My recipe testing process for monster cookies - some things went wrong!
I made these a bunch of times, and was playing around with different things, trying to get them to taste as peanut buttery as possible while also still having a nice soft and chewy texture.
As you can see in my notes above, I tried increasing the peanut butter by 50g to see if that helped, and decided to (wrongly) decrease the butter in the recipe to account for the peanut butter in the recipe.
Wrong move. You can see - they came out like absolute rocks. I then went the opposite way in the final recipe, increasing the butter quantity by 50g which was enough to get them to bake up nicely and not like flavourful river stones.
You will see that I used milk powder in the brown butter for this test which I also ditched as I felt it was taking away from the peanut butter taste.
A note on Brown Butter
You will notice that there are two quantities of butter in the recipe - the initial quantity called for in the recipe (195g), and then a weighed out quantity in the method (150g). This is intentional and is not a typo.
When you brown butter, you are cooking off the water in the butter, and cooking the milk solids, which is what gives you the brown part of brown butter. Due to the loss of moisture, the overall volume of the butter when it goes from solid or melted butter to brown butter will decrease.
The recipe accounts for this which is why I have given you two quantities of butter. Butter varies internationally in how much fat / water it contains, so some butter will cook down to a lower yield than others depending on how much water you cook out, hence the need to re-weigh your butter once you have browned it.
Science for the win. Use a scale, my friends.
Can I switch up the Mix-ins?
I haven't tested switching up the mix-ins (chocolate and M&Ms in this case) in this recipe, but it should work just fine.
You can substitute the same amount of chocolate etc into the cookie batter in the place of what I have used. I tested them with both regular sized and large m&ms, but you could mix up what chocolate you use, swap the m&ms for peanut butter cups, etc etc. You do you here.
I always use chopped chocolate over chocolate chips when I am making recipes like this as you get great puddles of chocolate and a nice mix of sizes of chocolate throughout, but if you would like to, you can definitely use chocolate chips - just know that chips are designed not to melt so they might be a bit different within the cookie.
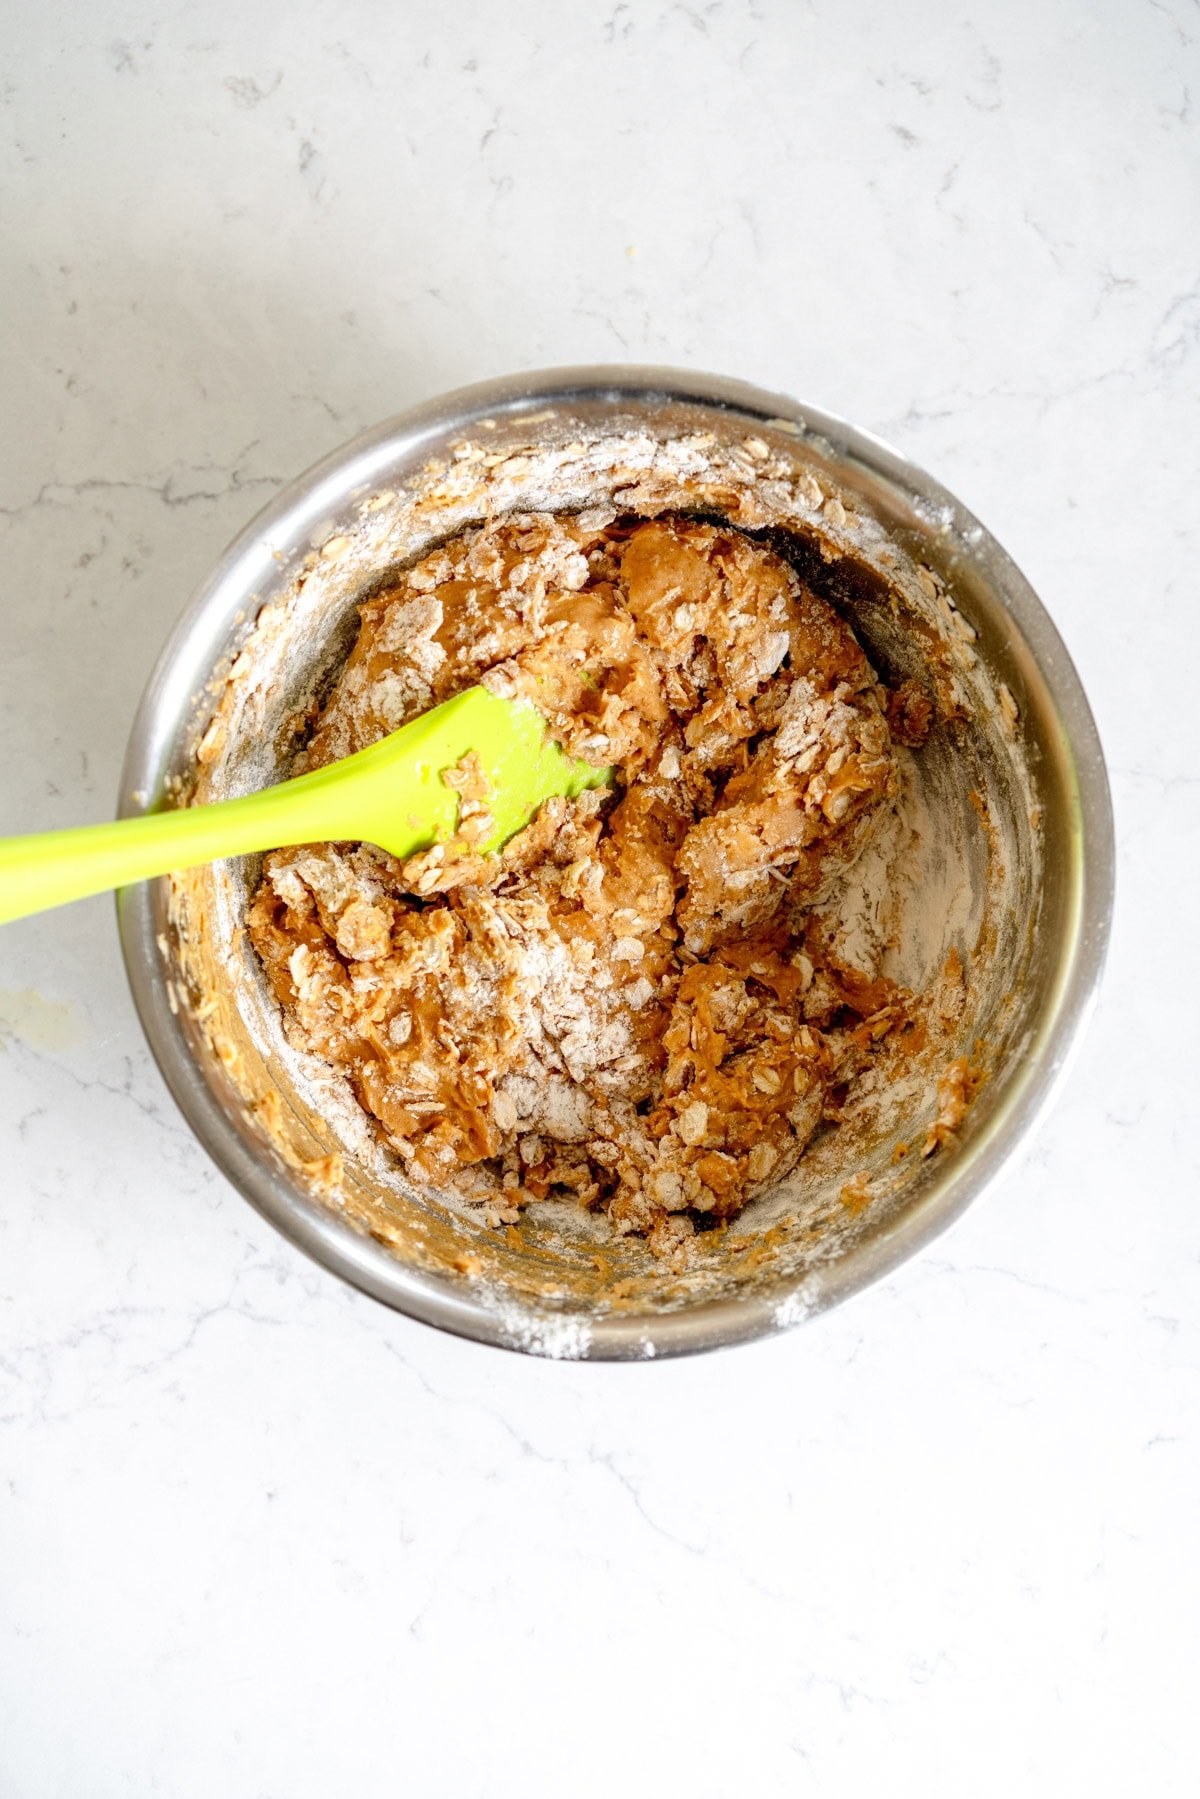
How to avoid over working the dough when working with mix-ins
I find that it can be quite easy to over mix cookies like these monster cookies when you are trying to incorporate mix-ins like candy and chocolate.
I find that the best way to do this is to almost mix in the dry ingredients then add the mix-ins and continue to incorporate them while you finish mixing in the dries.
This prevents over mixing, which can lead to gluten development within the batter and can cause the cookie to be tough.
My sneaky little tip for helping dough to be less sticky
I often try quite hard to avoid a chill time in a recipe - I know that it helps the flavour to develop (and this recipe can be chilled if you want, I tested it and there are notes further down the post), but honestly I often just can't be bothered.
This monster cookie recipe however does mix up to be quite a sticky dough, so I found that leaving the dough to stand for 10 minutes just at room temperature once you have mixed it up helps a lot with making it a little less sticky so that it is easier to shape into balls.
This is a totally optional step and I tested it both ways, it is just easier to get into balls if you leave it to stand for a wee bit!
Can Monster Cookies be made ahead of time?
Yes - I tested this extensively. I do love having a stash of cookie dough in the freezer, and so I often double a recipe that I know freezes well and have some sitting in the freezer to bake off.
I know that sometimes people want to prep the dough 1-2 days ahead too, so if you wanted to do that, I would chill the dough rather than freezing it.
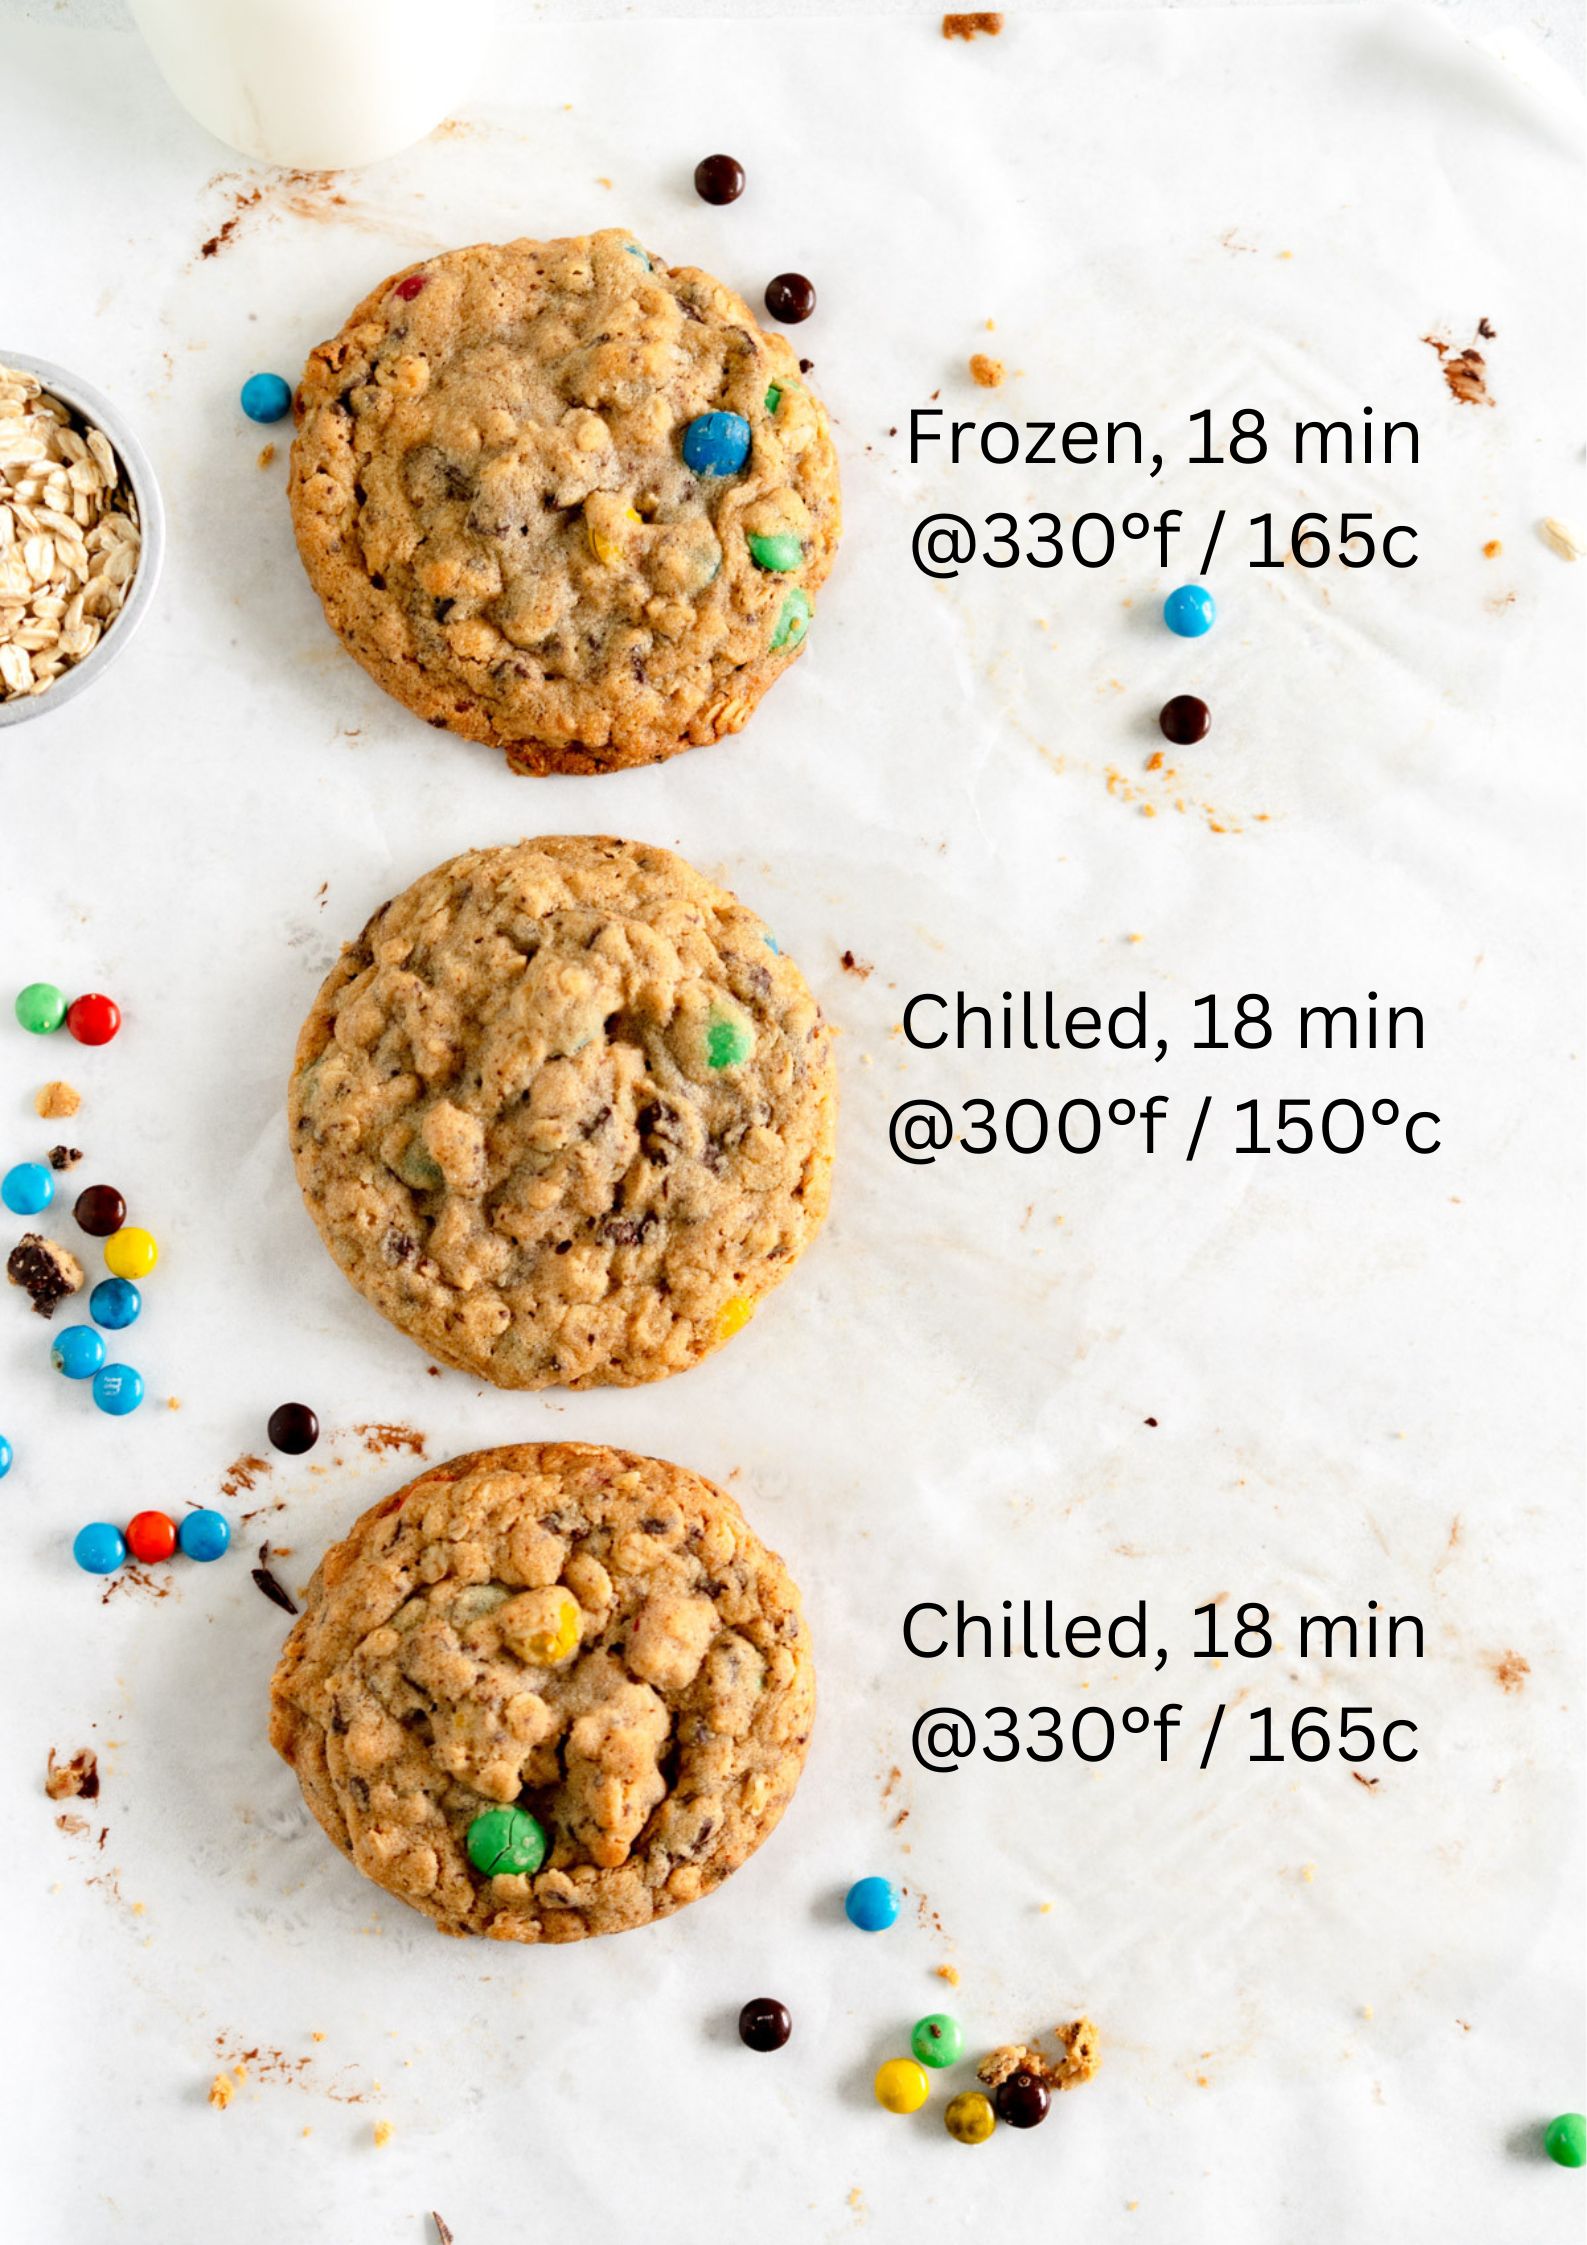
My general rule of thumb is to drop the oven temperature slightly when baking a cookie from frozen or chilled, however I found that this was not necessary in this recipe and the cookies are fine to be baked off at 330°f / 165°c. I found this with my peanut butter cookies too so it could be something to do with the peanut butter in the recipe making the dough a bit more resilient.
For all my tips and tricks on freezing cookie dough check out my post: How to freeze cookie dough and bake from frozen
Why do you bake them at a slightly lower temperature?
While I play around a lot with the ratio of ingredients in cookies, when I am recipe testing I also play around a lot with baking temperature. I find that I often bake some from fresh and chill some and then bake at two different temperatures and sometimes different sizes of balls of dough, which means I can get 4-6 recipe tests just out of one batch of cookies to really check how the dough behaves.
If I find a dough is spreading too much but I like the flavour I will often throw it in the fridge and see if that helps. If I find it is not spreading enough, I will try dropping the oven temperature that I bake the cookie at to see if that helps.
Despite what you might think, often for cookies a lower temp = more spread. The cooler oven temperature means that the cookies have more time to spread before the outside of the cookie sets, locking in the shape of the cookie. A higher temperature means the outside sets quicker before the cookie has time to spread more.
Can I make these a little smaller?
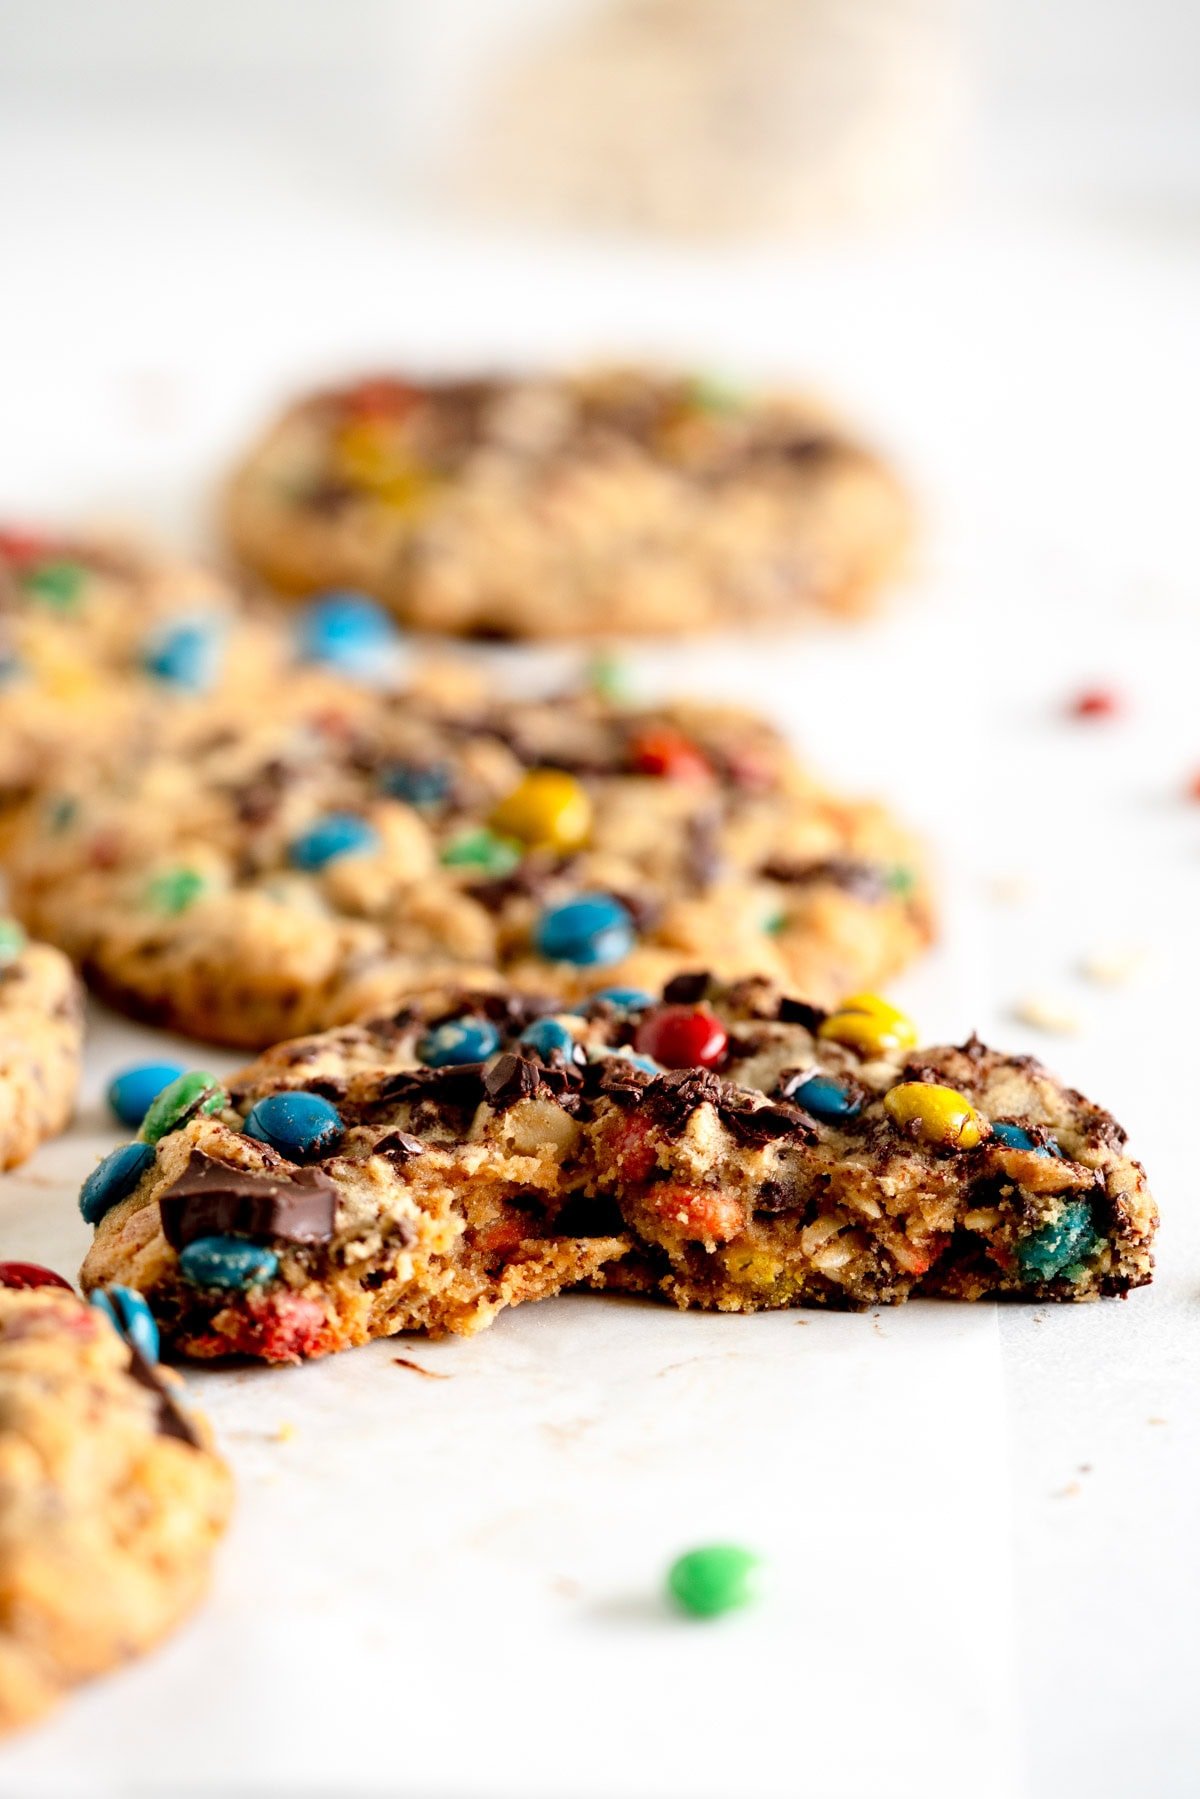
These monster cookies are absolutely massive, so I totally understand if you want to make them a little smaller.
It will work just fine - just make the dough balls smaller to your liking, but make sure that you adjust the baking time. I would start checking at 11 minutes or so and then go from there to see how you like them.
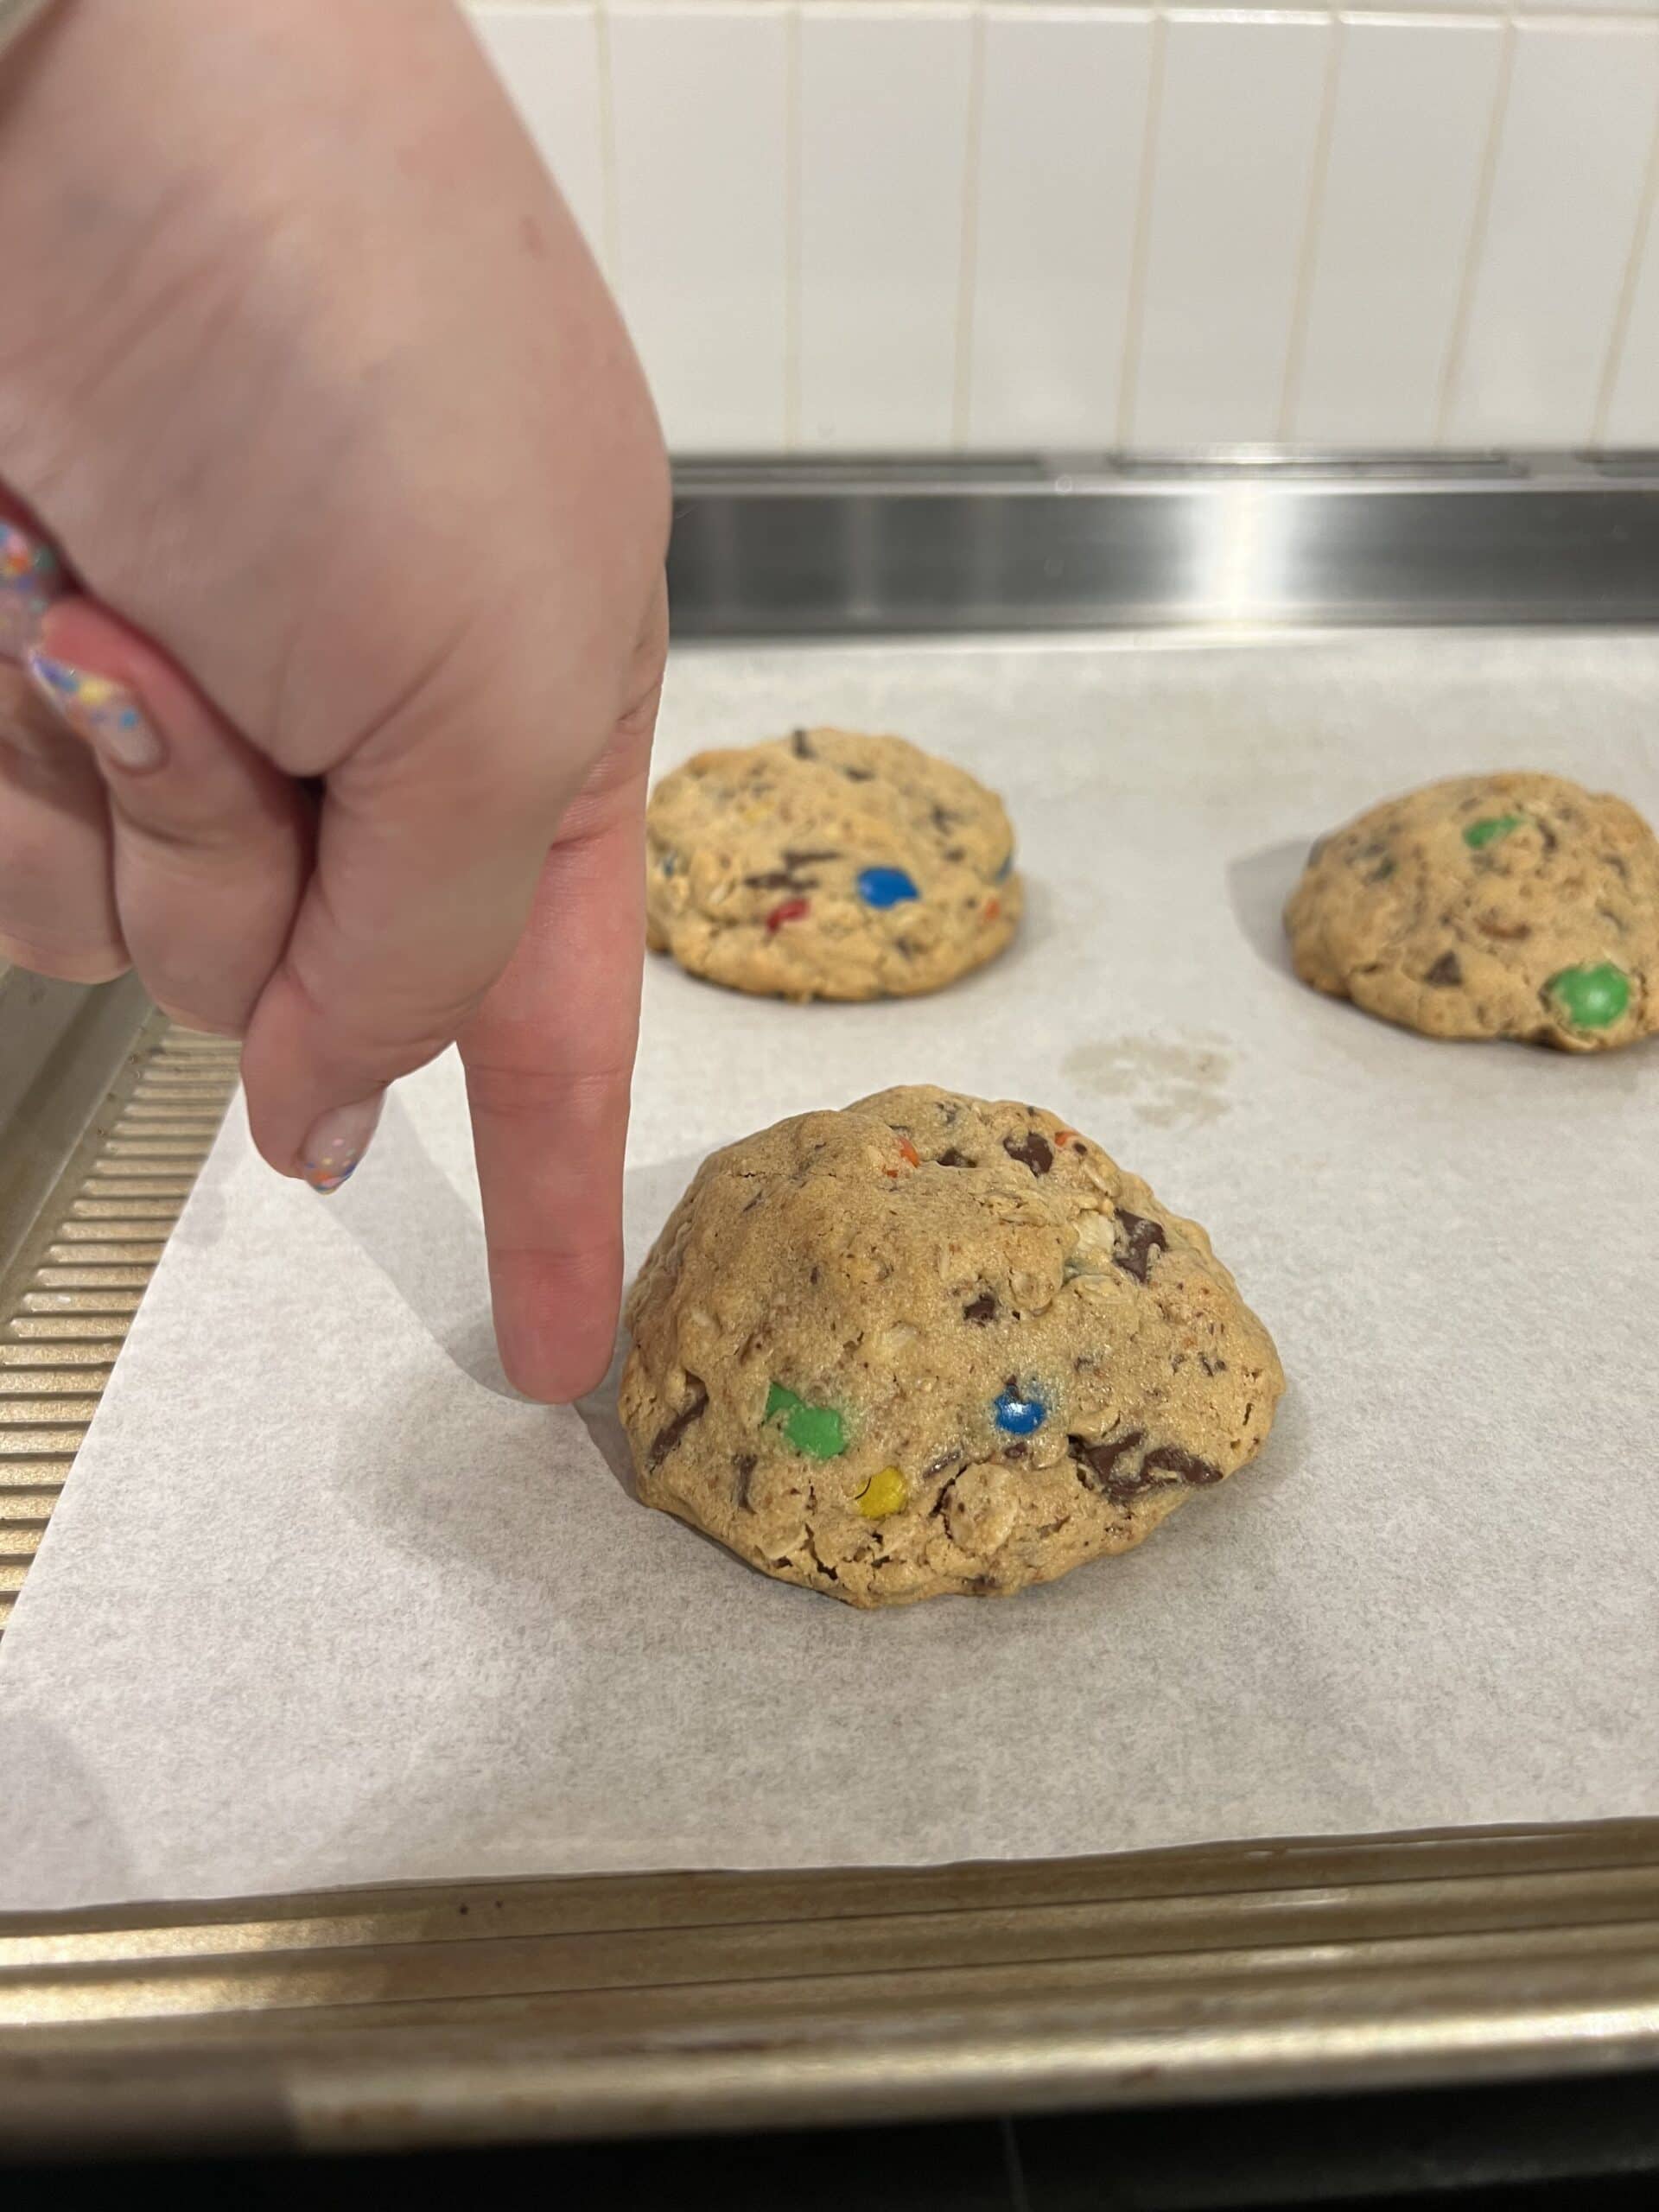
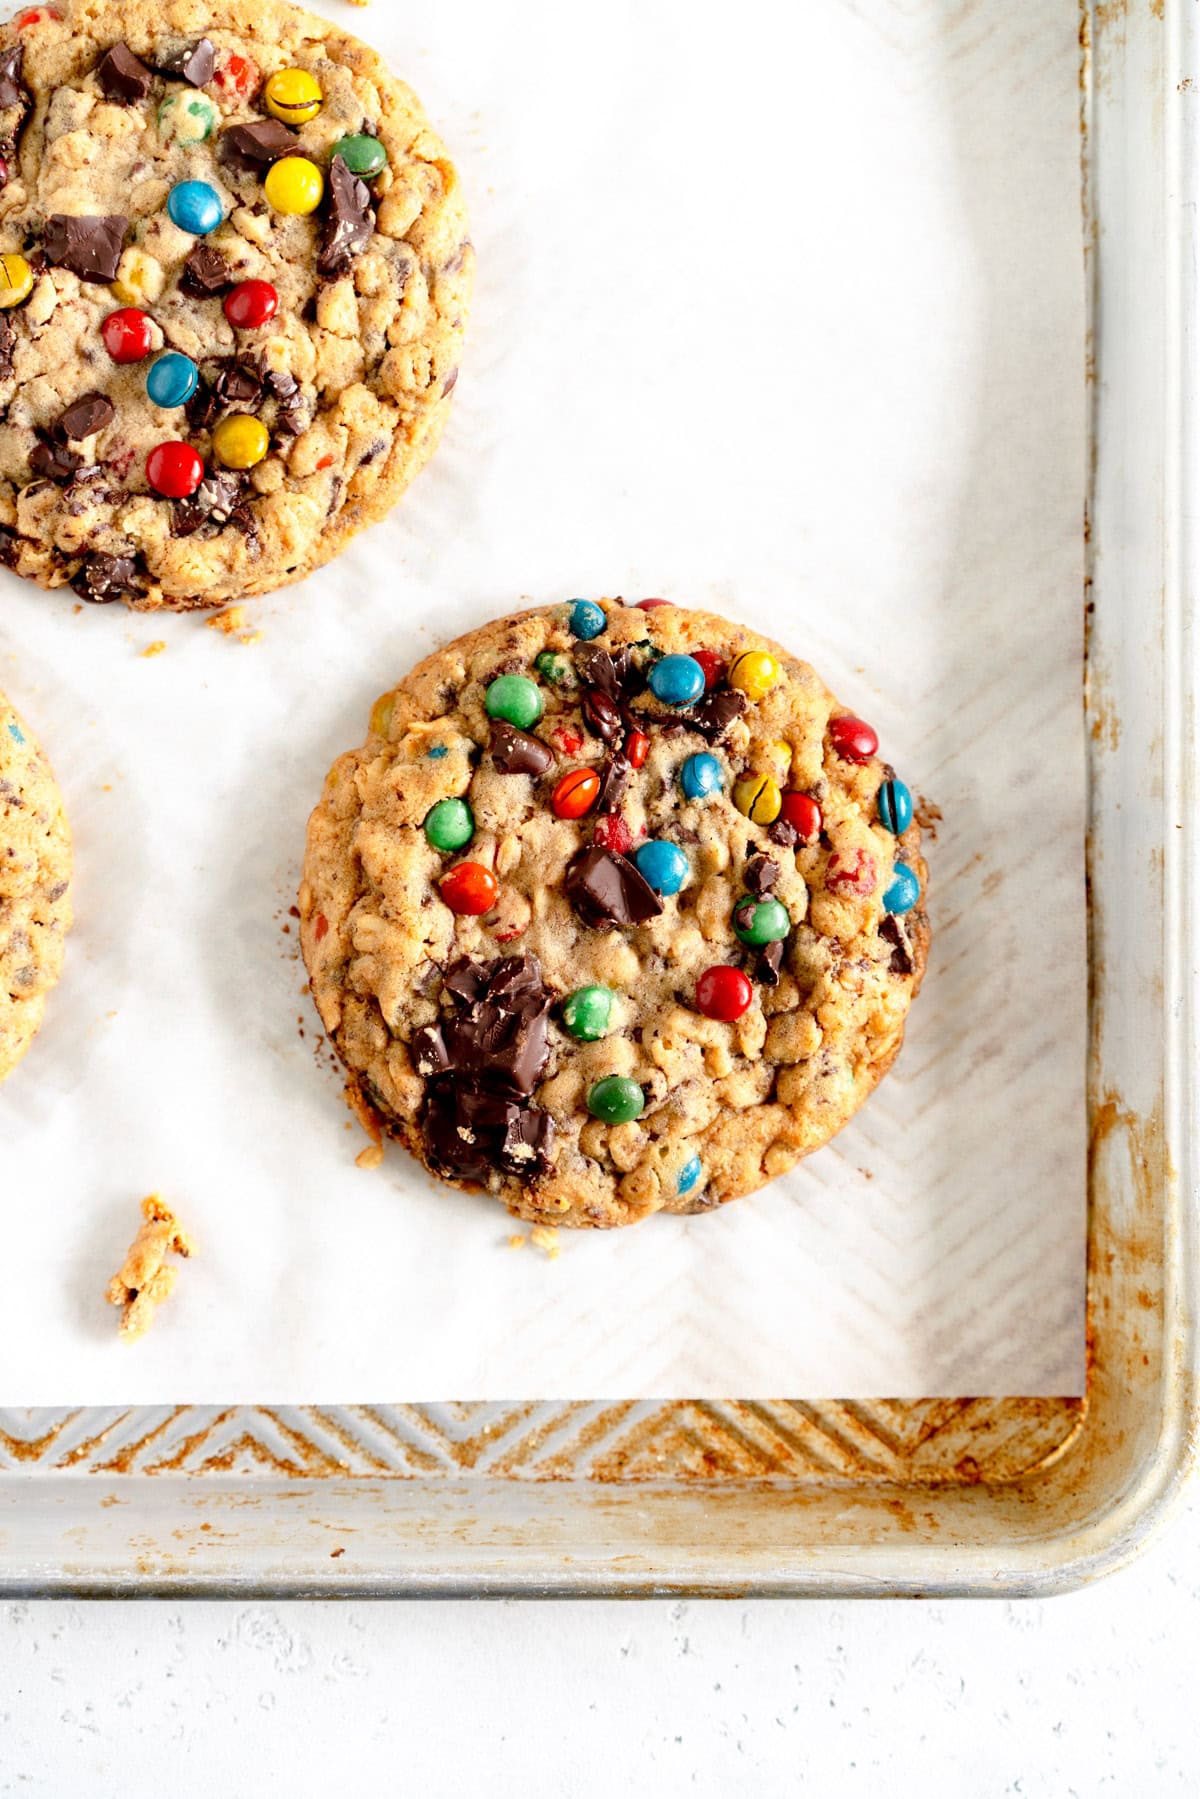
Don't skip the scoot!
One of my favourite little tricks to get super uniform cookies is to 'scoot' them when they are hot from the oven. This tucks in the sides just slightly and can make a wonky looking cookie beautiful and round.
The edges of these cookies do spread a little so I find that the scoot for these cookies in particular really does help. Use something round like a large cookie cutter just slightly larger than the cookies and scoot them when they are hot from the oven.
Again this is an optional step but I really think that it helps to get them nice and uniform and really have that bakery style look to them.
Frequently Asked Questions
What tools and equipment do you use?
You can find a full list of the tools and equipment I use on my products page
Which cookie scoop did you use?
I used a #16 cookie scoop which holds ¼ cup or 60ml. I prefer the 'disher' style ones which have a lever on the side rather than the ones where you squeeze the base as I find that they last longer. If you don't have a scoop that size you can weigh out 100g balls of cookie dough.
Can I use a hand mixer to make these?
I just use a whisk to make these cookies but if you would like you can do the first part of the recipe using an electric hand mixer. Make sure that you fold in the dry ingredients and mix-ins by hand. If you want to use a stand mixer you can make the whole thing using the paddle attachment (especially good if you are making a larger batch)
❤️ Made this recipe and love it? ❤️
I would LOVE for you to leave me a review and star rating below to let me know how you liked it! Also, please make sure to tag me on Instagram!
Answers to your baking questions
Over the years, many of you have asked me questions about:
- baking in grams
- adjusting oven temperatures
- what kind of salt to use
- and many more!
I've curated and answered them all for your easy reference in this frequently asked questions post!
Absolutely Massive Monster Cookies
- Author: Erin Clarkson
-
 Prep Time: 15 minutes
 -
Cook Time: 15 minutes
-
Total Time: 45 minutes
-
 Yield: 9 servings
 -
 Category: cookies
 -
 Method: baking
 -
 Cuisine: american
Description
These Monster Cookies are absolutely huge! Packed with toasted oats, peanut butter, M&Ms, chocolate chunks, and brown butter, these super easy but delightful cookies will be an absolute favorite. There is no chill time in the recipe so you can bang them straight into the oven!
Ingredients
- 195g unsalted butter (cold from the fridge is fine)
- 130g old fashioned oats (toasts down to 110g, see notes in the method)
- 180g smooth peanut butter
- 100g granulated sugar
- 60g brown sugar
- 1 large egg (50g not including the shell), at room temperature
- ½ tsp vanilla bean paste or extract
- 90g all-purpose flour
- ½ tsp baking soda
- ½ tsp kosher salt
- 90g good quality dark chocolate, roughly chopped, plus more for tops if desired
- 200g m&ms or other similar candy, plus extra for the tops if desired
Instructions
- Preheat the oven to 330°f / 165°c. Line two sheet pans with parchment paper. Place the oats on another sheet pan. Bake, stirring occasionally, until the oats are lightly golden brown, 10-15 minutes. Remove from the oven and leave to cool - this should happen in the time you are browning the butter and mixing up the wet ingredients.
- Weigh out 110g of the toasted oats (they shrink down in the oven a tiny bit so you may need to top up again if needed).
- While the oats are toasting, brown the butter. Place the butter into a small saucepan and melt over medium heat. Cook the butter, whisking frequently, until the milk solids begin to brown. Continue to cook until the butter mixture is medium brown and nutty smelling. Remove the brown butter from the heat and weigh out 150g into a medium bowl (see notes below). Leave to stand for 10 minutes so that the warm butter does not scramble your eggs. If you would like to speed up this method, you can place the bowl into a larger bowl of cold water, stirring frequently until the brown butter has cooled slightly and is no longer hot to the touch.
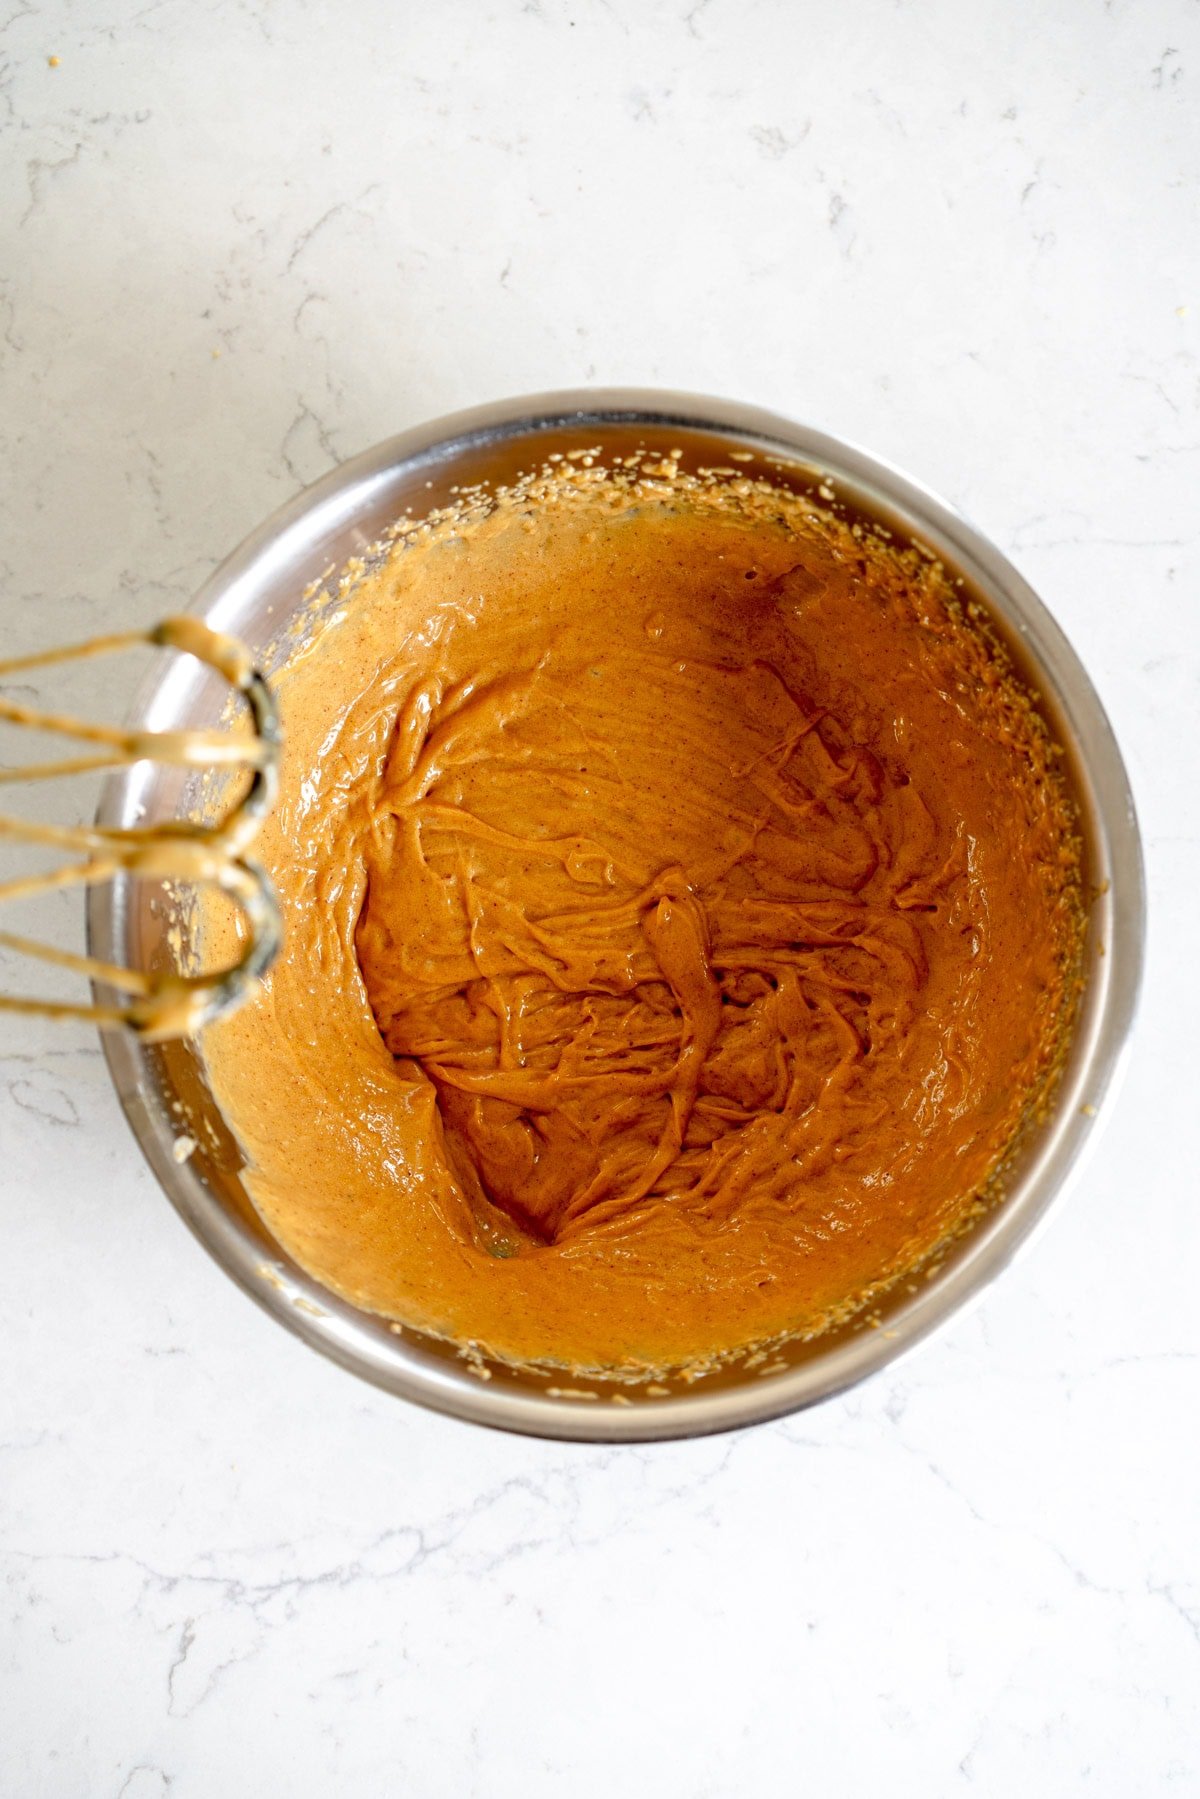
- Add the peanut butter, granulated sugar, brown sugar, egg, and vanilla to the bowl with the brown butter. Mix with a whisk or a handheld mixer until the mix is homogenous, lighter in colour and slightly thicker.
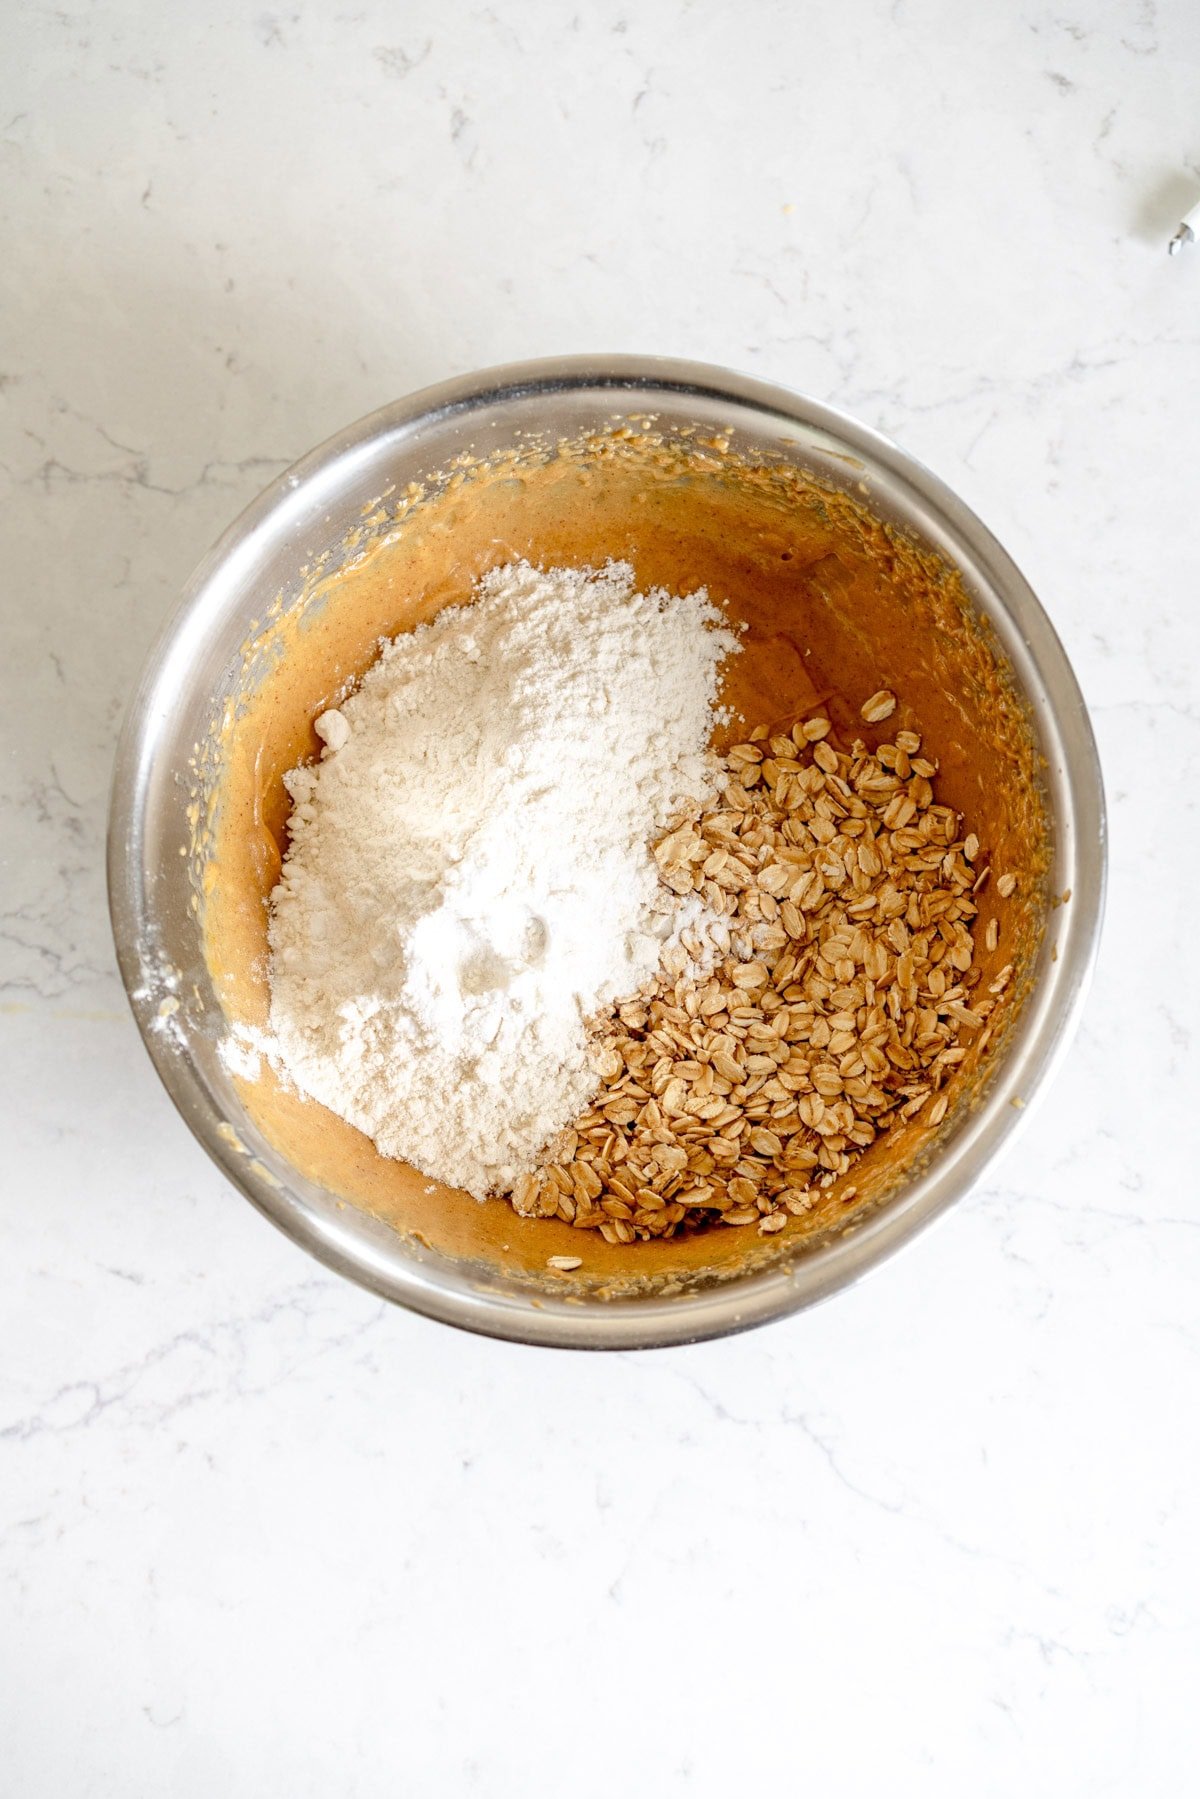
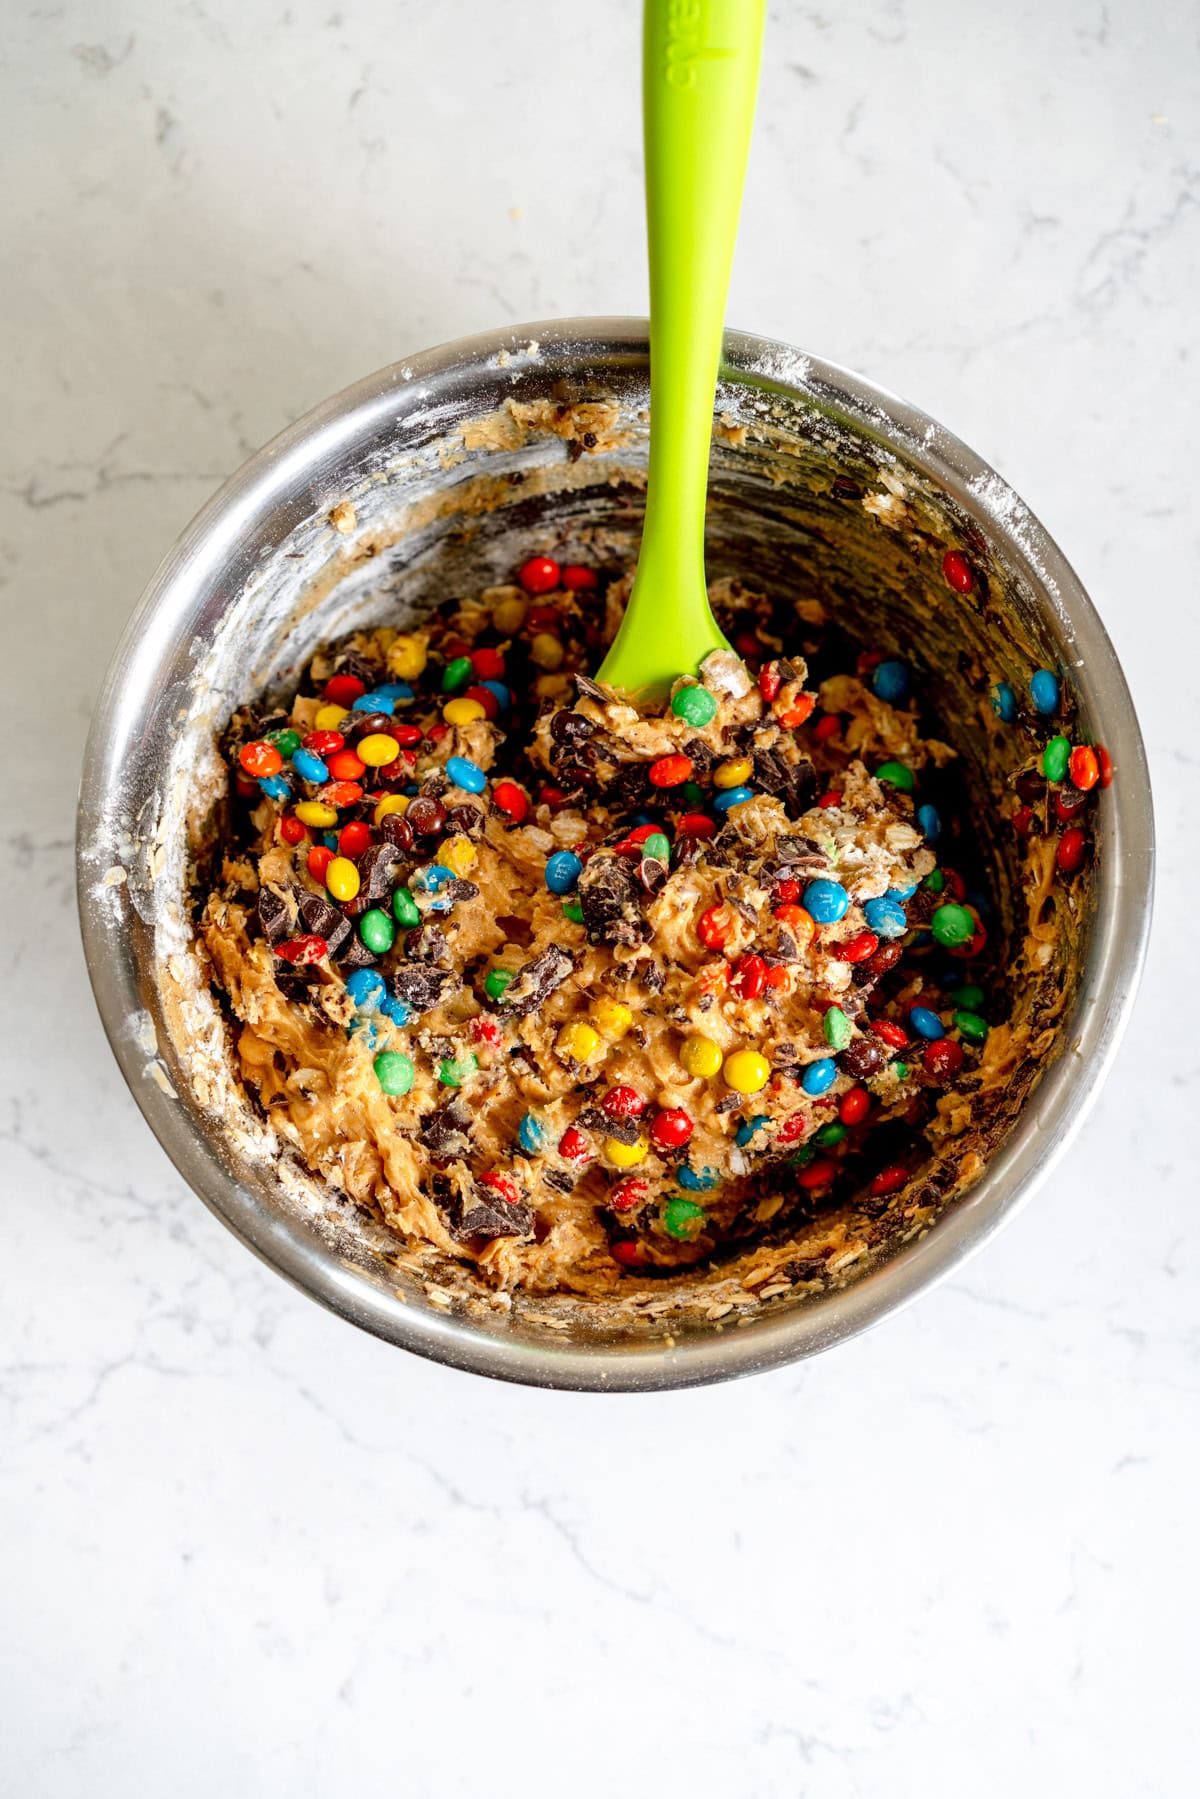
- Add the 110g toasted oats, flour, baking soda, and salt, and switch to a spatula to incorporate the dry ingredients by hand. When they are partially incorporated, add the chopped chocolate and m&ms and mix to fully combine. Leave the dough to sit for 10 minutes or so just to let the mix hydrate slightly so it isn’t as sticky (if you are in a rush feel free to skip this step, I did it both ways and it was fine)
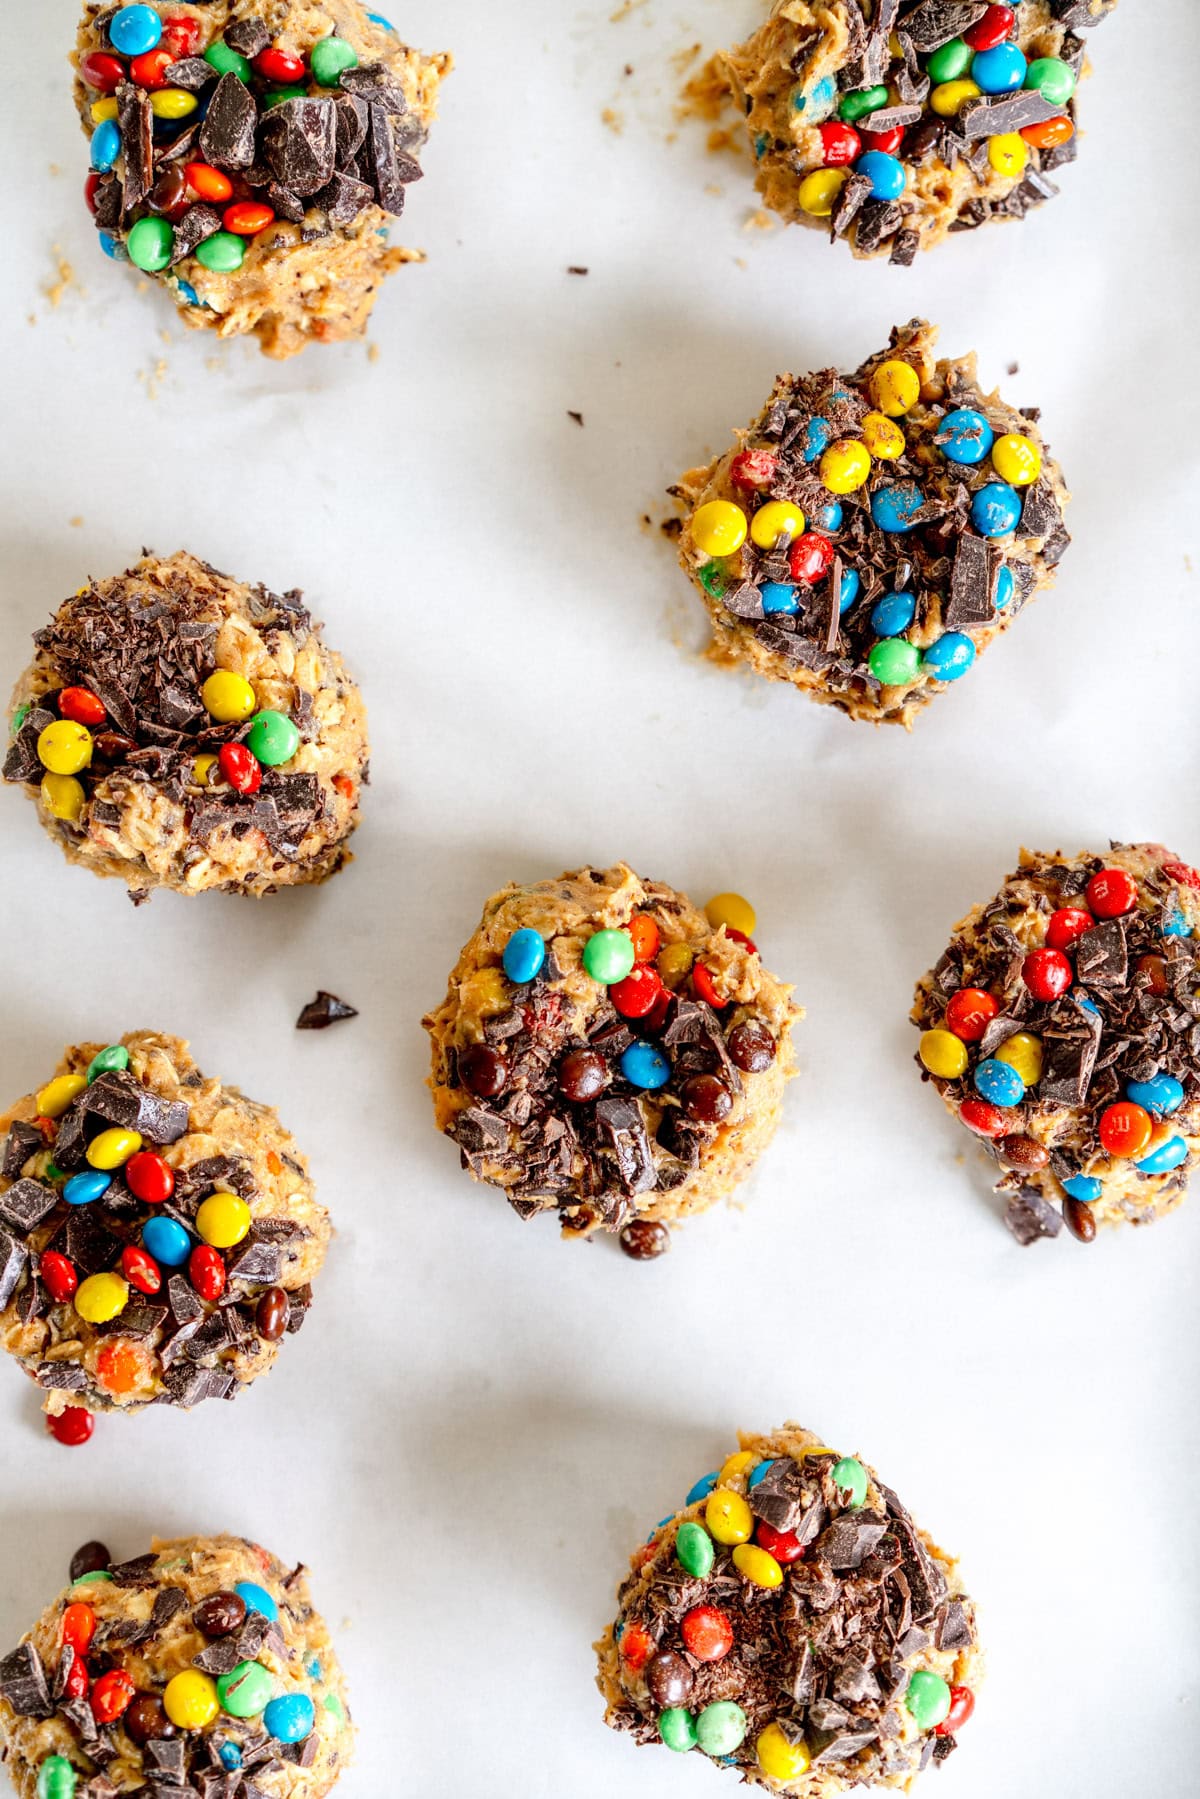
- Using a #16 scoop, scoop 100g balls of cookie dough onto the lined sheet pans. Roll each into a ball, and space evenly on the pans (I did 5 cookies on one and 4 on the other). If you would like to add additional candy and chocolate to the top, I find that the best way to do this is to press the ball of dough into the chopped chocolate or candy and then re-shape into a ball.
- Bake the cookies for 17-18 minutes, either one sheet at a time or both at once, switching the pans top and bottom half way, until they are set and lightly golden brown around the edges. When they are hot from the oven, use a large cookie cutter or round plastic container - something slightly larger than the cookie to ‘scoot’ them into a nice even circular shape. This step is optional but I find for larger cookies like this it really helps to tuck the edges in really nicely.
- Leave the cookies to cool on the pans for 10-15 minutes before transferring to a wire rack to cool completely.
- Store leftover cookies in an airtight container at room temperature for up to a week.
Notes
You will notice that there are two quantities of butter in the recipe - the initial quantity of butter, then a second measurement in the method which is the quantity of brown butter. The larger initial quantity is to account for water loss when browning - read more about that in my FAQ.
If you are using the recipe scaling feature (2x or 3x) be aware that any quantities, measurements, pan sizes, and cooking times given in the method do not scale automatically - it's only the quantities in the Ingredient List that scale automatically.
The post Absolutely Massive Monster Cookies appeared first on Cloudy Kitchen.


