
These favorite, go-to, back-to-school baking recipes are perfect even if you don’t have little people going back to school (does that feeling ever leave us?!).
We’re making this transitional time a whole lot sweeter with 10 of our favorite, delicious & easy baking recipes.
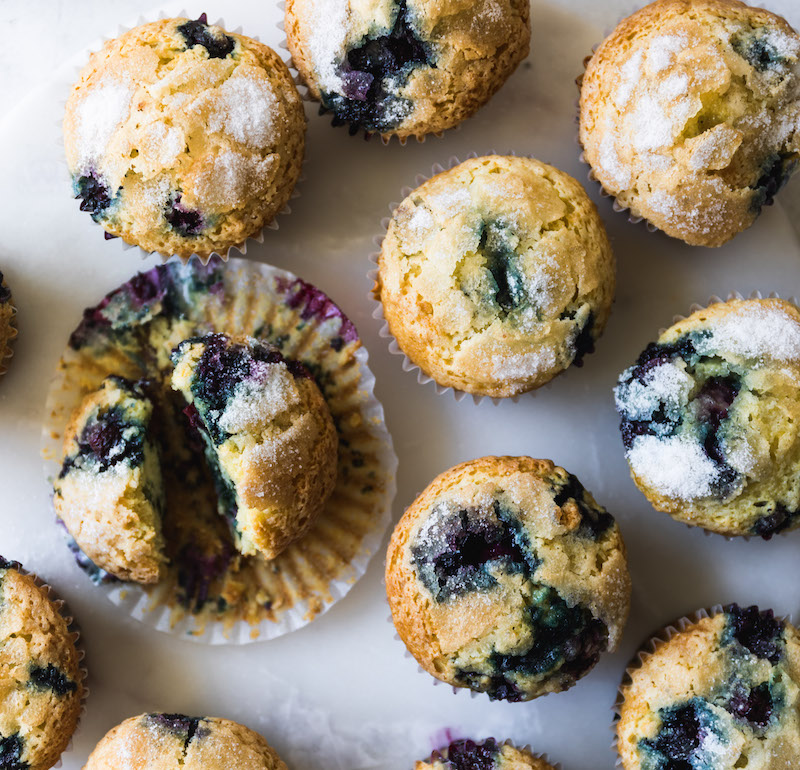
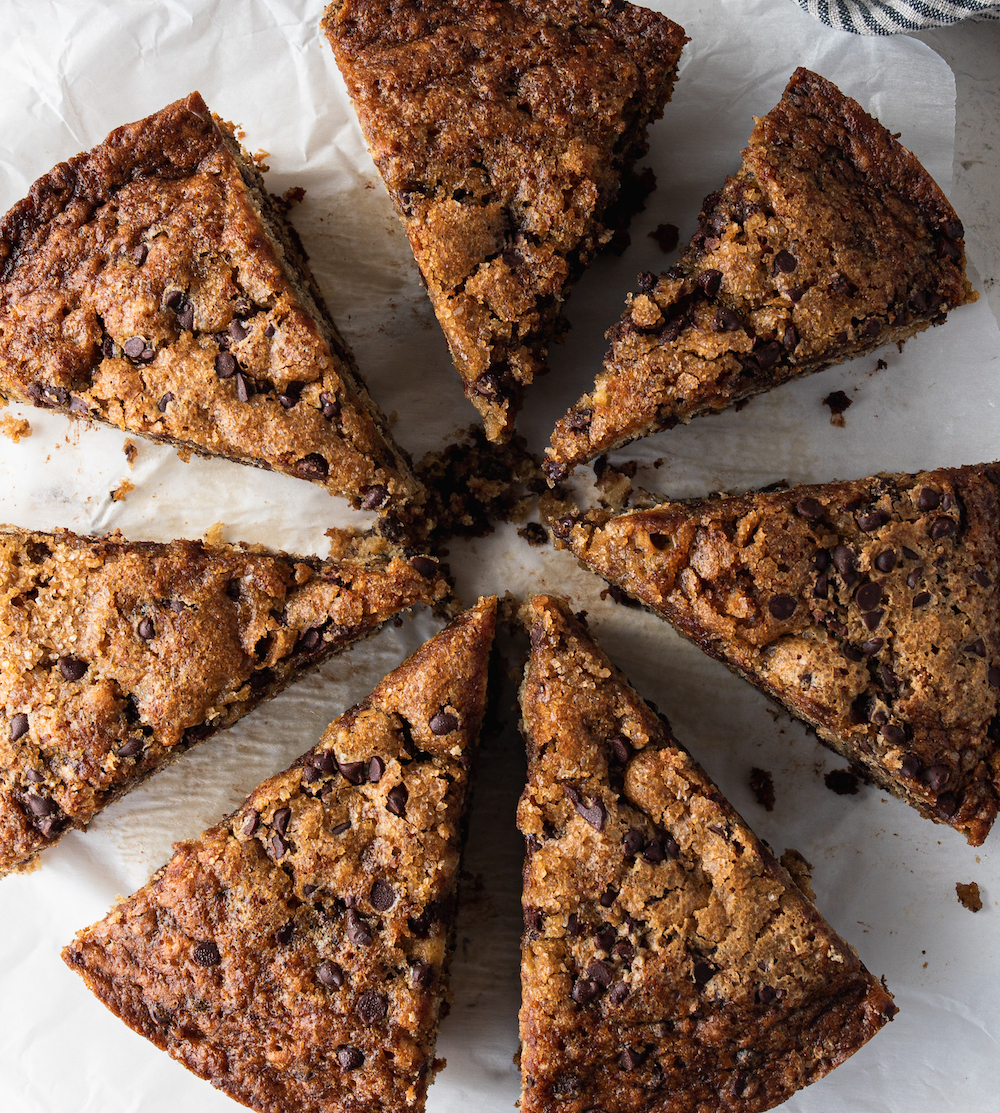
These incredible everyday chocolate chip cookies are so easy, they’re the ultimate no-fuss bake, while our oh-so-popular decadent chocolate granola bars are great for after-school snacks, and our fluffy and moist blueberry muffins are a morning classic.
Enjoy these delicious pre-fall bakes!


My Favorite Back-To-School Baking Tips!
One-bowl baking recipes are ideal!
Limited bandwidth during this busy calls for a recipe that’s streamlined with minimal mess. Helloooo one-bowl baking. Check out the oh-so-snackable banana snacking cake and decadent chocolate zucchini muffins!
Pick recipes that are quick (because we’re busy!).
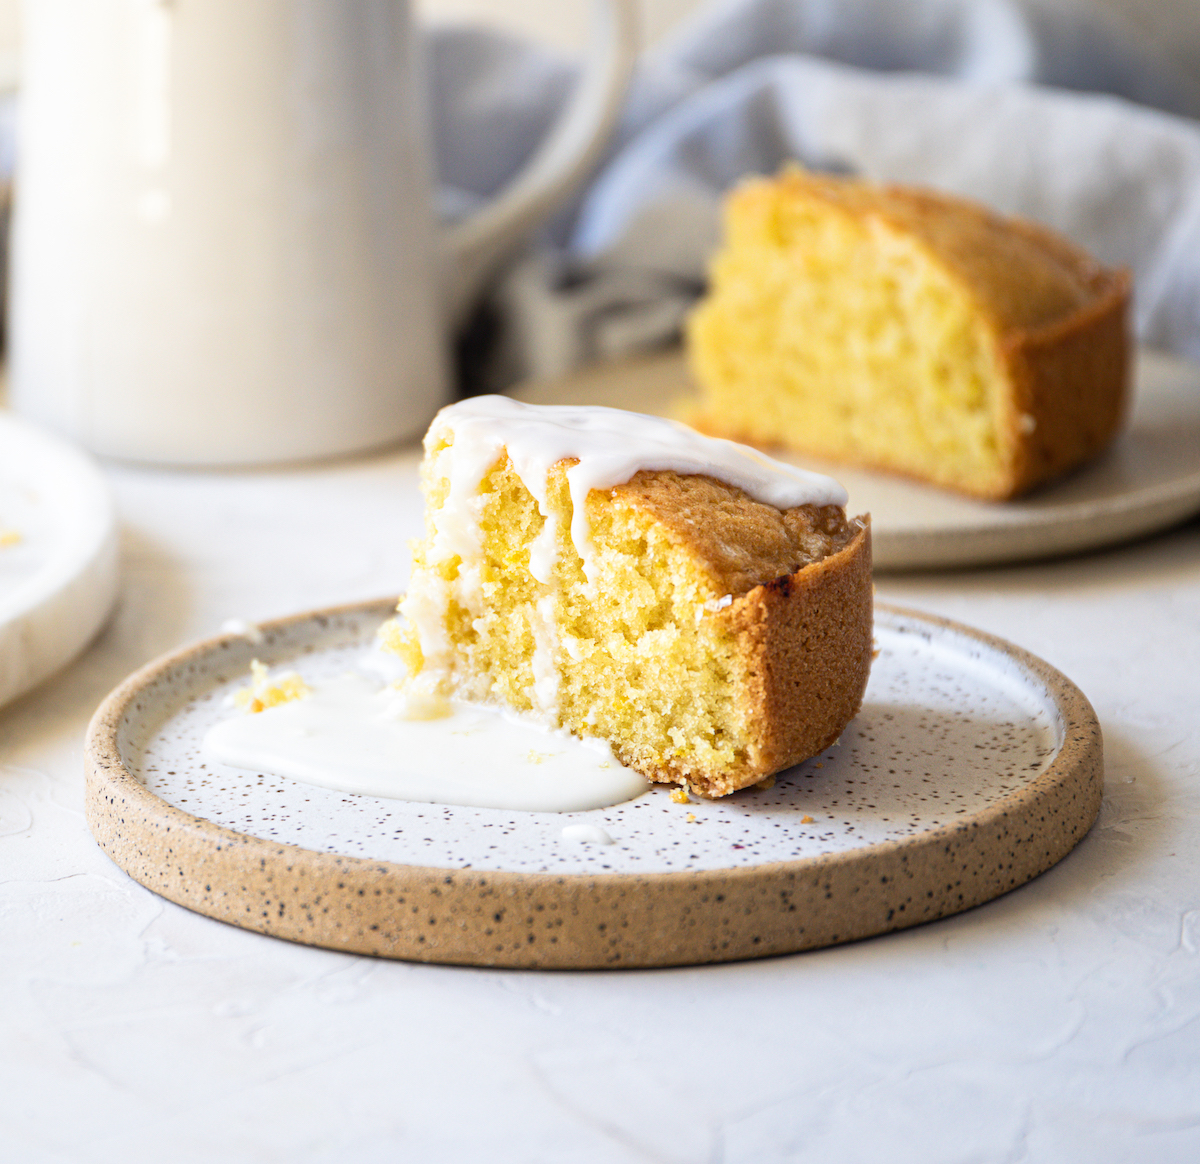
See note above! Our free time is limited, so check out some of our under 60 minutes recipes such as this bright lemon olive oil cake and these bouncy foolproof blueberry muffins that everyone will love (promise).
Make baked goods that can be served for multiple meals & travel well.
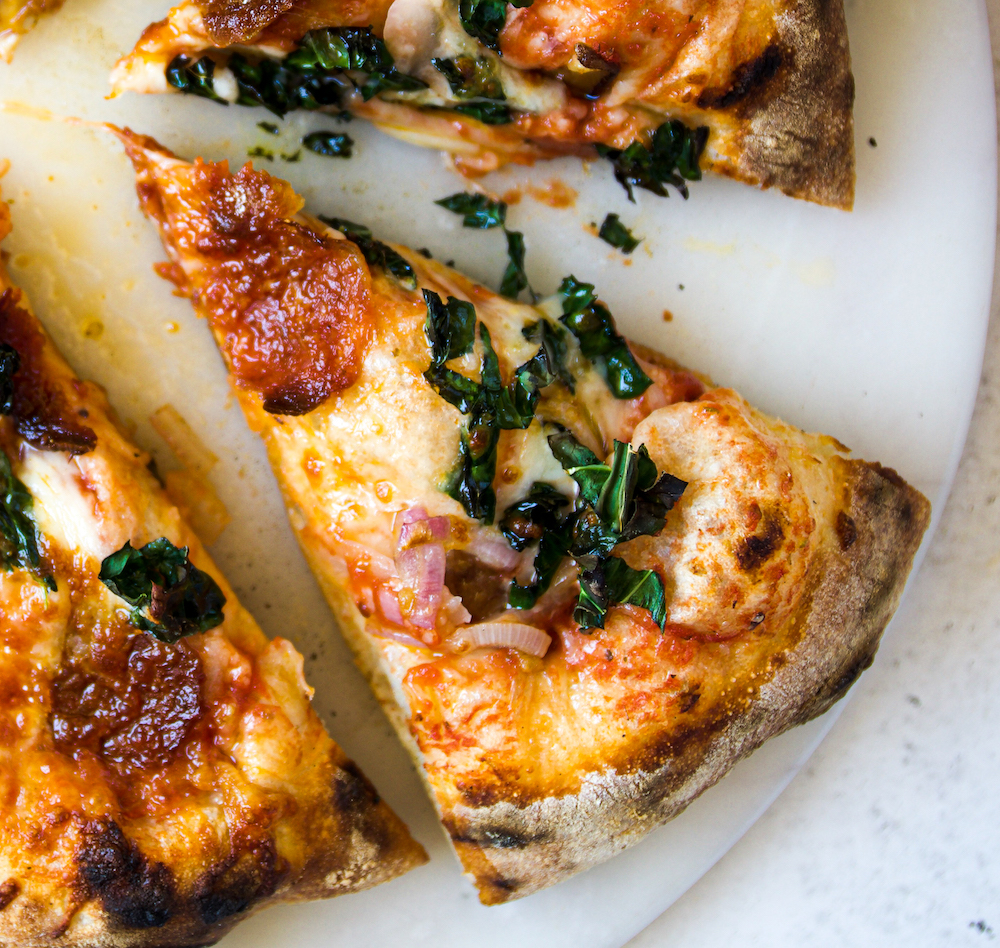
Both my favorite pizza dough recipe and these delicious chocolate granola bars do double-duty as lunchbox treats and/or afterschool snacks!
Let’s get to the 10 favorite back-to-school baking recipes!

Your 10 Mega Delish Recipes to Make Right Now!


Enjoy your back-to-school baking!

10 Irresistible Back-To-School Baking Recipes: The Best Chocolate Chip Cookie Recipe
Ingredients
- 2 cups (420 g) light or dark brown sugar packed
- 16 tablespoons (226 g or 8 ounces) unsalted butter room temperature
- 2 tablespoons (23 g) vanilla paste or real vanilla extract
- 1 ½ tablespoons (21 g) extra virgin olive oil (or use any oil you have on hand)
- 2 large eggs room temperature
- 1 ½ teaspoons (9 g) sea salt
- 1 teaspoon baking powder
- 1 teaspoon baking soda
- 3 cups + 2 tablespoons (423 g) all-purpose flour how to measure flour
- 2 cups (340 g) dark, milk or semi-sweet chocolate chips, chunks or coarsely chopped bar
- Sea salt flakes for the tops optional
Instructions
- Preheat your oven to 350°F (177°C) and line several baking sheets with parchment paper.
- In a large bowl, add the brown sugar, butter, vanilla, and olive oil, and beat with a spatula until the mixture is light and fluffy. The mixture should no longer appear dense, and its color should have lightened. This should take about 4 to 5 minutes.
- Add the eggs one at a time, ensuring the first is fully blended before adding the second. Add in the salt, baking powder and baking soda and mix for 30 seconds until fully combined.
- Gently fold in the flour, stopping when there are still visible traces of flour. Add in the chocolate and stir until evenly distributed throughout the dough, being careful to use as few strokes as possible so as not to overmix the dough.
- Scoop 3 tablespoons of dough (about 42 g) onto the prepared baking sheets, leaving 3 inches between cookie dough balls to allow for spreading. Bake for 11 to 12 minutes (see note below regarding bake time) in the center of the oven.
- As soon as they’re out of the oven, tap the baking sheet on the counter to slightly collapse the cookies, and then use the edge of a spatula to gently nudge the cookies back into a circle. Let cool completely on the baking sheet. Sprinkle with flaky sea salt if using.
Notes
Using a Mixer with These Cookies
These cookies can be made using an electric stand mixer (with the paddle attachment) or with a handheld mixer. If you use a large mixing bowl and spatula make sure you really cream your butter and sugar so that you get that awesome light cookie texture.A Note About Chocolate
Feel free to use dark chocolate, milk chocolate or semi-sweet chocolate chunks, chips and/or chopped-up candy bars. Also, I like to place extra chocolate chips over the tops of the cookies just before to baking.Chewy & Soft Chocolate Chip Cookies Bake Time
I like to underbake these cookies for 11 minutes. The cookies continue to bake as they cool on the warm baking sheet and I absolutely LOVE the texture. One of the recipe testers for this cookie preferred them with an extra minute or two of bake time. This will make the center a bit more set and the edges a touch crispier. If you have a cool oven (as oven temperatures vary) or you prefer a more baked cookie experience, then add that extra minute or two.Storing Chewy Chocolate Chip Cookies
Store these chewy cookies in an airtight container at room temperatureStoring & Freezing this Chocolate Chip Cookie Dough
This is one of my favorite cookie doughs to store and have on hand, ready to bake!If you plan on eating the cookies over the next few days, then stash the cookie dough in an airtight container in the fridge until ready to use. This can result in a puffier cookie, but that’s fine. We love that. If you want to enjoy fresh-baked cookies over the next month or two, follow this method… Portion out the cookie dough onto a parchment-lined cookie sheet and set in the freezer until frozen solid (about 1 to 2 hours). Then transfer the frozen cookie dough balls to an airtight container and set back in the freezer until ready to use. When you want to enjoy a cookie, set the frozen cookie dough ball on a prepared baking sheet and then pre-heat the oven. While the oven pre-heats, the cookie dough will start to thaw out. Bake according to the instructions above, adding an extra 2 minutes to the bake time. You can bake these delicious cookies directly from the freezer, but I prefer the results when I let the cookie dough sit out for about 15 minutes while the oven preheats. If you do bake them directly from the freezer, you’ll need to add additional bake time.
How to Make Your Cookies Look Pretty
I like how this cookie looks when scooped with a cookie scoop rather than rolling balls of dough (though both methods work). I also like to place 3 to 5 chocolate chips over the top of the cookie dough ball before baking so you can see some glossy chips over the tops of the cookies. As soon as the cookies come out of the oven, drop the baking sheet on the counter (nothing dramatic, just a bold tap) and then use the edge of a spatula to nudge the cookies into a round shape. Sprinkling with flaky sea salt not only makes them look gorgeous, but I love how the bite of salt really balances the sweetness of the cookie. This is optional. One last note, using dark brown sugar will give the cookies that rich, caramel color you see in these cookies. If using light brown sugar (which I do often), the cookies will have a blonder appearance.The post 10 Irresistible Back-to-School Baking Recipes (Delicious & Easy) appeared first on DisplacedHousewife.


